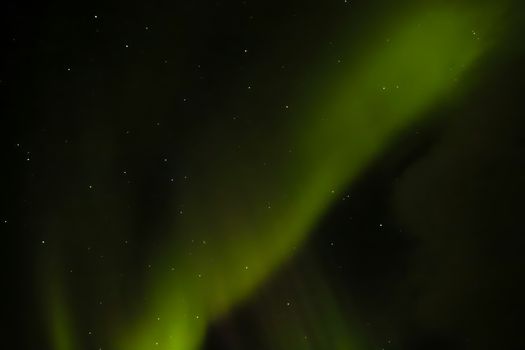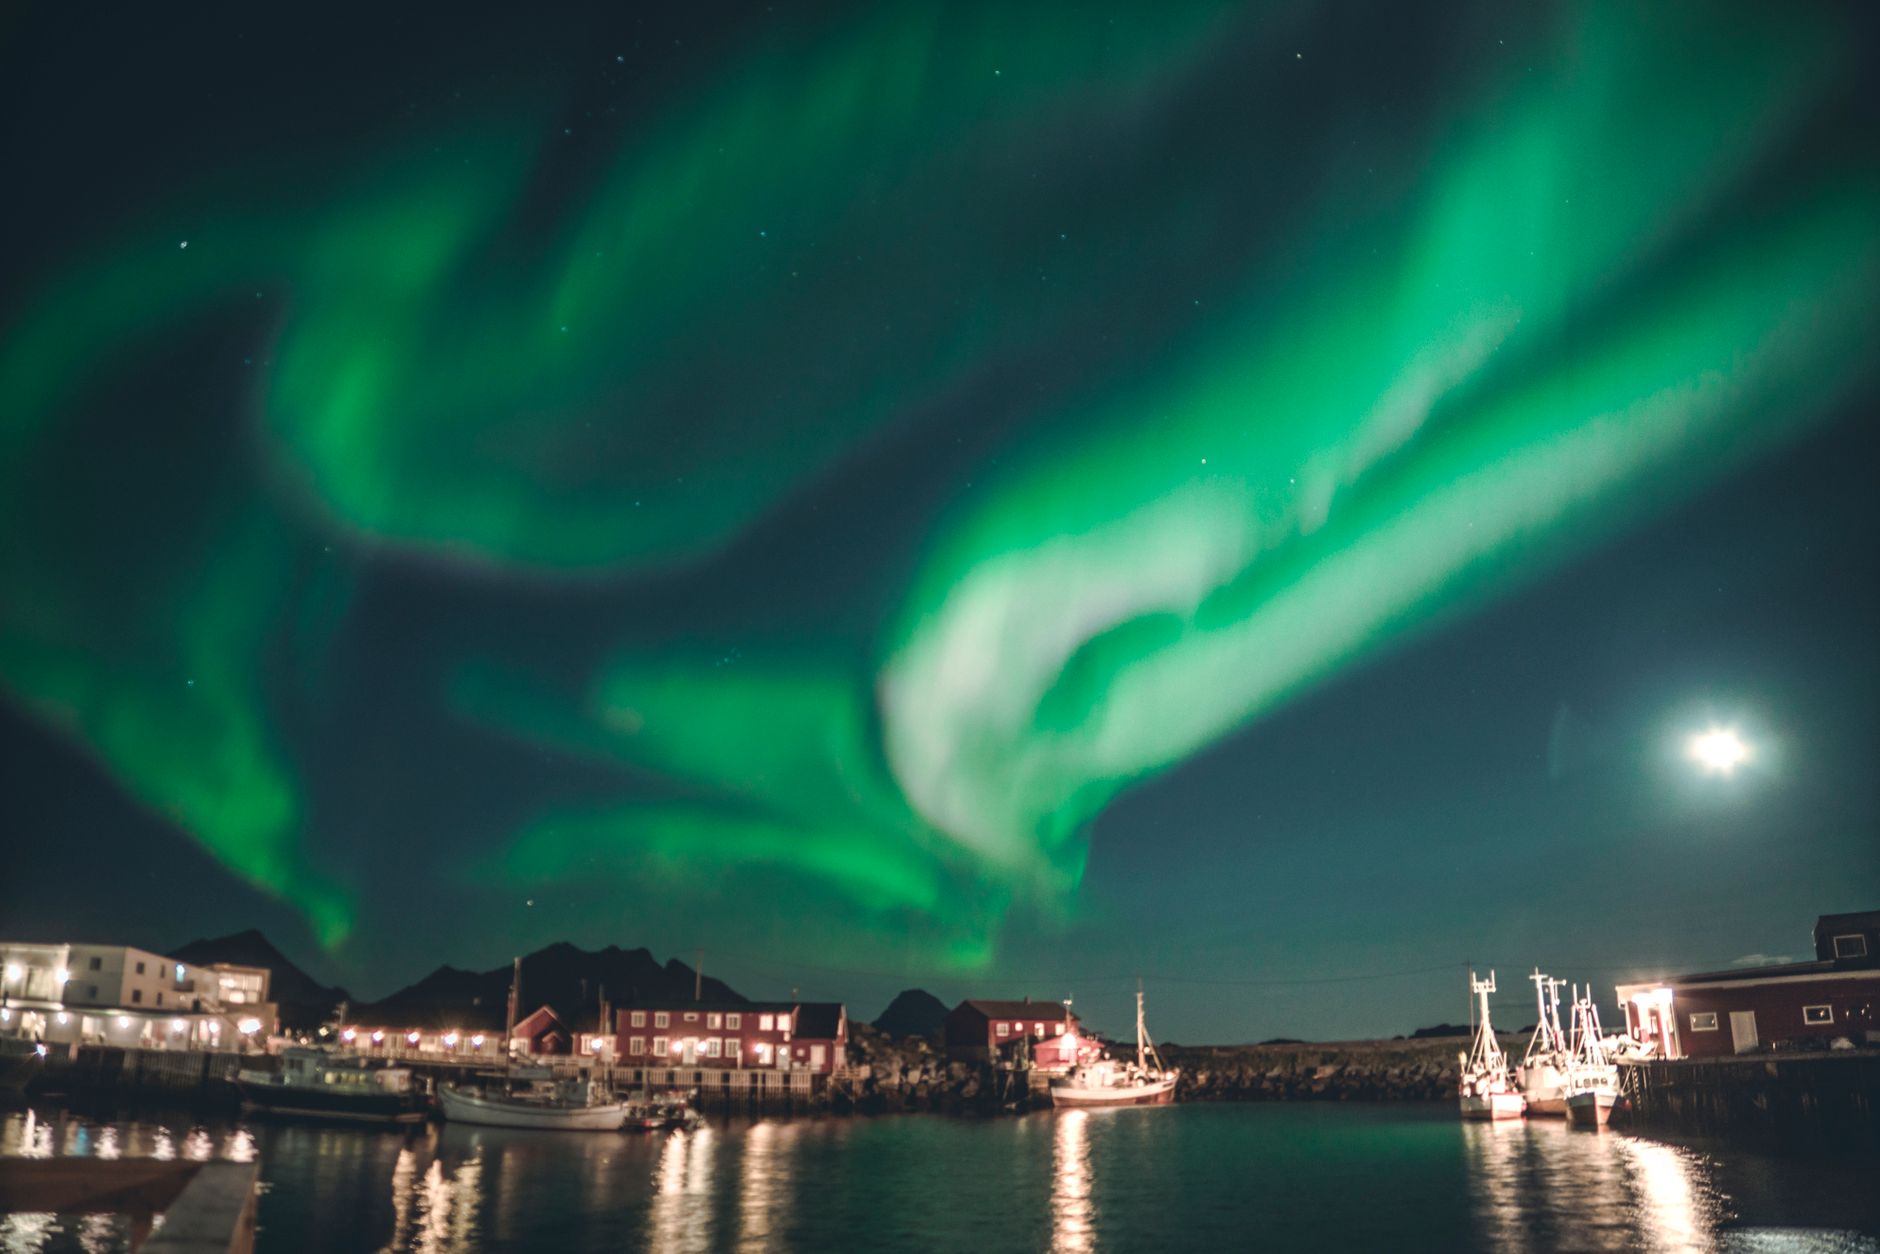
The air was biting, a crisp -20°C that made my nose hairs freeze with every breath. My fingers, despite the thick liners and outer gloves, felt like frozen sausages fumbling with camera dials. For hours, we’d stood on a frozen lake in Finnish Lapland, eyes glued to the inky blackness, a faint promise of aurora shimmering on the horizon. Then, it happened. A faint green arc, a whisper at first, began to stretch across the sky. Within minutes, it exploded – ribbons of emerald, streaks of violet, dancing and swirling with a silent, otherworldly grace. It felt like the universe itself was putting on a private show, just for us.
My heart pounded, a mix of awe and pure panic. Was I ready? Would my camera settings be correct? This wasn't just a photo; this was a moment, a feeling, I needed to bottle and bring home. That night, I managed to capture some decent shots, but I also made mistakes, missed opportunities, and learned invaluable lessons that have since transformed my aurora photography.
You see, photographing the Northern Lights isn't just about pointing a camera at the sky. It's an art, a science, and a test of patience against the elements. But trust me, the reward – a stunning photograph of nature's most spectacular light show – is worth every frozen finger and every late-night wait. This guide isn't just a collection of tips; it's your personal roadmap to capturing the aurora borealis, making sure you don't just see it, but truly experience and document it, before you die. Let's dive in!
The Aurora Hunter's Essentials: Pre-Trip Planning & Your Arctic Survival Kit
Before you even think about camera settings, you need to be in the right place, at the right time, and dressed for battle against the cold. Your comfort directly impacts your ability to stay out longer and get that perfect shot.
1. Timing is Everything: When to Go
The Northern Lights require darkness, and lots of it. Your best window is September to March, when the nights are long and dark in the Arctic Circle. The shoulder seasons (September/October and March) can offer slightly milder temperatures and beautiful foregrounds with autumn colours or melting snow, but mid-winter (November-February) often provides the darkest skies and highest chances, albeit with extreme cold.
2. Location, Location, Location: Where to Chase the Lights
You need to be within the "aurora oval," a ring around the magnetic North Pole. Some of my absolute favourite spots include:
- Tromsø, Norway: Often called the "Gateway to the Arctic," Tromsø is vibrant, easily accessible, and has numerous tour operators. Expect prices for a guided chase tour to be around €100-€200 per person.
- Abisko, Sweden: Known for its "blue hole," a microclimate that often keeps skies clear even when surrounding areas are cloudy. Abisko National Park is home to the Aurora Sky Station, offering unique views. A 3-day package including accommodation and aurora activities can range from €500-€1000.
- Reykjavik, Iceland: While the capital itself has light pollution, numerous tours depart from Reykjavik to chase the lights in darker areas. Iceland offers incredible landscapes (waterfalls, glaciers) to use as foregrounds. A typical aurora bus tour costs €50-€100.
- Yellowknife, Canada: Famous for its consistently clear skies and high aurora activity. It's colder here, but the chances are excellent. Aurora tours here can be around CAD$100-$150.
- Fairbanks, Alaska, USA: Another prime location with excellent aurora visibility. Consider staying at an aurora lodge for an immersive experience.
Budgeting for the Dream:
A week-long trip to one of these destinations, including flights, accommodation, food, and a couple of dedicated aurora tours, can easily run anywhere from $2,500 to $5,000+ per person, depending on your luxury level and departure point. Start saving now – it's worth every penny!
3. Your Arctic Survival Kit: Dress for Success
This isn't optional; it's critical. You'll be standing still in sub-zero temperatures for hours.
* Layers, Layers, Layers: Merino wool base layers (top and bottom), fleece mid-layers, and a waterproof/windproof outer shell.
* Head Protection: A warm hat that covers your ears, plus a buff or balaclava for your face and neck.
* Hand Protection: Thin liner gloves (for camera operation) covered by thick, insulated mittens or ski gloves. Hand warmers are a lifesaver!
* Foot Protection: Thick wool socks and insulated, waterproof winter boots (rated for at least -20°C, preferably -30°C or colder).
* Other Essentials: A headlamp (with a red light setting to preserve night vision), extra camera batteries (they drain fast in the cold!), a power bank for your phone, a thermos with hot coffee/tea/chocolate, and snacks.
The Gear You NEED for Aurora Photography (No Excuses!)
You can't capture the magic without the right tools. Forget your phone (mostly, we'll get to that) – we're talking serious camera gear here.
1. The Camera Body: DSLR or Mirrorless
* Full-Frame vs. Crop-Sensor: Full-frame cameras (e.g., Sony A7 series, Canon R series, Nikon Z series) generally perform better in low light due to larger sensors, producing less noise at higher ISOs. However, modern crop-sensor cameras (e.g., Fuji X-T series, Sony A6000 series, Canon R7/R10) are incredibly capable.
* Key Feature: Good high-ISO performance is paramount. Look for cameras that can comfortably shoot at ISO 3200-6400 with manageable noise.
2. The Lens: Wide, Fast, and Furious
This is arguably the most critical piece of gear.
* Wide-Angle: You want to capture as much of the sky as possible. A focal length between 14mm and 24mm (on full-frame) is ideal. For crop-sensor, look for equivalents like 10-18mm.
* Fast Aperture: This is crucial for gathering enough light in the dark. Look for lenses with an aperture of f/2.8 or wider (f/1.8, f/1.4). The wider the aperture (smaller f-number), the more light it lets in, allowing for shorter shutter speeds and lower ISOs. My go-to is often a 14mm f/2.8 or a 20mm f/1.8.
3. The Tripod: Your Unshakeable Foundation
* Sturdy and Stable: Absolutely non-negotiable. You'll be doing long exposures, so any camera shake will result in blurry photos. Invest in a good quality, sturdy tripod that can withstand wind. Carbon fibre is lighter for travel, but aluminum is often more affordable and robust.
4. Remote Shutter Release: Hands-Off Control
* Wired or Wireless: This prevents camera shake when you press the shutter button. You can also use your camera's self-timer (2-second delay) as a workaround, but a remote is far more convenient.
5. Extra Batteries (and Keep Them Warm!)
The cold drains batteries at an alarming rate. Always carry at least 2-3 spare batteries, and keep them in an inside pocket close to your body heat until you need them.
6. Fast Memory Cards:
Ensure you have enough high-capacity, fast-writing memory cards (e.g., SDXC UHS-II) to shoot in RAW format.
Mastering the Settings: Your Aurora Photography Cheat Sheet
This is where the magic happens. Getting your camera settings right is the difference between a blurry green blob and a vibrant, detailed aurora masterpiece.
1. Manual Mode (M): Take Full Control
You must shoot in manual mode. Auto modes will struggle in the extreme darkness and produce unusable results.
2. Focus: Infinity and Beyond
* Manual Focus: Switch your lens to manual focus (MF). Autofocus will hunt endlessly in the dark.
* Focus to Infinity: The easiest way is to set your lens to infinity. Some lenses have an infinity symbol; others you'll need to turn the focus ring all the way until it stops, then back off just slightly (this varies by lens, so practice in daylight!).
* Live View Trick: If there's a bright star or distant light, use Live View (or your electronic viewfinder on mirrorless) and zoom in digitally to manually focus until the star is a sharp pinprick. Once set, do not touch the focus ring again.
3. Aperture (f-stop): Wide Open!
* Set your aperture to its widest possible setting (smallest f-number). This means f/2.8, f/1.8, or even f/1.4 if your lens allows. This lets in the maximum amount of light.
4. ISO: The Light Amplifier
* Start with an ISO between 1600 and 3200.
* If the aurora is faint, you might need to go higher (ISO 6400 or even 12800 on full-frame cameras).
* If the aurora is incredibly bright and fast-moving, you might be able to drop to ISO 800 or 1000.
* The Trade-off: Higher ISOs introduce more digital noise (graininess). Find the sweet spot for your camera where noise is acceptable.
5. Shutter Speed: The Time Machine
This is highly dependent on the aurora's intensity and movement.
* Faint, Slow-Moving Aurora: Start with 20-30 seconds. This captures more light and makes the aurora appear brighter.
* Bright, Dancing Aurora: If the lights are rapidly swirling and streaking, you'll need a faster shutter speed to "freeze" their movement and prevent them from blurring into a green cloud. Try 5-15 seconds.
* Experiment: Take a test shot, review it, and adjust. If it's too dark, increase ISO or shutter speed. If it's too bright, decrease ISO or shutter speed.
6. White Balance: Get Those True Colours
* Manual Kelvin: Set your white balance manually to a Kelvin temperature between 3000K and 4000K. This will typically render the aurora's greens and purples more accurately and give a cool, crisp feel to your night sky.
* Preset: Tungsten or Incandescent presets can also work if your camera doesn't offer Kelvin. Avoid Auto White Balance!
7. Shoot in RAW: Non-Negotiable
Always shoot in RAW format. RAW files contain far more image data than JPEGs, giving you maximum flexibility for post-processing adjustments (exposure, white balance, noise reduction) without degrading image quality.
8. Turn Off Image Stabilization (VR/IS/OS):
When your camera is on a tripod, image stabilization should be turned OFF. It can sometimes introduce blur when the camera is completely still.
9. Long Exposure Noise Reduction: Use with Caution
Some cameras have a "Long Exposure Noise Reduction" setting. While it can reduce noise, it doubles your exposure time (e.g., a 20-second shot takes another 20 seconds to process). This means you'll miss precious aurora activity. I usually turn it OFF and handle noise in post-processing.
Composition & Creativity: Beyond the Green Glow
A stunning aurora photo isn't just about the lights; it's about the story, the context, and the artistry.
1. Foreground Elements: Add Depth and Scale
Don't just point your camera at the sky. Look for interesting foregrounds:
* Snow-covered trees
* Frozen lakes or rivers (for reflections!)
* Mountains or unique rock formations
* A quaint cabin or an ice hotel
* Even your travel companions (silhouetted or briefly lit with a headlamp) can add a human element and scale.
Personal Anecdote:
I once spent an hour trying to frame the perfect shot with a small, snow-laden pine tree in the foreground. The aurora was faint, but that tree, dusted with fresh snow, gave the image so much more character than a plain sky shot. It told a story of the Arctic wilderness.
2. Reflections: Double the Magic
If you find a calm body of water (a frozen lake, a puddle on ice), you can capture incredible reflections of the aurora, doubling its impact. This is where Iceland truly shines with its numerous waterfalls and calm lakes.
3. The Human Element: Connect with the Scene
Want to make your photo truly Instagram-worthy? Include yourself!
* Set your camera on the tripod, compose the shot.
* Start the exposure.
* Walk into the frame and stand still for a few seconds.
* Briefly illuminate yourself with a phone screen or a very dim headlamp for 1-2 seconds (don't overdo it, or you'll be overexposed).
* Walk out of the frame before the exposure ends.
The result is a ghostly, yet powerful, silhouette of you under the aurora.
4. Rule of Thirds:
Apply basic compositional rules. Place the horizon on one of the horizontal third lines, and key foreground elements on vertical third lines for a more balanced and dynamic image.
5. Avoid Light Pollution:
Drive away from towns and cities. Even a small amount of light pollution can wash out the aurora and create an orange glow on your horizon.
The Hunt & The Wait: Practical Tips for Success
Chasing the aurora is an adventure in itself. It requires patience, preparation, and a bit of luck.
1. Monitor the Forecasts Relentlessly:
* KP Index: This is a scale from 0-9 indicating geomagnetic activity. A KP of 3 or higher is generally good for visible aurora. A KP of 5+ is a "geomagnetic storm" – get ready for a show!
* Solar Wind Data: Apps like "Aurora Forecast" or websites like the NOAA Space Weather Prediction Center (SWPC) provide real-time data on solar wind speed and density. Higher speed and density usually mean stronger auroras.
* Cloud Cover: This is your biggest enemy. Use local weather apps (like YR.no for Scandinavia) to find areas with clear skies. Sometimes driving just 30-60 minutes can take you from heavy clouds to perfectly clear skies.
2. Patience is Your Best Friend:
The aurora doesn't operate on a schedule. You might wait for hours, or it might appear within minutes. I've spent entire nights huddled in my car, only for the lights to finally appear at 3 AM. Don't give up too soon!
3. Stay Warm and Fed:
Reiterate the importance of layers and hot drinks. Hypothermia is no joke. Carry snacks to keep your energy up.
4. Safety First:
* Tell Someone: Always let someone know where you're going, especially if venturing off the beaten path.
* Stay on Paths: Don't wander into unknown terrain, especially in the dark. You could fall into deep snow, thin ice, or encounter wildlife.
* Car Safety: If driving, ensure your car is winter-ready. Pack an emergency kit.
5. Join a Tour (Initially):
For your first aurora hunt, especially if you're not confident driving in winter conditions or navigating unfamiliar terrain, a guided tour can be invaluable.
* Pros: Local guides know the best spots, monitor weather/aurora forecasts, provide warm transport, and often offer hot drinks/snacks. Some even provide tripods or camera advice.
* Cons: Less flexibility over location or duration, can be crowded.
Personal Experience: My first trip to Tromsø, I joined a small bus tour. Our guide took us to a fantastic, secluded spot, built a bonfire, and even helped me fine-tune my camera settings. It was a great learning experience before I ventured out solo.
Post-Processing & Sharing: Bringing Your Aurora to Life
Your RAW files are just the beginning. Post-processing transforms them into masterpieces, and sharing them amplifies the magic.
1. Software of Choice:
* Adobe Lightroom Classic/Lightroom CC: Industry standard, excellent for batch processing and detailed adjustments.
* Adobe Photoshop: For more advanced retouching, composites, or intricate selections.
* Luminar Neo/Affinity Photo: Great alternatives with powerful features.
2. Essential Adjustments:
* Exposure: Adjust overall brightness.
* White Balance: Fine-tune the Kelvin temperature if needed.
* Highlights & Shadows: Recover detail in bright areas (stars) or lift shadows (foreground).
* Contrast: Add punch to the image.
* Clarity & Dehaze: Enhance definition and cut through any atmospheric haze. Be subtle!
* Noise Reduction: Apply gently, focusing on luminance noise. Over-doing it can make the image look plastic.
* Colour Adjustments: Boost the vibrance and saturation of greens, purples, and blues, but avoid making them look artificial.
* Lens Corrections: Apply profile corrections to fix lens distortions.
* Cropping & Straightening: Ensure your horizon is level and compose for maximum impact.
3. Ethical Editing:
The goal is to enhance what was there, not create what wasn't. Don't add auroras that didn't exist or grossly over-saturate colours to an unrealistic degree. Let the natural beauty shine through.
4. Sharing Your Masterpiece:
* Instagram: Use relevant hashtags (#NorthernLights, #AuroraBorealis, #Auroraphotography, #Arctic, #TravelPhotography, #BucketList, #Tripsora) and tag your location. Tell the story behind the shot in your caption.
* Blog/Website: Write about your experience, share your tips, and link back to Tripsora!
* Prints: Nothing beats seeing your aurora shot as a large print on your wall.
Conclusion: Your Aurora Adventure Awaits
Photographing the Northern Lights is more than just a technical exercise; it's an immersive experience, a dance with nature, and a profound reminder of our planet's incredible beauty. From the initial shiver of anticipation to the triumphant click of the shutter, every moment is etched into your memory.
It takes preparation, patience, and the right gear, but armed with this guide, you now have the knowledge to capture this ephemeral spectacle. Don't let the technicalities intimidate you; the sheer awe of witnessing the aurora will fuel your perseverance. This is truly one of those "before you die" experiences that will change your perspective forever.
So, what are you waiting for? Start planning, start saving, and get ready to point your lens at the most spectacular light show on Earth. Your epic aurora photo is just a trip away.
What's your dream Northern Lights destination? Have you captured the aurora before? Share your stories and tips in the comments below! And don't forget to share this guide with your fellow adventurers – let's inspire more people to chase the lights!
---