Chasing the Green Lady: How to Photograph the Northern Lights Before They Become Mainstream
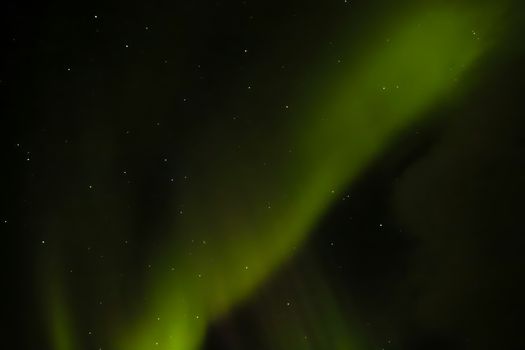
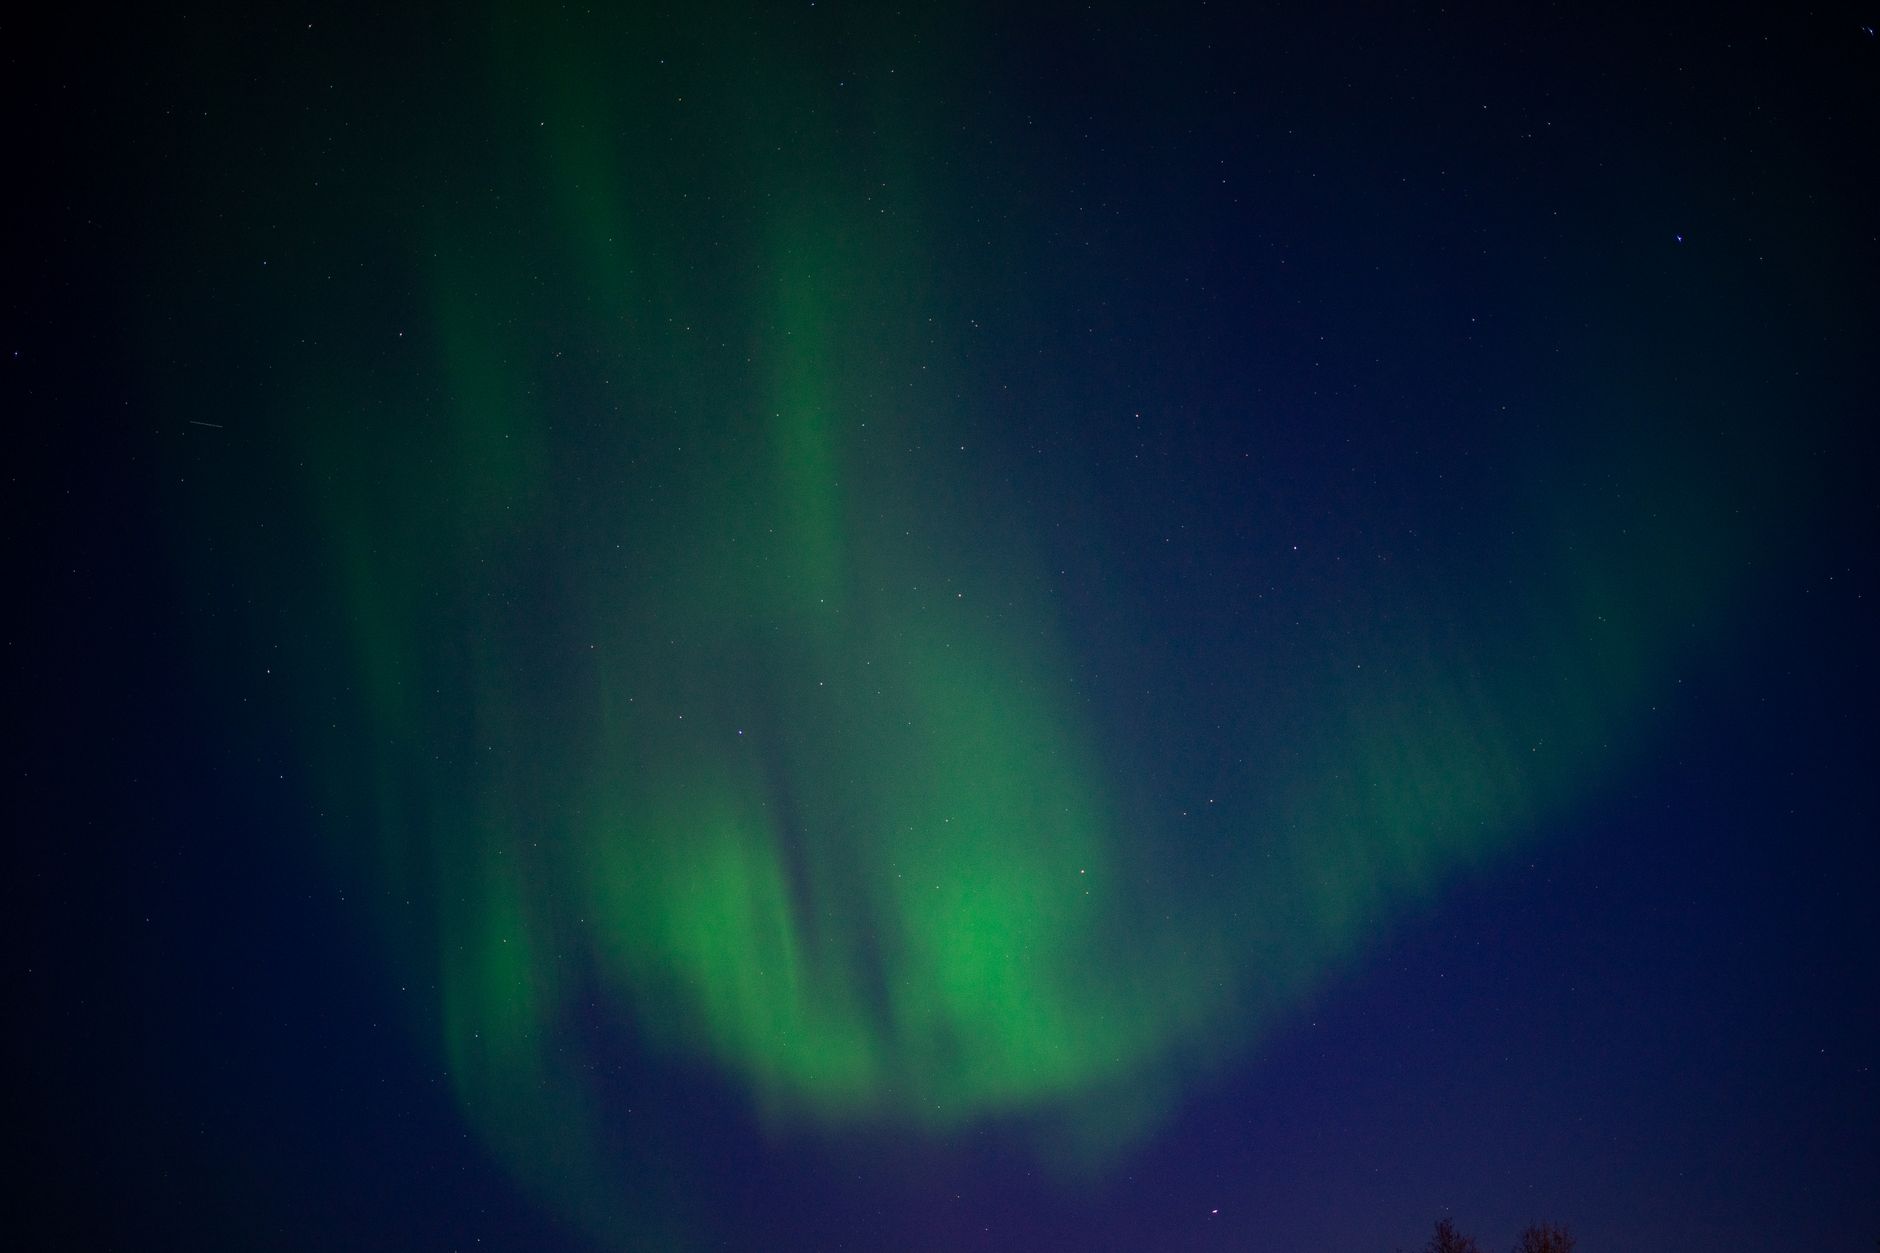
The air was crisp, the kind that bites at your exposed skin but feels invigorating. Above me, the vast, inky canvas of the Arctic night stretched out, dotted with a million pinprick stars. Then, a faint whisper of green appeared on the horizon, a shy, ethereal mist. Within minutes, it exploded, swirling and dancing across the sky in a symphony of emerald and violet, a celestial ballet that stole my breath and held me captive. This was my first encounter with the Aurora Borealis in Iceland, and in that moment, as my fingers fumbled with my camera, I knew I wasn't just observing; I was trying to capture a piece of magic.
But here’s the thing: everyone wants that shot. The internet is flooded with stunning aurora photos. So, how do you capture something truly unique, something that tells your story, something that stands out from the ever-growing sea of glowing green? How do you photograph the Northern Lights before they become mainstream, before every angle is taken, every composition done? It’s not about being first to a location; it’s about bringing a fresh perspective, a deeper understanding, and a touch of your own artistry to one of nature’s most spectacular shows.
This isn't just a technical guide; it's an invitation to embark on an adventure, to chase the light with intention, and to return with images that resonate long after the aurora has faded. Let’s dive in and make your aurora photographs legendary.
1. Beyond the Postcard: Why Your Aurora Shot Needs to Be Different
We’ve all seen them: the classic wide-angle shot of a green sky over a snowy landscape. Beautiful, yes. But truly unique? Often, not so much. As the Northern Lights become an increasingly popular bucket-list item, the challenge for photographers isn't just getting a shot, but getting a shot that stands out. This is where the "before mainstream" mindset comes in. It’s about anticipating, innovating, and looking for angles others might miss.
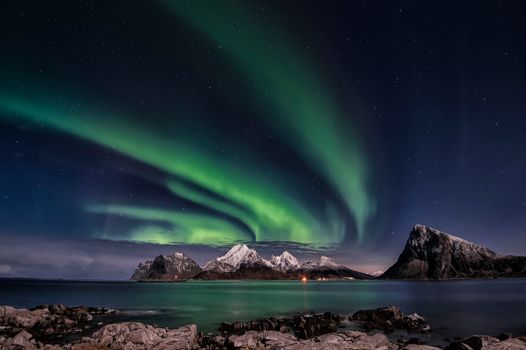
Think about it: what tells a story? A lone cabin under a swirling sky. A reflection of the aurora in a perfectly still fjord. The silhouette of a person gazing up in awe, providing scale and emotion. These elements elevate a simple snapshot to a captivating narrative.
My own journey taught me this lesson early. My first aurora shots were technically decent but lacked soul. It wasn't until a local guide in Norway pointed out a frozen waterfall that I realized the power of a compelling foreground. That night, with the aurora dancing above the icy cascade, I captured an image that felt truly mine, a fusion of the celestial and the terrestrial beauty of the Lofoten Islands.
To truly differentiate your shots:
- Seek out unique foregrounds: This is paramount. Look for interesting rock formations, old fishing huts, dramatic mountains, or even just a perfectly silhouetted tree. These anchors ground your image and give the viewer a sense of place.
- Embrace reflections: Lakes, calm fjords, or even wet ice can create stunning mirror images, doubling the impact of the aurora.
- Include a human element (subtly): A person silhouetted against the sky adds scale and evokes emotion. It allows the viewer to imagine themselves in that moment.
- Go off the beaten path: While popular spots are popular for a reason, try to find less-frequented viewpoints. A short hike away from the main road can reveal an entirely new perspective.
The goal isn't just to document the aurora, but to interpret it through your lens, making each frame a personal masterpiece.
2. The Gear Lowdown: Your Aurora-Chasing Arsenal (No Pro Needed!)
You don't need a professional studio's worth of equipment to capture incredible aurora photos, but a few key pieces are non-negotiable. Think of this as your essential toolkit for battling the cold and capturing the light.
- Camera Body:
- DSLR or Mirrorless: Both work wonderfully. The key is good low-light performance. Full-frame sensors (like those found in Canon 5D Mark IV, Sony a7 series, Nikon D850) generally excel here due to their larger sensor size, which gathers more light and produces less noise at high ISOs.
- Crop-sensor cameras (e.g., Canon Rebel series, Nikon D5XXX/D7XXX, Sony a6XXX series) can also capture fantastic aurora, but you might need slightly higher ISOs or longer exposures, and you'll need to account for the crop factor when choosing lenses.
- My advice: Don't upgrade your camera just for the aurora. Work with what you have, and invest in a good lens first.
- Lens: Your Most Important Investment
- Wide-angle and Fast: This is crucial. You need a lens that can capture a broad expanse of the sky and has a wide aperture (low f-number) to let in as much light as possible.
- Aperture: Aim for f/2.8 or wider (f/1.8, f/1.4). The wider the aperture, the more light hits your sensor, allowing for shorter shutter speeds and lower ISOs, resulting in sharper, less noisy images.
- Focal Length: 14mm, 16mm, 20mm, 24mm are all excellent. Popular choices include:
- Zoom Lenses: Nikon 14-24mm f/2.8, Canon 16-35mm f/2.8, Sony 16-35mm f/2.8 GM. These are versatile but pricey.
- Prime Lenses: Rokinon/Samyang 14mm f/2.8 (manual focus, incredible value!), Sigma 14mm f/1.8, Sony 20mm f/1.8 G. Primes offer superb sharpness and often wider apertures for less cost.
- Personal Lesson: I once tried to shoot aurora with a kit lens (f/3.5-5.6). It was a struggle. The images were noisy and soft. Investing in a fast wide-angle lens transformed my aurora photography overnight.
- Sturdy Tripod: Non-negotiable. You'll be taking long exposures, so any camera movement will result in blurry images. Don't skimp here. A lightweight travel tripod might be convenient, but a heavier, more stable one will save you headaches in windy conditions.
- Remote Shutter Release: Wired or wireless. Pressing your camera's shutter button, even gently, can introduce shake during long exposures. A remote release eliminates this. If you don't have one, use your camera's 2-second timer delay.
- Extra Batteries (Lots of them!): Cold weather drains batteries at an alarming rate. Carry at least 2-3 fully charged spares, and keep them warm (e.g., in an inside pocket) until you need them.
- Headlamp with Red Light Mode: Essential for navigating in the dark without ruining your night vision or other photographers' shots. The red light mode is key!
- Warm Clothing & Hand Warmers: You'll be standing still in freezing temperatures. Layer up! Good gloves are crucial for operating your camera.
- Lens Cleaning Cloth: Condensation or frost can quickly form on your lens.
- Optional but Recommended: Power bank for phone, thermos with hot drink, a comfortable chair for long waits.
3. Mastering the Manual: Camera Settings for Aurora Magic
This is where the magic happens – or doesn't. Shooting the aurora requires ditching automatic modes and embracing manual control. Don't be intimidated; it's simpler than you think once you get the hang of it.
The "Base" Settings (Your Starting Point):
- Manual Mode (M): Absolute must. This gives you full control over aperture, shutter speed, and ISO.
- Focus: Manual Focus to Infinity:
- In complete darkness, your autofocus won't work. Switch your lens to Manual Focus (MF).
- The easiest way to achieve sharp focus is to focus on a distant bright star or the moon (if visible) using Live View (if your camera has it) and zooming in 10x to ensure the star is a tiny pinprick.
- Alternatively, some lenses have an infinity mark, but these are often not perfectly calibrated. Test it beforehand during daylight on a distant object.
- Pro Tip: Once focused, tape your focus ring in place so it doesn't accidentally shift in the dark.
- Aperture (f-stop): Widest Possible:
- Set your lens to its widest aperture (smallest f-number), typically f/2.8, f/4, or even f/1.4 if you have a fast prime. This lets in maximum light.
- ISO: Start at 1600-3200:
- This controls your camera's sensitivity to light. Higher ISOs mean brighter images but also more digital noise (grain).
- Begin at ISO 1600 or 3200. If the aurora is faint, you might go up to 6400. If it's incredibly bright and dancing, you might go down to 800-1000.
- My Experience: I usually start at ISO 3200. If the aurora is vibrant, I drop it to 2000-2500 for cleaner images.
- Shutter Speed: 10-30 Seconds:
- This determines how long your camera's sensor is exposed to light.
- Faint, Slow Aurora: 20-30 seconds. This gathers more light, making the aurora appear brighter.
- Bright, Dancing Aurora: 5-15 seconds. If the aurora is moving quickly, shorter shutter speeds "freeze" its intricate patterns, preventing it from blurring into a green cloud.
- Experiment! Take a test shot, review it, and adjust.
- White Balance (WB): Manual Kelvin or Preset:
- Don't use Auto White Balance (AWB) – it can produce inconsistent results.
- Set your White Balance to a Kelvin temperature between 3200K and 4200K. This usually gives a nice cool tone to the sky while keeping the aurora's greens vibrant.
- Alternatively, try the "Tungsten" or "Fluorescent" presets on your camera.
- You can always adjust WB in post-processing if you shoot in RAW.
- Shoot in RAW:
- Always, always shoot in RAW format (not JPEG). RAW files capture much more data, giving you far greater flexibility to adjust exposure, white balance, and reduce noise in post-processing without degrading image quality.
- Image Stabilization (IS/VR): OFF:
- When on a tripod, image stabilization should always be turned OFF. Leaving it on can sometimes introduce blur as the system tries to compensate for non-existent movement.
The Workflow:
- Set up your tripod and camera.
- Set lens to manual focus.
- Focus to infinity using Live View and a distant star. Tape the focus ring.
- Set aperture to widest (e.g., f/2.8).
- Set ISO to 3200.
- Set shutter speed to 20 seconds.
- Set white balance to 3800K (or Tungsten).
- Take a test shot using your remote release.
- Review the image:
- Too dark? Increase ISO, or slightly lengthen shutter speed (if aurora is slow).
- Too bright/blown out? Decrease ISO, or shorten shutter speed.
- Too noisy? Decrease ISO (if possible) or shorten shutter speed.
- Too blurry? Check focus, ensure tripod is stable, shorten shutter speed if aurora is moving fast.
- Adjust and repeat until you're happy!
Practice these settings indoors in the dark before your trip. Get comfortable finding the buttons by touch. The aurora doesn't wait for you to read the manual!
4. The Hunt is On: Where & When to Chase the Green Lady (and Beyond)
Catching the Northern Lights is a blend of science, patience, and a bit of luck. To maximize your chances, you need to be in the right place at the right time. And to get those "before mainstream" shots, it helps to know where to find truly dark skies and unique landscapes.
When to Go:
- Season: The best time is during the dark, clear nights of winter, typically from late September to early April. The longer and darker the nights, the better.
- Time of Night: The aurora can appear anytime it's dark, but often becomes most active between 10 PM and 2 AM.
- Weather: You need clear skies! Clouds are your biggest enemy. Check local forecasts religiously.
- Solar Activity: Monitor aurora forecasts (Kp-index) on apps like "My Aurora Forecast" or websites like SpaceWeatherLive. A Kp-index of 3 or higher offers good viewing potential in the auroral oval.
- Moon Phase: A new moon provides the darkest skies, making the aurora appear brighter. A full moon can wash out fainter displays, but can also beautifully illuminate your foregrounds. Plan your trip around the new moon if possible.
Where to Go (with a focus on unique angles):
The "auroral oval" is a band around the Earth's magnetic poles where the aurora is most frequently seen. Your best bets are locations within or near this oval.
- Iceland:
- Why it's great: Accessible, stunning and diverse landscapes (waterfalls, glaciers, black sand beaches, volcanoes). Self-driving is popular.
- Unique Photo Spots:
- Jökulsárlón Glacier Lagoon: Icebergs glowing under the aurora – truly otherworldly.
- Snaefellsnes Peninsula: Kirkjufell mountain (the "Arrowhead Mountain") is iconic, but try to find less common angles or nearby beaches for foregrounds.
- Vík (Reynisfjara Beach): Basalt columns and sea stacks under the aurora.
- The Highlands (F-roads): If you're adventurous and have a 4x4, these remote areas offer incredible solitude and dark skies, far from light pollution.
- Price: Mid-range to high. Car rentals are a good way to save on tours and chase the lights independently. Expect to pay $150-300/night for decent accommodation. Aurora tours typically range from $70-150.
- My Story: My first aurora shoot at Jökulsárlón was unforgettable. The glowing icebergs provided an incredible sense of depth, making the aurora feel even more immersive.
- Norway (Tromsø, Lofoten Islands):
- Why it's great: Dramatically rugged fjords, traditional fishing villages, excellent infrastructure in Tromsø.
- Unique Photo Spots:
- Lofoten Islands: The ultimate. Iconic red rorbuer (fishing cabins) nestled against towering mountains, reflected in calm waters. Hamnøy, Reine, Nusfjord offer endless composition possibilities.
- Senja Island: Often called "Miniature Norway," it's less visited than Lofoten but equally stunning with jagged peaks and charming villages.
- Tromsø: A vibrant city within the Arctic Circle. Head out of the city lights (e.g., to Ersfjordbotn) for better views.
- Price: High. Norway is expensive. Accommodation can be $100-250/night. Aurora tours from Tromsø are $100-200. Renting a car in Lofoten is highly recommended for flexibility ($500-800/week).
- My Story: Driving through Lofoten at night, pulling over at a random fjord to capture the aurora dancing over a tiny rorbu, felt like discovering a secret.
- Finland (Lapland - Rovaniemi, Levi, Saariselkä):
- Why it's great: Winter wonderland vibe, unique accommodations (glass igloos), Santa Claus Village.
- Unique Photo Spots:
- Remote Cabins: Rent a cabin in the wilderness for total darkness and a cozy foreground.
- Frozen Lakes: Vast, flat expanses offer clear views and potential for reflections.
- Forests: The snow-laden trees create beautiful, textured foregrounds.
- Price: Mid-range to high. Glass igloos can be $400-800/night. Standard hotels $100-200. Aurora tours $80-150.
- Consider: While igloos offer a unique experience, photographing from inside can be tricky due to reflections. Get outside!
- Canada (Yukon - Whitehorse, Yellowknife - Northwest Territories):
- Why it's great: True wilderness, vast dark skies, strong aurora activity (especially Yellowknife, often called the "Aurora Capital of North America").
- Unique Photo Spots:
- Frozen Lakes: The sheer scale of the landscape is breathtaking.
- Trappers' Cabins/Indigenous Structures: Unique cultural foregrounds.
- Tundra Landscapes: Sparse, dramatic, and truly wild.
- Price: Mid-range. Flights can be expensive to get there. Hotels $100-200. Aurora viewing packages (often including heated tipis/cabins) range from $100-300 per night.
- My Experience: The cold in Yellowknife was intense, but the aurora was mind-blowing – thick, vivid, and directly overhead. The challenge was keeping my gear (and myself) from freezing solid!
No matter where you go, always scout locations during daylight. Look for interesting foregrounds, clear lines of sight, and safe places to set up.
5. Beyond the Camera: Framing Your Unique Story
Technical settings are just the beginning. What truly makes an aurora photo stand out is the story it tells, and that comes down to composition and creative choices.
- Foreground is King (or Queen):
- A common mistake is focusing solely on the sky. A strong foreground adds depth, context, and visual interest.
- Examples: Silhouetted trees, snow-covered mountains, a frozen lake, a rustic cabin, an icy river, reflections in water.
- My Tip: Always look for something to anchor your image. It could be as simple as a rock partially covered in snow.
- Rule of Thirds & Leading Lines:
- Place your main foreground elements (or the most intense part of the aurora) off-center, along the intersecting lines of the rule of thirds grid.
- Use natural lines in the landscape (e.g., a path, a shoreline, a mountain ridge) to lead the viewer's eye towards the aurora.
- Include a Human Element (Subtly):
- A person standing in awe, silhouetted against the aurora, instantly adds scale and emotion. It makes the viewer feel like they are there.
- Have your subject stand still for the duration of the exposure. A slight blur can even add to the ethereal feel.
- Personal Anecdote: One of my most shared photos is of my friend standing by a frozen waterfall, silhouetted against a vibrant green sky. It's not just a photo of the aurora; it's a photo of an experience.
- Light Painting (Subtle Touch):
- Use a low-power headlamp or small flashlight to subtly "paint" light onto your foreground elements during a long exposure.
- Caution: Less is more! A quick sweep of light is usually enough. Too much and it looks artificial or overexposed. Practice this carefully. It can illuminate a dark foreground beautifully without detracting from the aurora.
- Reflections for Double the Impact:
- Calm water (lakes, fjords, puddles, wet ice) can create stunning reflections, doubling the visual impact of the aurora.
- Look for a low vantage point to maximize the reflection.
- Think Time-Lapse (Advanced):
- If you have a second camera or are feeling ambitious, capturing a time-lapse of the aurora dancing is breathtaking. It requires a lot of photos (e.g., 200-500 shots, 5-10 seconds apart) and post-processing software, but the result is incredibly dynamic and shareable.
Remember, the aurora moves. Take multiple shots, experimenting with different compositions and shutter speeds. Don't be afraid to move around and find new angles.
6. Post-Processing Power-Up: Making Your Aurora Shots Pop
You've braved the cold, nailed the settings, and captured some incredible RAW files. Now, it's time to bring them to life in post-processing software like Adobe Lightroom or Photoshop (or free alternatives like GIMP/Darktable). This is where you refine your vision and make your aurora truly shine.
- Import and Organize: Start by importing your RAW files. Cull any clearly out-of-focus or poorly exposed shots.
- White Balance Adjustment: Even if you set it manually in-camera, fine-tune your Kelvin temperature. You want the sky to be a deep, dark blue/black, and the aurora to be a vibrant green, sometimes with hints of purple or red. Adjust the Tint slider slightly towards magenta if needed to enhance the purples.
- Exposure and Contrast:
- Adjust overall exposure. Often, aurora shots can be slightly underexposed to preserve detail in the bright parts of the aurora.
- Increase contrast subtly to make the aurora pop against the dark sky.
- Highlights and Shadows:
- Pull down the Highlights to recover detail in the brightest parts of the aurora.
- Lift the Shadows slightly to reveal detail in your foreground.
- Blacks and Whites:
- Adjust the Blacks slider to deepen the dark areas of the sky, but be careful not to crush them entirely.
- Adjust the Whites to enhance the brightest parts of the aurora without blowing them out.
- Clarity, Vibrance, and Saturation:
- A slight increase in Clarity (5-15 points) can add definition to the aurora's structure.
- Boost Vibrance (20-40 points) to enhance the colors without making them look unnatural.
- Use Saturation sparingly, if at all. Too much can make the colors look cartoonish.
- Noise Reduction:
- High ISO shots will inevitably have some noise. Lightroom's Luminance Noise Reduction is excellent. Start with a value around 20-30 and adjust until the noise is acceptable, but be careful not to overdo it, as it can soften details.
- Apply a small amount of Color Noise Reduction (usually 10-20).
- Sharpness:
- Add a touch of Sharpening (around 40-60, with a radius of 1-1.5 and detail around 25-50). Masking (holding Alt/Option while dragging) helps sharpen only the edges, not the noise.
- Lens Corrections:
- Enable Profile Corrections to fix lens distortions and chromatic aberration.
- Cropping and Straightening:
- Ensure your horizon is level and crop for the strongest composition.
- Local Adjustments (Brushes/Gradients):
- Use a radial or graduated filter to selectively darken the edges of the frame (vignette) to draw attention to the center.
- Use a brush to selectively brighten or sharpen specific parts of the aurora or foreground.
- The Golden Rule: Don't over-process! The goal is to enhance the natural beauty of the aurora, not to create an artificial-looking image. Keep it real, keep it vibrant, and let the aurora speak for itself.
The Aurora Awaits: Your Story, Your Lens
The Northern Lights are more than just a phenomenon; they are an experience that touches the soul. To photograph them is to capture a fleeting moment of cosmic wonder, a dance of light that reminds us of the vast, incredible universe we inhabit. By focusing on unique compositions, understanding your gear, mastering your settings, and refining your post-processing, you're not just taking pictures – you're crafting visual stories that will resonate and inspire.
The "mainstream" aurora shot is the one that's been done a thousand times. Your mission, should you choose to accept it, is to find your angle, tell your story, and create an image that transcends the ordinary. So pack your bags, charge those batteries, and prepare for an adventure that will forever change the way you see the night sky. The green lady is calling, and she's ready for her close-up – your unique close-up.
Now it's your turn! Have you chased the Northern Lights? What's your dream aurora destination? Share your stories, tips, and photos with us on social media! Tag @Tripsora and use #TripsoraAurora to join our community of aurora chasers. Let's inspire each other to capture the magic!
---