The Night the Sky Danced: How Photographing the Northern Lights Changed My Life Forever
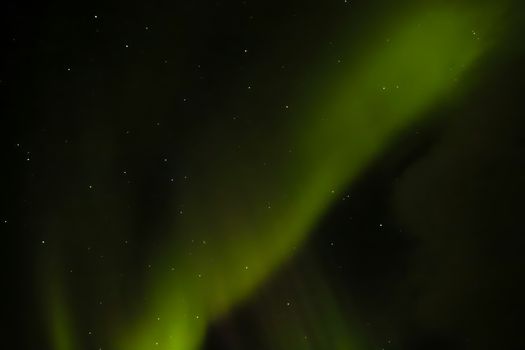
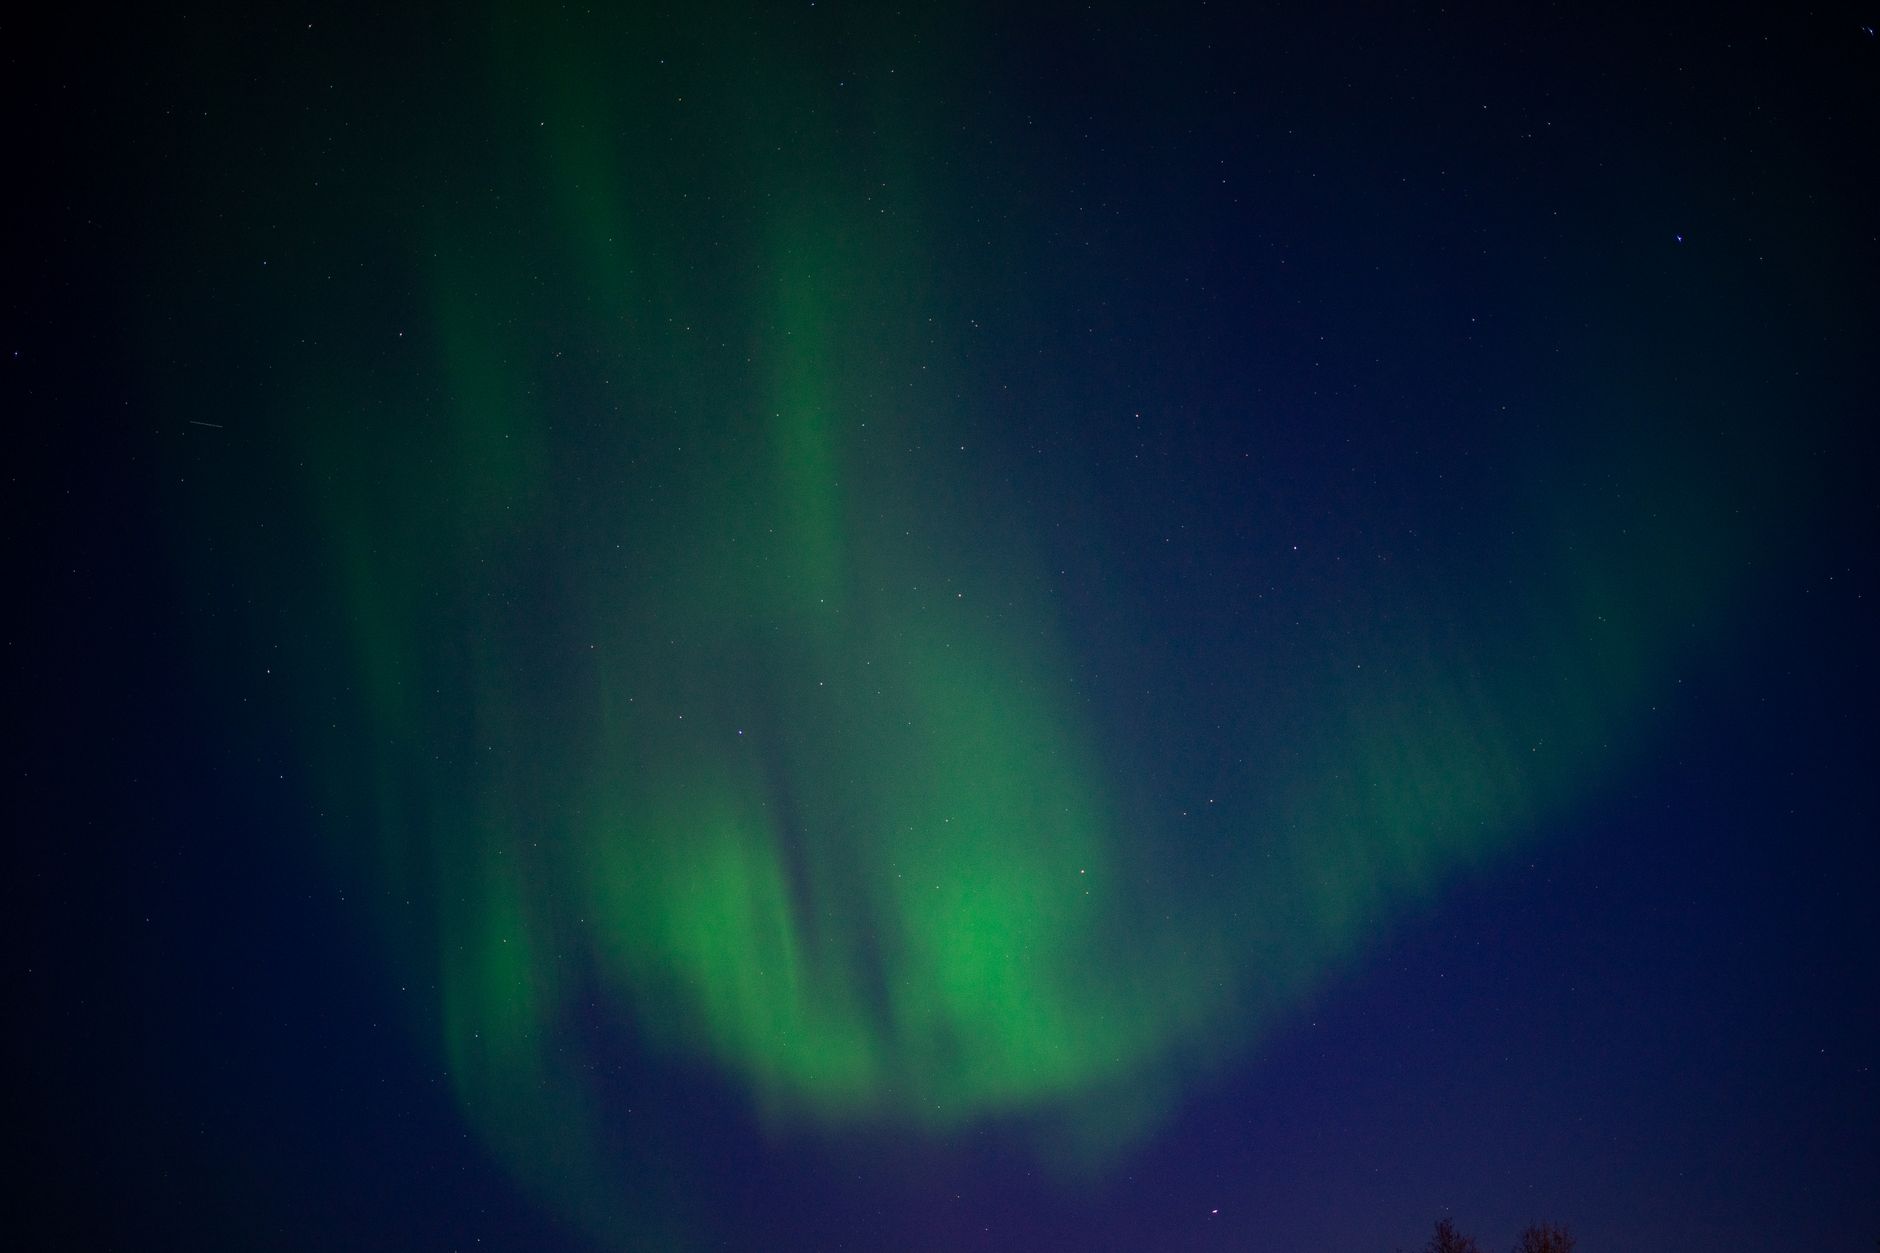
The biting wind whipped around me, stinging my cheeks, but I barely noticed. My eyes were fixed on the inky black canvas above, waiting, hoping. For weeks, I’d chased this moment across the frozen landscapes of Iceland, armed with my camera, a prayer, and a deep-seated longing to witness nature’s most spectacular light show. Then, it happened. A faint, ethereal glow appeared on the horizon, like a whisper in the darkness. Within minutes, that whisper erupted into a roaring symphony of green, purple, and streaks of red, swirling and dancing with an otherworldly grace that stole my breath and, quite literally, changed the trajectory of my life.
I was there, tripod planted firmly in the snow, fingers numb but spirit soaring, ready to capture it. But this wasn't just about getting a good shot for Instagram. This was about connecting with something primal, something ancient, something that made me feel incredibly small and infinitely significant all at once. It was the moment I realized that travel photography isn't just about documenting places; it's about capturing feelings, stories, and the transformative power of the world around us. And it all started with the aurora borealis.
If you’ve ever dreamed of witnessing this celestial ballet, or better yet, capturing its magic with your own lens, then you’re in the right place. This isn't just a technical guide; it's a journey, a shared experience, and a promise that with the right preparation and a dash of patience, you too can immortalize the Northern Lights and perhaps, like me, find a piece of yourself in the process.
1. The Call of the Lights: My First Encounter & Why It Matters
My obsession with the Northern Lights began years ago, scrolling through breathtaking images on social media. I’d always been drawn to the wild, untamed corners of the world, and the idea of seeing the aurora felt like the ultimate pilgrimage. My chosen destination for this quest? Iceland. Its dramatic volcanic landscapes, glaciers, and remote, light-pollution-free skies made it an irresistible magnet.
I booked a flight for late September, hoping to catch the tail end of the mild weather before the deep winter set in, but still within the optimal aurora season. My plan was simple: rent a car, chase forecasts, and immerse myself in the raw beauty of the Snaefellsnes Peninsula and the South Coast.
The first few nights were a bust – thick clouds, rain, and nothing but darkness. Doubt began to creep in. Had I come all this way for nothing? But then, on my fourth night, near the black sand beaches of Reynisfjara, the sky began to clear. A faint green arch appeared, barely visible to the naked eye, but unmistakable through my camera's long exposure. My heart hammered against my ribs. This was it.
As the minutes stretched into an hour, the arch intensified, morphing into vibrant curtains that pulsed and swayed above the crashing waves. It wasn't just a static display; it was alive, a cosmic dancer putting on a show just for me (and the handful of other bundled-up travelers who had braved the cold). It was humbling, exhilarating, and utterly unforgettable. That night, I didn't just take photos; I felt a profound connection to the universe, a feeling that reshaped my entire approach to photography and life itself. It was more than a bucket list item; it was a spiritual awakening.
2. Gear Up Like a Pro: Essential Kit for Aurora Chasers
Capturing the aurora isn’t like snapping a selfie. It requires specific gear, and crucially, the right gear. Don't worry, you don't need to break the bank for professional equipment, but a few key items are non-negotiable.
- Camera Body: You need a camera that performs well in low light, which generally means a DSLR or a mirrorless camera with a full-frame or APS-C sensor. My trusty Sony a7III was my companion, but cameras like the Nikon D750, Canon 5D Mark IV, or even newer entry-level mirrorless cameras like the Sony a6400 or Canon EOS R10 can do a fantastic job. The key is manual control.
- Pro Tip: Make sure your camera has a good battery life in cold conditions. Bring at least 2-3 spare batteries and keep them warm (e.g., in an inside pocket) until needed. Cold drains batteries fast.
- Wide-Angle Lens with a Fast Aperture: This is arguably the most critical piece of equipment.
- Wide-angle (14mm-24mm for full-frame, 10mm-16mm for APS-C): You want to capture as much of the sky as possible, especially when the aurora is dancing directly overhead. My Samyang 14mm f/2.8 was perfect – incredibly wide and surprisingly sharp for its price point (around $400-600).
- Fast Aperture (f/2.8 or wider): The "fast" refers to how much light the lens lets in. An f/2.8, f/2.0, or even f/1.4 lens is crucial for gathering enough light in the dim aurora conditions without pushing your ISO too high and introducing excessive noise. Lenses like the Sigma 14-24mm f/2.8 Art or Tamron 17-28mm f/2.8 are popular choices, though they come with a higher price tag ($800-$1300+).
- Why it matters: A fast, wide lens allows you to use shorter shutter speeds, which is important if the aurora is moving quickly, and keeps your ISO lower, resulting in cleaner images.
- Sturdy Tripod: Non-negotiable! You'll be taking long exposures (seconds, not fractions of a second), so any camera movement will result in blurry images. Invest in a stable, sturdy tripod that can withstand wind. My Manfrotto Befree Advanced was a great balance of portability and stability. Expect to pay $100-$300 for a decent one.
- Remote Shutter Release (or 2-second timer): Touching your camera to press the shutter can introduce camera shake. A remote release (wired or wireless) eliminates this. If you don't have one, use your camera's 2-second self-timer.
- Headlamp with Red Light Mode: You need to see what you're doing, but white light can ruin your night vision (and others' photos!). A red light preserves your night vision and is less intrusive. I picked up a Petzl headlamp for about $30.
- Warm Clothing, and Lots of It: This isn't photography advice, but survival advice! You'll be standing still in sub-zero temperatures for extended periods. Thermal base layers (Uniqlo Heattech is a lifesaver!), fleece mid-layers, an Arctic-grade parka, waterproof outer shell, insulated gloves (fingerless ones for camera control, with mittens over them), a warm hat, and insulated boots are essential. I layered up so much I looked like the Michelin Man, but I was warm!
3. Mastering the Settings: Your Aurora Photography Cheat Sheet
This is where the magic happens. Don't be intimidated; these settings are a starting point, and you'll adjust them based on the aurora's intensity and movement.
- Shoot in Manual Mode (M): Full control is key.
- RAW Format: Always shoot in RAW. This gives you maximum flexibility for post-processing and recovering details in shadows and highlights.
- Aperture (f-stop): Set your lens to its widest aperture (smallest f-number). For my Samyang, this was f/2.8. If you have an f/1.8 or f/1.4 lens, use that! This maximizes the light hitting your sensor.
- ISO: Start around ISO 1600-3200. This balances light sensitivity with image noise. If the aurora is faint, you might go up to ISO 6400. If it's incredibly bright, you might drop to ISO 800-1000. Each camera handles high ISO differently, so experiment with yours before you go.
- Shutter Speed: This is the variable you'll adjust the most.
- Faint, slow-moving aurora: Start with 15-25 seconds.
- Bright, fast-moving aurora: Reduce to 5-10 seconds to capture the distinct shapes and movements without blurring.
- My experience: During the epic display, I found myself constantly adjusting between 8 and 15 seconds to freeze the rapidly dancing curtains while still getting enough light.
- Focus: This is crucial. In the dark, your autofocus won't work.
- Manual Focus to Infinity: Before it gets completely dark, focus on a distant object (like a mountain or the moon) and then switch your lens to manual focus. Better yet, use your camera's Live View, zoom in 10x on a bright star, and manually adjust your focus ring until the star is as small and sharp as possible. Mark this spot on your lens with a piece of tape if you can!
- Personal mishap: One night, I forgot to check my focus after bumping my lens, and a whole sequence of incredible aurora shots came out slightly soft. Learn from my mistake!
- White Balance: Set to "Daylight" or "Kelvin" (around 3500K-4500K). Auto white balance can be inconsistent in the dark. You can always adjust this in post-processing if you shoot RAW.
- Image Stabilization: Turn off any in-camera or in-lens image stabilization (VR/OS/IS) when on a tripod. It can sometimes introduce blur when not needed.
4. Hunting the Aurora: Location, Forecasts, and Patience
Finding the aurora is half the battle, and it requires planning, flexibility, and a healthy dose of patience.
- Best Locations:
- Iceland: My personal favorite. Easy to self-drive, stunning foregrounds, relatively accessible. Expect tours from Reykjavik to cost €70-€150. Car rental is around €40-€80/day.
- Norway (Tromsø, Lofoten Islands): Incredible fjords and coastal scenery. Tromsø is a popular hub with many tour operators. Flights to Tromsø can be pricey, but local tours start from €100.
- Finland (Lapland, Rovaniemi, Levi): Think snowy forests, glass igloos, and Santa Claus. Very magical.
- Sweden (Abisko): Known for its "Blue Hole" which often remains clear even when surrounding areas are cloudy.
- Canada (Yellowknife, Yukon): Often boasts very strong aurora displays due to its proximity to the magnetic pole.
- Alaska (Fairbanks): Another excellent North American option.
- Pro Tip: Aim for locations within the "aurora oval" – a band around the magnetic poles where displays are most frequent.
- Best Time of Year: September to March offers the darkest skies. The equinoxes (late September and late March) are often cited as prime times due to solar wind conditions. I went in late September, and it was perfect.
- Aurora Forecasts & Apps: Become a meteorologist!
- KP Index: This measures geomagnetic activity on a scale of 0-9. You generally need a KP of 3 or higher for good visibility at lower latitudes (like southern Iceland). Higher KP means more intense and widespread aurora.
- Cloud Cover Forecasts: Crucial! You need clear skies. Use local weather apps (e.g., Vedur.is for Iceland) and dedicated aurora apps.
- My Go-To Apps:
- My Aurora Forecast & Alerts (iOS/Android): Provides KP index, probability, and cloud cover maps.
- Aurora Forecast (iOS/Android): Another solid option for real-time data.
- Local Weather Apps: Always cross-reference with local weather for precise cloud cover.
- My Strategy: I'd check the KP index daily, then overlay that with cloud cover maps. I’d drive towards areas with clear skies, sometimes hundreds of kilometers, based on these forecasts. One night, I drove 3 hours east of Reykjavik because it was the only clear patch – and it paid off with an incredible show over a frozen lagoon.
- Patience is a Virtue: Sometimes you wait hours in freezing conditions for nothing. Sometimes it appears for 10 minutes and disappears. The aurora is fickle. Don't get discouraged. My most epic night involved waiting nearly three hours in the pitch black, huddled in my car, before the sky finally ignited. It’s part of the adventure!
5. Beyond the Settings: Composition and Storytelling
Getting the technical settings right is just the first step. To create truly memorable images, you need to think about composition and how to tell a story.
- Include a Foreground: An empty sky, no matter how vibrant, can feel flat. Look for interesting foreground elements:
- Mountains/Hills: Frame the aurora.
- Lakes/Rivers/Ice: Reflections can double the impact of the lights. I got some incredible shots with the aurora reflecting in a glassy, still lagoon.
- Unique Structures: Churches, lighthouses, cabins, or even a lone tree.
- Yourself (or a friend): A silhouetted figure gazing up at the lights adds a human element, conveying scale and wonder. I often set my camera up, hit the timer, and ran into the frame to stand in awe.
- Leading Lines: Use roads, fences, or natural formations to draw the viewer's eye towards the aurora.
- Rule of Thirds: Position the horizon on one of the horizontal lines, and the aurora's focal point on an intersection.
- Balance: Ensure your composition feels balanced. If the aurora is strong on one side, perhaps a subtle foreground element on the other can balance it out.
- Capture Movement: If the aurora is dancing wildly, slightly shorter shutter speeds (5-10 seconds) will help "freeze" its specific shapes. For a more ethereal, flowing look, longer exposures (15-20 seconds) can work when the aurora is calmer.
- My Favorite Shot: It wasn't the brightest aurora, but it was the one where I managed to frame the green arc perfectly over a small, snow-covered church, its single window glowing faintly. It told a story of isolation, peace, and natural wonder, far more than just a sky full of light.
6. Post-Processing Magic: Bringing Your Aurora to Life
RAW files are like undeveloped negatives; they need a little love in post-processing to truly shine. The goal isn't to create something fake, but to enhance what was already there and bring out the details your camera captured. I primarily use Adobe Lightroom Classic.
- Basic Adjustments:
- Exposure: Adjust slightly if the image is too dark or bright.
- Contrast: Add a touch to make the lights pop against the dark sky.
- Highlights & Shadows: Recover detail in bright aurora areas and lift shadows in the foreground.
- White Balance: Fine-tune the color temperature to make the greens and purples look natural. Sometimes, a cooler temperature (bluer) enhances the green.
- Clarity & Dehaze: A small boost can add definition to the aurora.
- Color Grading: Enhance the specific hues of the aurora. Use the HSL (Hue, Saturation, Luminance) panel to selectively boost the greens, blues, and purples without affecting other colors too much.
- Noise Reduction: High ISO shots will inevitably have some noise. Apply luminance noise reduction sparingly. Too much can make the image look plasticky.
- Sharpening: Add a touch of sharpening, especially to the foreground elements.
- My Workflow: I always start by correcting the lens profile (Lightroom does this automatically for many lenses). Then I adjust exposure, contrast, and white balance. Next, I fine-tune colors using HSL and then apply a small amount of noise reduction and sharpening. The key is subtlety – you want the aurora to look real, not over-processed.
7. The Unforgettable Moment: My Life-Changing Shot & What It Taught Me
There was one particular photograph from that trip that stands out, not just for its technical quality, but for the profound moment it represented. It was taken on that epic night near Reynisfjara, after hours of patient waiting. The aurora was at its peak, a swirling vortex of emerald and violet directly above me. I had framed it with the jagged basalt columns of the black sand beach in the foreground, their dark silhouettes providing a powerful contrast to the celestial fire.
The shutter clicked, the 12-second exposure completing its cycle, and when the image appeared on my camera's LCD screen, I gasped. It wasn't just a good photo; it was the photo. It captured the raw power, the breathtaking beauty, and the sheer impossibility of what I was witnessing. It was a shot that, for me, transcended pixels and truly embodied the "life-changing" nature of the experience.
That trip, that night, and that photograph taught me more than just how to use a camera in the dark. It taught me about perseverance in the face of uncertainty, the immense power and fragility of nature, and the importance of truly being present in a moment, even when you're focused on capturing it. It solidified my belief that travel is not just about seeing new places, but about discovering new parts of yourself. It ignited a deeper passion for astrophotography and pushed me to explore more remote, wild landscapes. My blog posts since then have carried a deeper sense of purpose, a stronger connection to the stories behind the visuals.
Ready to Chase the Lights?
Photographing the Northern Lights is an adventure unlike any other. It’s challenging, often cold, and requires a good dose of luck, but the reward is immeasurable. It’s a chance to connect with the cosmos, to witness a spectacle that has inspired humanity for millennia, and to capture a piece of that magic for yourself.
Don't just dream about it; plan it. Arm yourself with the right gear, learn the settings, chase the forecasts, and most importantly, prepare to be utterly, completely awestruck. And when you finally see those lights dance, remember to put your camera down for a moment, just for a moment, and simply experience it. Because some memories are meant to be felt with your heart, not just captured with your lens.
Have you chased the aurora? What was your most unforgettable Northern Lights moment? Share your stories and photos with me in the comments below or tag Tripsora on social media – I'd love to see your magic!