Hola, fellow food adventurers and visual storytellers!
Remember that time in Hoi An, Vietnam, trying to capture the vibrant hues of a freshly made Banh Mi, but it just looked... flat? Or the incredible, glistening gelato in Rome that just didn't pop on screen, no matter how many filters you slapped on it? I've been there. For years, my travel photos of food were, let's just say, "edible" but not quite "enviable." They served as a memory, sure, but they certainly didn't stop anyone's scroll or spark a craving.
Then, a few pivotal moments – a chance encounter with a food stylist in Bangkok, an intensive online workshop during a rainy season layover in Chiang Mai, and countless hours of trial and error in dimly lit Parisian bistros and bustling Tokyo ramen shops – changed everything. I dove deep into the world of professional food photography, not with fancy DSLRs and studio lights, but with the very tools most of us carry: our smartphones and a keen eye.
Now, my camera roll is a gallery of culinary art, often sparking conversations, inspiring travel plans, and yes, sometimes even going viral. And guess what? You can do it too. You don't need expensive gear or a degree in photography. You just need to understand a few fundamental principles, embrace some trending techniques, and approach your food with the same passion you bring to eating it. Let's dig in and turn your next meal into a masterpiece!
The Golden Hour (and Beyond): Mastering the Art of Light
Light is to photography what flavor is to food – absolutely essential. And when it comes to food, natural light is your best friend. Forget harsh overhead restaurant lights or, heaven forbid, your camera's built-in flash. These are the enemies of delicious-looking food.
Practical Tips for Luminous Shots:
- Seek the Window: Always, always, always try to sit near a window. The soft, diffused light from a window is magic. Position your food between the window and your camera for beautiful side lighting, which creates depth and texture. For a more dramatic, ethereal glow, try backlighting – placing the food between the window and yourself. This works wonders for drinks, translucent dishes, or anything with steam.
- Avoid Direct Sunlight: Just like you wouldn't want to squint in your own portrait, your food doesn't want to be blasted by direct, harsh sunlight. It creates unflattering shadows and blown-out highlights. If you're outdoors, look for open shade or wait for a cloudy day.
- The Power of Reflectors: Don't have a fancy reflector? No problem! A white napkin, a menu, or even a friend's white t-shirt can bounce light back into the shadows, brightening up your dish and making it pop. I once used a white plastic bag from a street vendor in Mexico City to perfectly illuminate a taco spread, and it worked like a charm!
- Embrace the Low Light (Carefully): Some of the most atmospheric dining experiences happen in dimly lit spaces. While challenging, it's not impossible. Increase your phone's ISO (if your camera app allows) or rely on a steady hand and a longer exposure. You can even discreetly use a friend's phone flashlight, held at an angle, as a subtle fill light. Just be mindful not to disturb other diners. My most shared photo from a cozy tapas bar in Seville was taken with minimal light, focusing on the warm glow of a single candle reflecting off a glass of Rioja. It wasn't perfectly bright, but it oozed ambiance.
Composition is Key: Framing Your Feast for the Eyes
A beautifully lit dish can still fall flat if its composition is uninspired. Think of your frame as a canvas – how do you want to arrange your culinary art? Trending food photography often plays with different angles and arrangements to tell a story.
Actionable Advice for Striking Compositions:
- The Rule of Thirds: Imagine your frame divided into nine equal sections by two horizontal and two vertical lines. Place your main subject (the food!) at the intersections of these lines, or along the lines themselves, rather than smack-dab in the center. This creates a more dynamic and pleasing image.
- Angles, Angles, Angles:
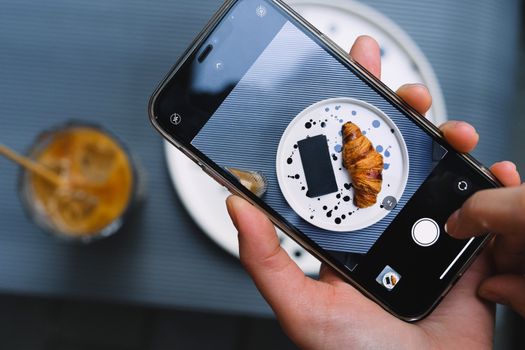
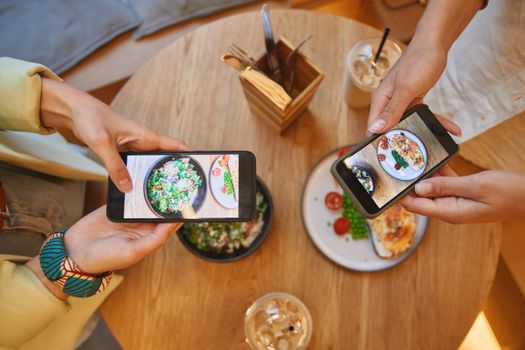
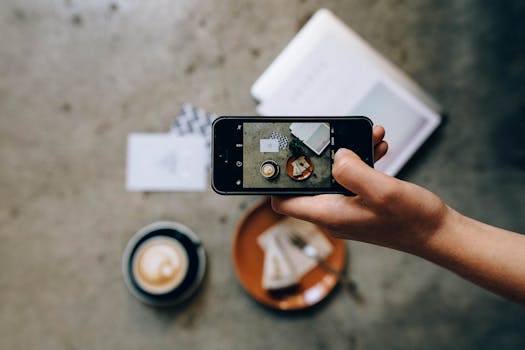
- The Overhead Shot (Flat Lay): This is a huge trend, especially on Instagram. Perfect for a table full of dishes, a beautifully arranged breakfast spread, or intricate desserts. Stand directly above the food, ensuring your phone is parallel to the table to avoid distortion. This angle allows you to showcase the entire setup, including props.
- The 45-Degree Angle: This is your go-to, classic food shot. It mimics how you'd see the food sitting at a table and provides a natural perspective, showing both the top and sides of the dish. Great for burgers, pasta, or anything with height.
- The Straight-On Shot (Eye-Level): Best for dishes with impressive height or layers, like a towering cake, a stack of pancakes, or a perfectly crafted cocktail. This angle emphasizes texture and detail.
- Negative Space & Cropping: Don't be afraid to leave some empty space around your food. This "negative space" can highlight your subject and give the image a clean, minimalist feel – very trendy right now. Conversely, sometimes a tight crop, focusing intensely on a specific texture or ingredient, can be incredibly powerful.
- Leading Lines & Depth: Use elements like cutlery, table edges, or even the lines of a plate to draw the viewer's eye towards your main subject. Creating depth by having elements slightly out of focus in the foreground or background (bokeh) also adds a professional touch. I once captured a bowl of ramen in Tokyo with the chopsticks leading the eye directly to the perfectly soft-boiled egg – simple, yet effective.
Styling Secrets: Making Food Insta-Worthy (Naturally)
Food styling isn't just for magazine shoots; it's about making your dish look its absolute best, authentically. A little tweak here and there can transform an average photo into a mouth-watering masterpiece. The key is to enhance, not fabricate.
Tips for Effortless Food Styling:
- The Art of the Garnish: Don't underestimate the power of fresh herbs, a sprinkle of sea salt, a drizzle of olive oil, a wedge of lime, or a dusting of powdered sugar. These small touches add color, texture, and visual interest. In Sicily, a simple pasta dish became infinitely more appealing with a scattering of fresh basil and a grating of Parmesan.
- Props with Purpose: Think about what complements your food and tells a story. A rustic wooden table, a colorful napkin, a vintage fork, a cup of coffee in the background – these elements add context and warmth. However, don't overcrowd the frame. Less is often more. I love incorporating a local newspaper or a map into my shots to instantly convey the travel vibe, like with a croissant on a Parisian cafe table.
- The "Action Shot" Trend: This is huge right now for engagement! Capture the moment: a fork twirling pasta, a knife cutting into a steak, a hand reaching for a piece of bread, steam rising from a hot bowl, a pour shot of coffee or sauce. These dynamic shots bring food to life and make viewers feel like they're part of the experience. My most viral photo of a pizza in Naples wasn't a static shot, but a friend's hand pulling a cheesy slice, creating that irresistible stretch.
- Keep it Real: While styling, remember you're photographing food that's meant to be eaten. Avoid excessive manipulation. The goal is to make it look delicious and inviting, not artificial. Sometimes, the most beautiful food photos are slightly imperfect, showing the natural textures and colors.
The Mobile Marvel: Pro Tips for Smartphone Food Photography
Let's be real: most of us are whipping out our phones, not our DSLRs, when that incredible dish arrives. Good news – modern smartphones are incredibly capable. With a few tricks, your iPhone or Android can rival professional cameras for social media content.
Hacks for Your Handheld Device:
- Clean Your Lens! This sounds obvious, but it's the most overlooked tip. Your phone lives in your pocket, bag, and hands, accumulating smudges. A quick wipe with a microfiber cloth (or even the corner of a clean t-shirt) can dramatically improve clarity and sharpness.
- Tap to Focus & Adjust Exposure: Don't just point and shoot. Tap on the screen where your food is to ensure it's in sharp focus. Once you've tapped, a sun or lightbulb icon usually appears. Drag it up or down to adjust the brightness (exposure). This gives you instant control over how light or dark your photo appears.
- Portrait Mode for Bokeh: If your phone has a Portrait Mode, use it! It creates that beautiful blurred background (bokeh) that makes your food stand out, mimicking the shallow depth of field of professional lenses. It’s perfect for isolating a single dish or drink.
- Burst Mode for Action: For those trending action shots (stirring, pouring, lifting), use burst mode. Hold down the shutter button, and your phone will take a rapid series of photos. You can then pick the perfect moment later.
- External Lenses (Optional but Fun): If you're serious about phone photography, consider investing in a clip-on macro lens for incredible close-up detail of ingredients, or a wide-angle lens for expansive flat lays. They're affordable and can add a new dimension to your shots.
- Stable Hands: Even a slight shake can blur your photo, especially in lower light. Brace your elbows against your body or the table, or use a mini-tripod if you have one.
The Post-Processing Power-Up: Editing for Impact
Editing isn't about transforming a bad photo into a good one; it's about enhancing a good photo to make it great. It's where you refine your vision and bring out the best in your culinary capture. Consistency in editing can also help define your unique visual style.
Essential Editing Steps & Apps:
- Start with the Basics:
- Crop and Straighten: Ensure your horizons are level and crop out any distracting elements.
- White Balance: This is crucial. Adjust the white balance to ensure whites look white, not yellow or blue. This corrects the color temperature and makes food look more natural and appetizing.
- Exposure & Contrast: Adjust overall brightness and the difference between light and dark areas. Be careful not to overdo it, or your food will look artificial.
- Enhance Details:
- Highlights & Shadows: Recover detail in overexposed bright areas and underexposed dark areas.
- Saturation & Vibrance: Boost colors, but again, subtly. Vibrance is often better than saturation as it increases less intense colors without overdoing already vibrant ones.
- Sharpening & Clarity: Add a touch of sharpness to make textures pop, and clarity to define edges without making it look grainy.
- Dehaze: Can remove a slight foggy look, making your food look crisp.
- Selective Adjustments: Many apps allow you to brighten specific areas (e.g., a garnish) or selectively desaturate distracting background elements. This is a pro-level technique that can make a huge difference.
- My Go-To Apps:
- Lightroom Mobile: Incredibly powerful, offering desktop-level controls. Syncs with desktop Lightroom if you have it.
- Snapseed: Google's free app is intuitive and packed with features, including selective adjustments and healing tools.
- VSCO: Known for its beautiful filters (presets) that can give your photos a consistent aesthetic.
- Facetune (for subtle tweaks): Yes, it's not just for selfies! You can use it to subtly brighten specific elements, smooth out a messy sauce spill, or add a touch of detail.
- Anecdote: I once took a photo of a vibrant paella in Valencia that looked a bit dull due to overcast lighting. With a few tweaks in Lightroom Mobile – adjusting white balance, boosting shadows, and a slight increase in vibrance – the saffron rice and fresh seafood truly came alive, making it one of my most liked posts.
Trending Techniques & Viral Vibes: Go Beyond the Still Shot
The world of food content is constantly evolving. To stand out and truly make your food photos "trending," you need to think beyond the static image and embrace new ways of storytelling.
What's Hot Right Now:
- The "Human Element": As mentioned with action shots, involving hands (yours or a friend's) holding food, stirring a drink, or reaching for a bite makes the photo incredibly relatable and inviting. It tells a story of enjoyment and experience. A hand holding a vibrant smoothie bowl against a Bali backdrop instantly transports viewers.
- Storytelling Through Food: It’s not just about the dish, but the experience around it. Capture the bustling market where the ingredients were bought, the chef meticulously plating, the ambiance of the restaurant, or even the joyful faces of your dining companions. This creates a richer, more immersive narrative.
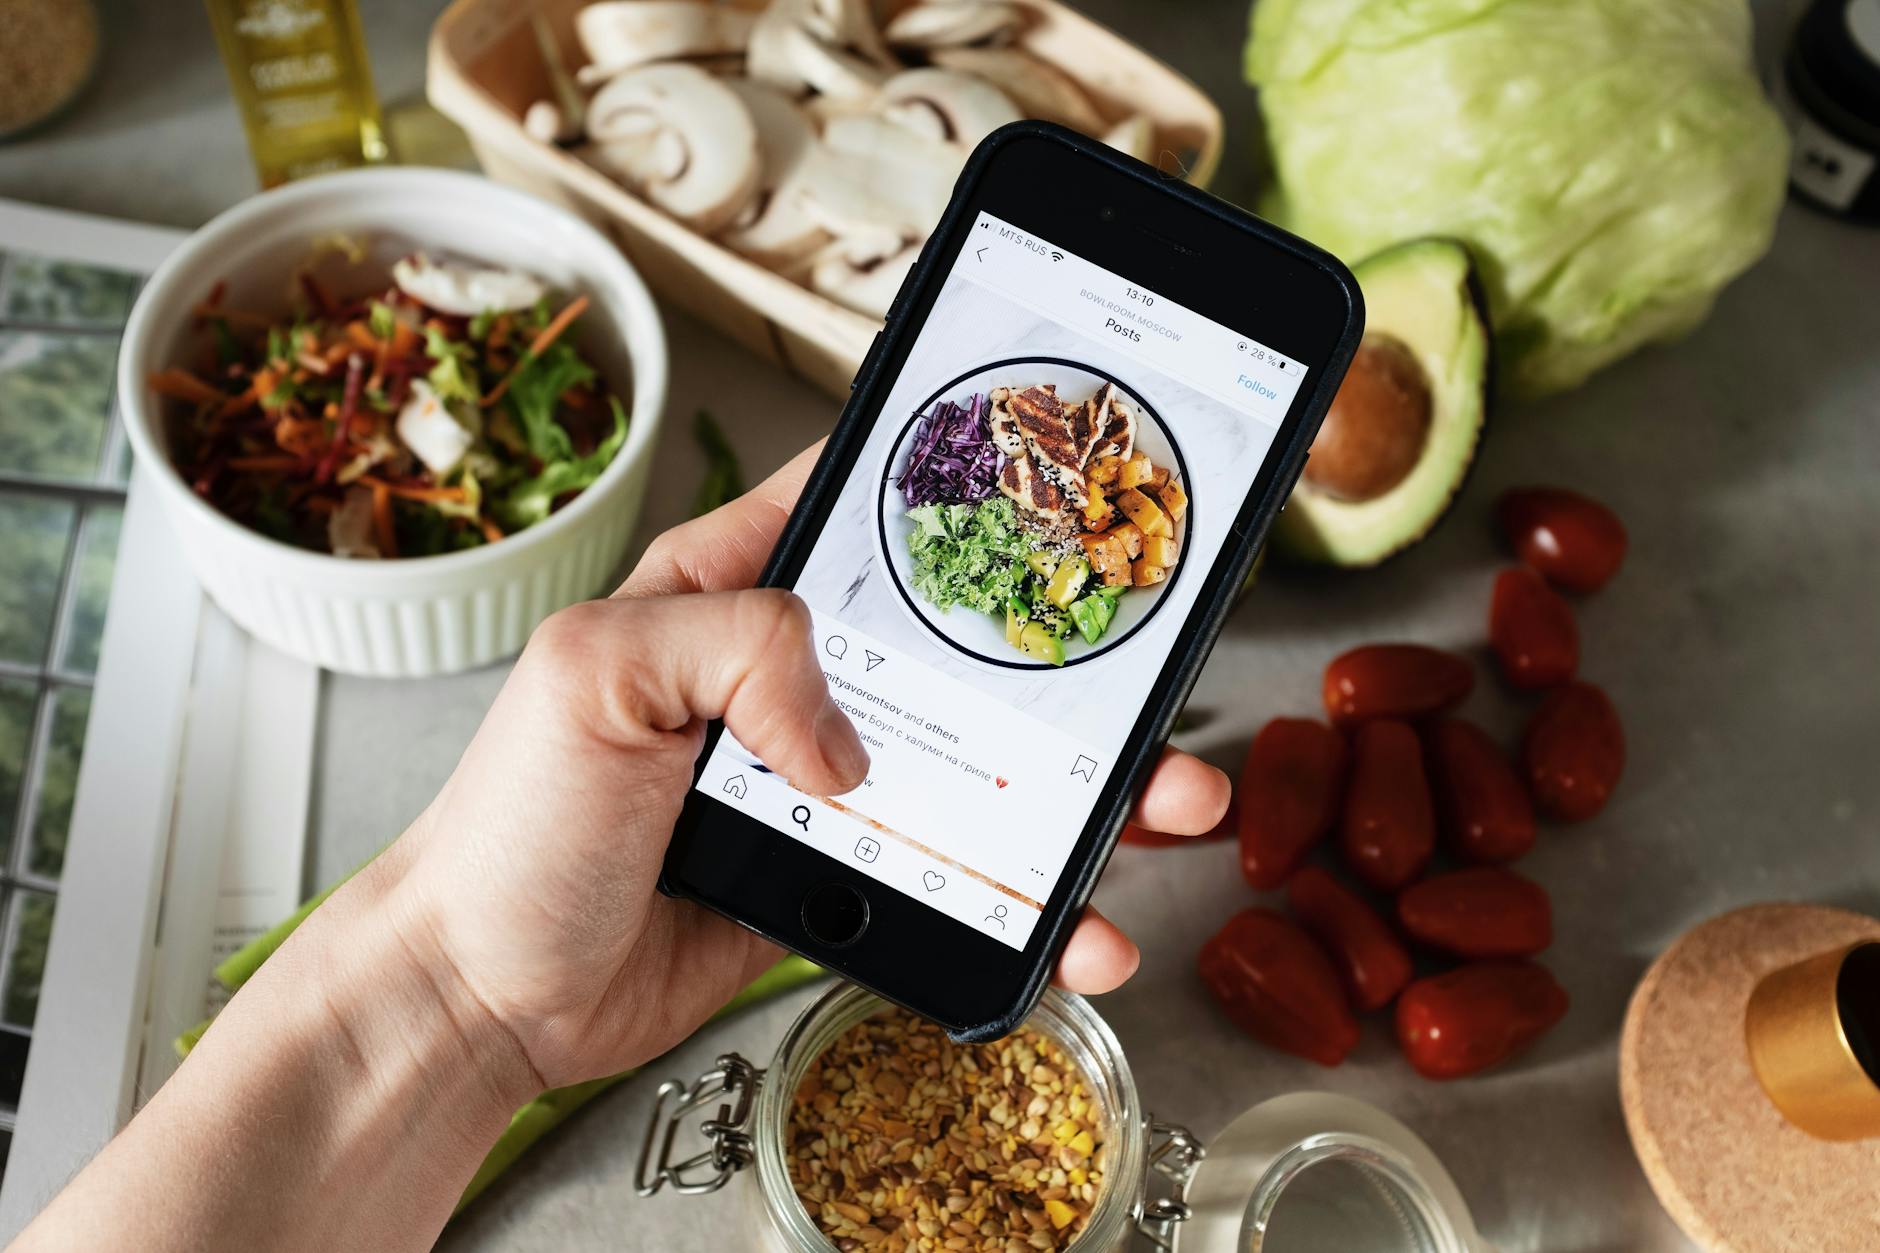
- "Deconstructed" or Ingredient Shots: Sometimes, showcasing the individual, beautiful ingredients before they're cooked can be incredibly appealing. Think colorful spices laid out, fresh produce artfully arranged, or a close-up of a unique local ingredient from a market in Marrakech.
- Subtle Motion Blur: For dynamic shots, a slight, intentional motion blur can add energy. Imagine a whisk blurring as it stirs a batter, or a chef's hand moving slightly as they sprinkle a garnish. This often requires a slightly slower shutter speed, which some advanced phone camera apps allow.
- Reels & Short Videos: This is perhaps the biggest trend right now. Still photos are great, but quick, engaging video clips are king for viral potential.
- "POV" shots: Point of view, like you're holding the food and taking a bite.
- "Process" videos: Quick cuts showing a dish being prepared, plated, and then eaten.
- "Sound On" moments: Capture the sizzle, the crunch, the pour.
- Before & After: Show the raw ingredients then the finished dish.
- Keep them short, punchy, and use trending audio. A 15-second reel of making pasta from scratch in Italy, from flour to fork, will get far more engagement than a single photo.
Ethical Food Photography & Restaurant Etiquette
As travel bloggers and food enthusiasts, we have a responsibility to be respectful. While chasing that perfect shot, remember you're often in someone else's space, enjoying a meal with others.
Be a Mindful Food Photographer:
- Be Quick and Discreet: Don't let your photography overshadow the dining experience for yourself or others. Snap your shots quickly and efficiently.
- Minimize Disruption: Avoid moving furniture, using loud flashes, or blocking aisles. If you need to move a plate slightly, do so gently.
- Ask Permission (When in Doubt): If you're in a very quiet, upscale restaurant, or if you plan to use a flash or extra equipment, it's always polite to ask the staff if it's okay. Most places are happy to accommodate, especially if you plan to tag them.
- Support the Business: Always tag the restaurant, cafe, or food stall in your posts. It’s a great way to thank them and help other foodies discover their delicious offerings.
- Prioritize the Food: Remember, the food is meant to be eaten. Don't let it get cold while you're meticulously arranging every crumb. Get your hero shots, then enjoy your meal!
The Journey Continues...
From that frustrating Banh Mi shot in Hoi An to capturing the glistening perfection of a Michelin-starred dish in San Sebastian, my food photography journey has been a delicious learning curve. What I've learned is that the most captivating food photos aren't just about technical perfection; they're about telling a story, evoking emotion, and making people feel like they're right there with you, about to take that first glorious bite.
You now have the tools and insights to transform your travel food photos from simple snapshots into trending, drool-worthy content. Experiment with light, play with composition, style with intention, master your mobile device, and embrace the power of editing and video. Most importantly, practice, have fun, and let your passion for food shine through every pixel.
Now, go forth and make your next meal an Instagram sensation! What's the most challenging dish you've tried to photograph, and what's your go-to food photography hack? Share your best food photos with #TripsoraFoodie and tag us on social media – we can't wait to see your culinary masterpieces! And don't forget to bookmark this guide for your next foodie adventure!