From Snap to Sensation: Master Trending Food Photography Like a Pro!
I still remember my first "food photo." It was a plate of Pad See Ew at a bustling night market in Bangkok, bathed in the harsh, yellow glow of a fluorescent bulb. The noodles looked greasy, the vegetables dull, and the whole scene was a blurry testament to my excitement and absolute lack of photographic skill. I posted it anyway, proud of my culinary adventure, but secretly wishing it looked as vibrant as it tasted. Fast forward a few years, countless meals, and a whole lot of trial and error (and maybe a few online courses), and my food photos now regularly get shared, saved, and even picked up by local restaurants.
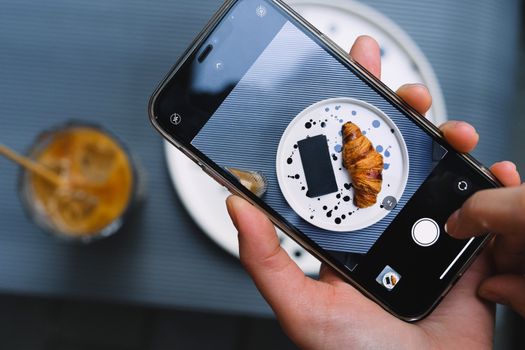
The journey from that blurry Pad See Ew to a perfectly lit, artfully composed shot of a croissant in a Parisian boulangerie wasn't about expensive gear. It was about understanding light, composition, styling, and most importantly, the story I wanted to tell. In today's visual-first world, a great food photo isn't just a picture; it's an invitation, a memory, a craving. And with new trends constantly emerging, keeping your visual game strong is key to standing out.
So, whether you're a seasoned traveler documenting your culinary escapades, an aspiring food blogger, or just someone who wants to make their dinner look as good as it tastes, you're in the right place. I’m going to share my hard-won secrets, practical tips, and the current trends that will elevate your food photography from a simple snap to a viral sensation. Get ready to make your followers hungry!
1. The Golden Rule of Glow: Mastering Natural Light
If there's one secret sauce to stunning food photography, it's natural light. Forget fancy studio setups; the sun is your best friend. But not all sunlight is created equal.
My "Aha!" Moment in Rome:
I was in a tiny trattoria in Trastevere, attempting to photograph a gorgeous cacio e pepe. The overhead lights were casting ugly shadows, and my photos looked flat. Then, I noticed a small table by a window, bathed in soft, diffused light. I asked to move, and bam! The cheese glowed, the pepper sparkled, and the texture of the pasta popped. It was a revelation.
Here’s how to harness natural light:
- Window Light is Your Best Friend: Always seek out a window. It provides soft, directional light that brings out textures and colors without harsh shadows. Position your food between you and the window (backlighting) or with the window to the side (sidelighting) for dramatic effect.
- Avoid Direct Sunlight: Harsh, direct sun creates blown-out highlights and deep, unflattering shadows. If you're outdoors, look for open shade or wait for a cloudy day.
- Turn Off Overhead Lights: In restaurants, overhead lights often have an unpleasant yellow or green cast that ruins your white balance and creates unflattering hot spots. Politely ask if they can be dimmed or turned off at your table, or simply move away from them.
- DIY Diffusers & Reflectors:
- Diffuser: A thin white napkin, a piece of parchment paper, or even a white shirt can diffuse harsh window light, making it softer and more even.
- Reflector: A white menu, a piece of white cardstock, or even your phone's screen can bounce light back into the shadowed areas of your dish, brightening them up. I always carry a small foldable reflector in my bag – it’s a game-changer!
- The "Golden Hour" for Food: Just like landscape photography, the hour after sunrise and before sunset offers beautiful, warm light for food. If you're shooting breakfast or an early dinner, seize this magical time.
Trending Tip:
The current aesthetic leans heavily into bright, airy, and naturally lit scenes. Think "sun-drenched brunch" vibes. Overly dark or dramatically lit photos are still in, but often reserved for specific moody dishes like rich stews or dark chocolates.
2. The Art of the Angle: Composing Your Culinary Masterpiece
Once you have great light, composition is what turns a snapshot into art. It's about guiding the viewer's eye and creating visual interest.
My Lesson in Lisbon:
I was struggling to capture the beauty of a pastel de nata. Every shot felt flat. A local photographer, noticing my plight, simply rotated my plate, moved a coffee cup, and shot from a slightly higher angle. The result? A vibrant, dynamic image that highlighted the flaky crust and creamy custard. Small changes, huge impact.
Key Composition Techniques:
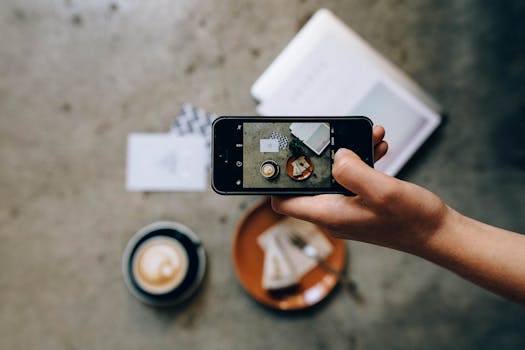
- The Flat Lay (Overhead Shot): A timeless classic, especially popular for brunch spreads, charcuterie boards, or anything with multiple components. Shoot directly from above, ensuring all elements are in focus.
- Pro Tip: Get high! Stand on a chair (if safe and polite), or use a wider lens to capture more of the scene.
- The 45-Degree Angle (Diner's Perspective): This is how you typically see your food. It’s natural, inviting, and great for dishes with some height (think burgers, pasta bowls, layered cakes). It gives a sense of depth and allows you to capture background elements.
- The Close-Up (Macro Shot): Focus on textures, details, and ingredients. The glistening sauce, the perfect crust, the sprinkle of herbs. This angle creates intimacy and makes the viewer almost taste the food. Modern smartphones with macro capabilities make this easier than ever.
- Rule of Thirds: Imagine a tic-tac-toe grid over your image. Place your main subject or points of interest along these lines or at their intersections for a more balanced and dynamic shot.
- Leading Lines: Use cutlery, table edges, or even the arrangement of food to draw the viewer's eye towards your main subject.
- Negative Space: Don't feel the need to fill the entire frame. Empty space around your subject can make it stand out and create a sense of calm and elegance.
- Depth of Field (Bokeh): If your camera allows, use a wide aperture (low f-number) to blur the background, making your food pop. Many smartphones now offer "Portrait Mode" or similar features to mimic this effect.
Trending Tip:
Asymmetry and "controlled chaos" are in. Don't be afraid to break strict rules. A slightly off-center subject, a dynamic arrangement of props, or a "messy chic" aesthetic can feel more authentic and engaging. Also, don't just shoot the finished dish – a shot of a hand reaching for a piece, or a fork mid-air, adds movement and life.
3. Styling Your Story: Beyond Just the Plate
This is where your food photo truly comes alive and tells a story. It’s not just about the dish; it’s about the experience, the mood, and the context.
My Cafe Culture Obsession in Melbourne:
Melbourne's cafe scene taught me everything about styling. It wasn't just the coffee; it was the latte art, the vintage spoon, the artfully placed pastry, the textured table, the sun streaming in. Each element contributed to a cohesive, inviting narrative.
Elements of Stellar Food Styling:
- Props with Purpose:
- Cutlery & Napkins: Choose simple, elegant pieces that complement, not distract. Linen napkins add texture.
- Drinks: A beautifully poured coffee, a glass of wine, or a vibrant cocktail adds color and context.
- Ingredients: A few fresh herbs, a sprinkle of spices, a lemon wedge, or whole ingredients used in the dish can elevate the shot.
- Hands: A human element can make a photo incredibly relatable and inviting. A hand reaching for a fork, holding a cup, or even just in the background adds a personal touch.
- Cookbooks/Magazines: For a cozy, at-home vibe.
- Backgrounds & Surfaces:
- Simple is Best: A clean wooden table, a textured wall, a plain tablecloth, or a marble slab allows your food to be the star.
- Avoid Clutter: Remove distracting items like salt shakers, sugar packets, or messy condiments unless they are part of your intentional styling.
- Texture: A rustic wooden board, a crumpled linen napkin, or a patterned tile can add visual interest without overpowering the food.
- Color Palette: Consider how the colors in your dish and props interact.
- Complementary Colors: Colors opposite each other on the color wheel (e.g., red and green) create vibrancy.
- Analogous Colors: Colors next to each other (e.g., yellow, orange, red) create harmony.
- Monochromatic: Different shades of the same color for a sophisticated look.
- Tell a Story: What's the narrative? Is it a cozy breakfast in bed? A vibrant street food adventure? A celebratory dinner? Style your scene to evoke that feeling.
Trending Tip:
"Messy chic" is huge right now. Think crumbs around a croissant, a slight drizzle of sauce, a few artfully scattered herbs. It feels authentic and less staged. Also, deconstructed dishes (ingredients artfully arranged around the main dish) and shots highlighting the process of eating (a fork diving in, a cheese pull) are extremely popular for their dynamic appeal.
4. Gear Up (But Don't Break the Bank): Your Essential Kit
The biggest misconception about pro food photography is that you need an expensive DSLR. While they offer more control, modern smartphones are incredibly capable.
My Smartphone Journey in Vietnam:
I spent a month backpacking through Vietnam with just my iPhone. I captured everything from vibrant pho bowls in Hanoi to fresh spring rolls in Hoi An. The key wasn't the camera; it was applying the principles of light and composition. I proved to myself that the best camera is the one you have with you.
Your Essential Food Photography Kit:
- Your Smartphone (iPhone 12/13/14/15, Google Pixel, Samsung Galaxy S series, etc.): These phones have incredible cameras, often with multiple lenses (wide, ultra-wide, telephoto, macro) and advanced processing.
- Pro Tip: Learn your phone's camera app inside and out. Experiment with manual controls (exposure, focus lock) if available. Use Portrait Mode for bokeh.
- DSLR/Mirrorless Camera (Optional Upgrade): If you're serious about taking it to the next level, a mirrorless camera (like Sony Alpha, Fujifilm X-T, Canon EOS R series) offers superior image quality, interchangeable lenses, and manual control.
- Recommended Lens: A 50mm f/1.8 lens (often called a "nifty fifty") is affordable and fantastic for food, offering beautiful background blur. A macro lens is also excellent for close-ups.
- Mini Tripod (Essential for Low Light/Flat Lays): A small tabletop tripod (like a Joby Gorillapod or Manfrotto Pixi) is invaluable for sharp flat lays, low-light shots, or hands-free video.
- Portable Diffuser/Reflector: As mentioned, a small foldable one can make a huge difference. You can find them for under $20 online.
- Cleaning Cloth: Keep your lens spotless! Smudges equal blurry photos.
- Power Bank: Food photography can drain your phone battery quickly, especially if you're shooting video or editing on the go.
Trending Tip:
"Shot on iPhone, edited like a pro" is a powerful narrative. Don't underestimate what your phone can do. Many viral food photos today are captured entirely on smartphones.
5. Mastering the Edit: Bringing Your Food to Life
Editing is where you polish your masterpiece. It's not about making food look fake, but enhancing its natural beauty, correcting imperfections, and creating a consistent style.
My Over-Editing Mistakes:
In my early days, I'd crank up saturation and contrast, making food look cartoonish. A vibrant green curry would turn radioactive, and a juicy steak would look like plastic. It took me a while to learn that subtle enhancements are far more effective.
Essential Editing Steps (Apps like Lightroom Mobile, Snapseed, VSCO):
- Crop & Straighten: The first step! Ensure your image is perfectly aligned and cropped for maximum impact.
- Exposure & Contrast: Adjust overall brightness. Increase contrast slightly to make elements pop, but don't overdo it.
- White Balance (Crucial!): This corrects color casts. If your food looks too yellow, blue, or green, adjust the white balance until whites are pure and colors are natural. Use the eyedropper tool on a neutral white/gray if available.
- Highlights & Shadows: Recover detail in overexposed (highlights) or underexposed (shadows) areas.
- Saturation & Vibrance: Enhance colors. Vibrance boosts muted colors without over-saturating already vivid ones. Be subtle – food should look appetizing, not artificial.
- Clarity & Sharpening: Add a touch of clarity to enhance mid-tone contrast and make textures stand out. Sharpen sparingly to define edges without introducing grain.
- Temperature & Tint: Fine-tune the mood. Warm tones (yellow/orange) often make comfort food look inviting. Cooler tones (blue/magenta) can make fresh salads or drinks look crisp.
- Noise Reduction: If shooting in low light, you might have "noise" (graininess). Use noise reduction carefully, as it can soften details.
- Spot Healing: Remove tiny distractions like crumbs, dust, or an unwanted reflection.
Trending Tip:
The current editing style favors a bright, clean, and slightly desaturated look, often with warm undertones. Avoid overly processed filters. The goal is natural vibrancy. Many food bloggers develop a consistent "preset" or editing style to make their feed cohesive.
6. Current Food Photography Trends You Can't Ignore
The visual landscape is always evolving. Staying on top of trends ensures your content remains fresh, engaging, and relevant.
Learning from Local Creators in Seoul:
The food photography scene in Seoul is incredibly dynamic. I noticed local influencers weren't just showing food; they were showing how it was made, who was making it, and the experience of eating it. It shifted my perspective entirely.
Top Trending Food Photography Styles:
- The "Authentic & Imperfect" Vibe: This is huge. It's less about perfect plating and more about showing real food, sometimes with a crumb out of place, a slight drizzle of sauce, or a rustic setting. It feels relatable and less intimidating.
- Movement & Action Shots: Static photos are out; dynamic photos are in!
- Cheese Pulls: Irresistible for pizzas, grilled cheese, or anything gooey.
- Pouring Shots: Coffee being poured, syrup drizzling over pancakes, sauce over pasta.
- Steam/Smoke: Capturing the wisps of steam from a hot dish adds warmth and freshness.
- Hands-On Interaction: A hand reaching for a piece of bread, a fork twirling pasta, a knife cutting a steak. This makes the viewer feel like they're right there.
- Storytelling Through Vignettes: Create a small scene around your food. A cookbook open next to a homemade dish, ingredients scattered around a cutting board, a coffee cup and a newspaper for a morning shot.
- Macro & Texture Focus: Get up close and personal! Show the crispy skin of fried chicken, the flaky layers of a pastry, the glistening seeds of a dragon fruit. This creates a sensory experience.
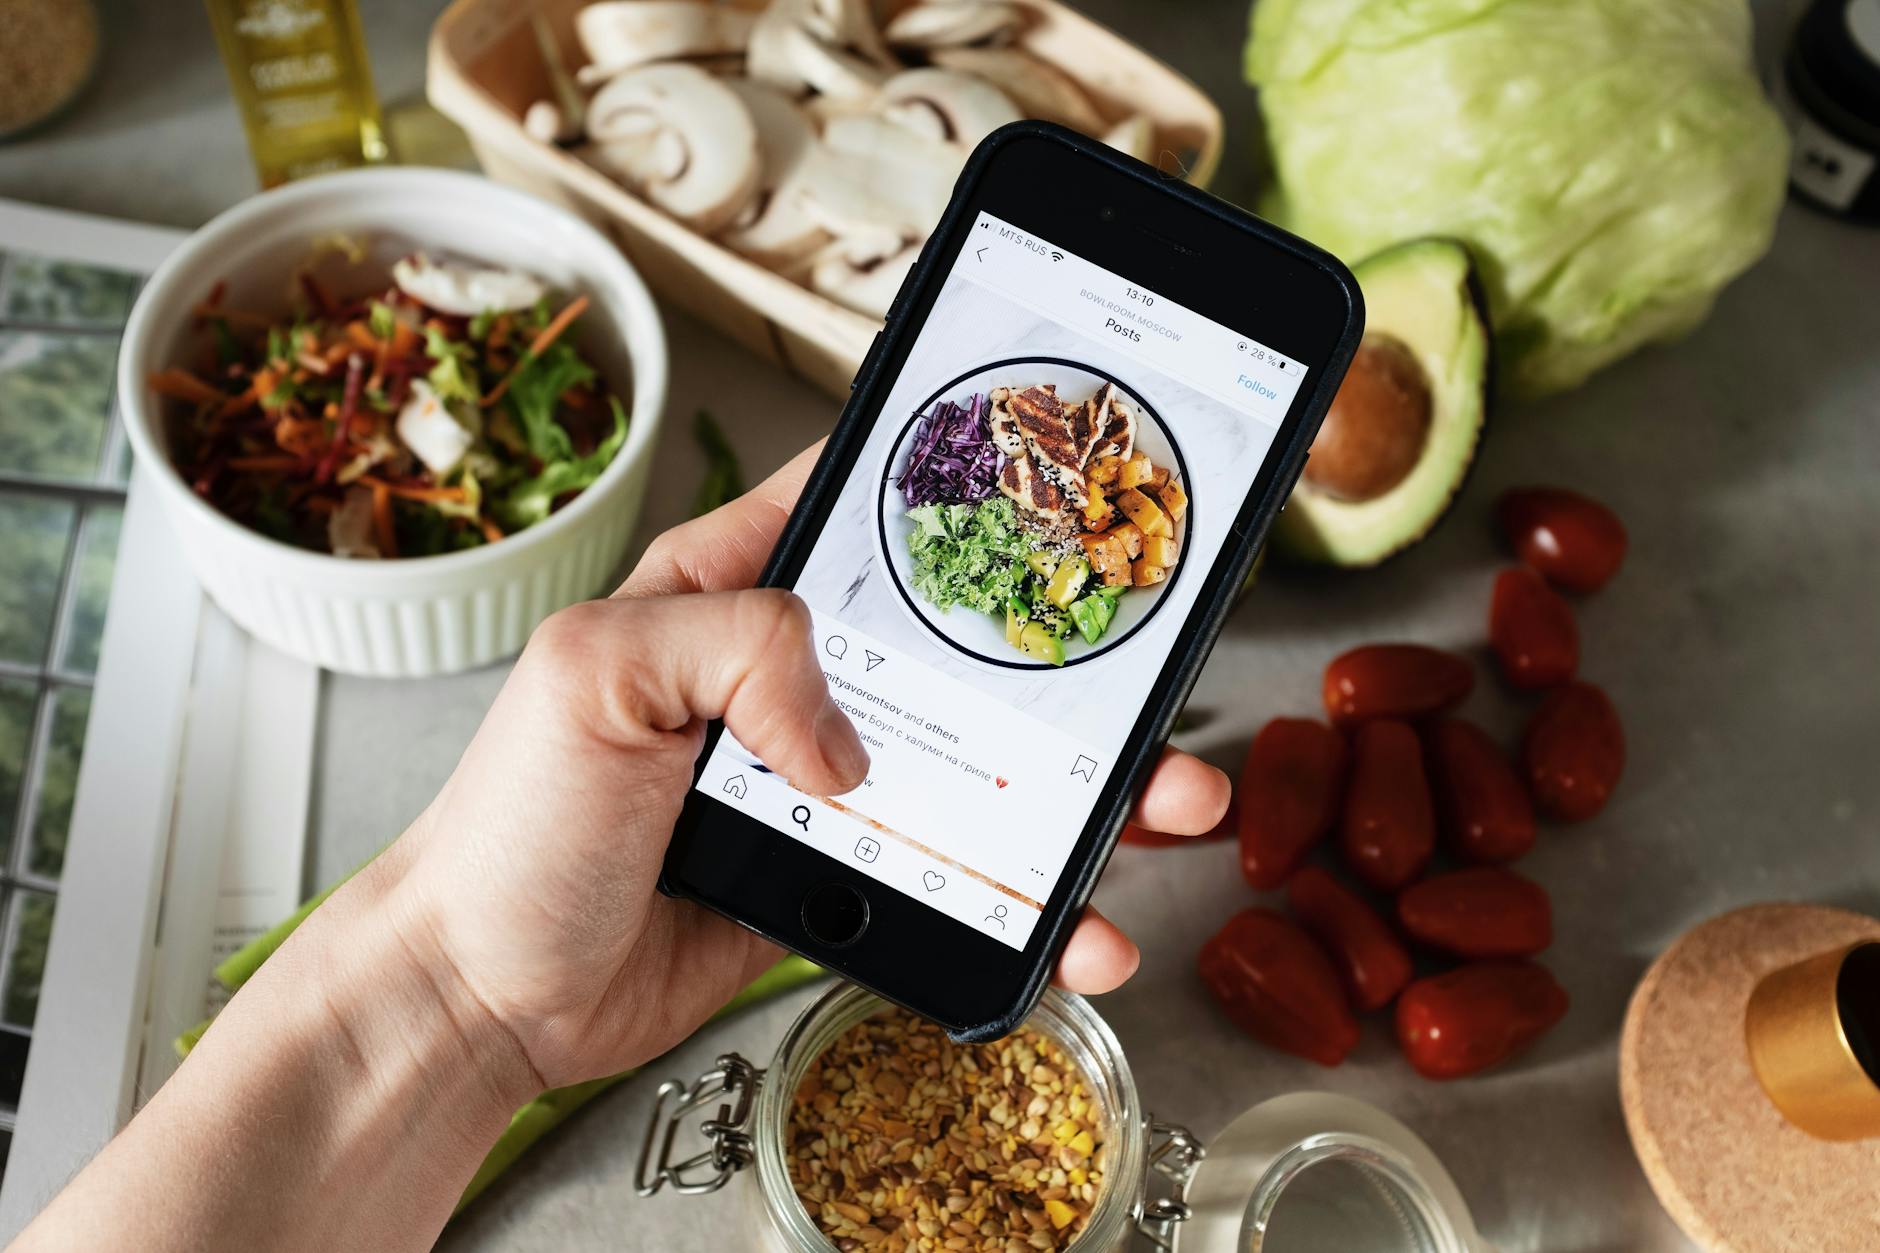
- Sustainability & Farm-to-Table Focus: Highlighting fresh, local, and seasonal ingredients is not just a culinary trend but a visual one. Photos that showcase the origin of food (e.g., a basket of fresh produce next to a finished dish) resonate deeply.
- Dark & Moody (for specific dishes): While bright and airy dominates, a well-executed dark and moody shot (often used for rich desserts, hearty stews, or cocktails) can be incredibly impactful. It uses strong shadows and dramatic lighting to create a luxurious, intimate feel.
- Video & Reels: Short, engaging videos showing the making of a dish, a quick tasting, or the "reveal" of a beautifully plated meal are incredibly popular on Instagram Reels and TikTok. Think quick cuts, satisfying sounds, and dynamic angles.
7. Share Your Culinary Masterpiece: Going Viral!
You've captured and edited your stunning food photo. Now, it's time to share it with the world and maximize its reach!
My Accidental Viral Moment:
I once posted a photo of a unique durian dessert I tried in Singapore. I used a mix of broad and niche hashtags, tagged the restaurant, and asked a question in the caption. To my surprise, the restaurant reshared it, and it quickly became one of my most-viewed posts, bringing traffic to my blog and new followers!
Strategies for Social Media Success:
- Craft Compelling Captions: Don't just post a photo. Tell a story! What was the experience like? Where did you eat it? What did it taste like? Ask a question to encourage engagement.
- Strategic Hashtags:
- Broad & Popular: #FoodPhotography #InstaFood #Foodie
- Niche & Specific: #VeganEats (if applicable) #BrunchGoals #PastaLover
- Location-Specific: #ParisFood #TokyoEats #ChiangMaiStreetFood (and tag the specific restaurant if you know it!)
- Trending Hashtags: Keep an eye on what's popular in the food space.
- Your Own Branded Hashtag: Like #TripsoraFoodie!
- Tagging is Caring: Always tag the restaurant, cafe, or chef if you know them. They might reshare your content, exposing you to their audience.
- Engage with Your Audience: Respond to comments, ask questions back, and be an active part of the food community.
- Post at Optimal Times: Research when your audience is most active on social media. Tools within Instagram or other platforms can help you determine this.
- Embrace Video (Reels/TikTok): As mentioned, short-form video content is king. A quick montage of the cooking process, a satisfying "chop" or "pour," or a B-roll of the dining experience can go viral.
- Cross-Promote: Share your Instagram post on your Facebook page, Twitter, or Pinterest to maximize visibility.
The Taste of Success
From that blurry Pad See Ew to countless vibrant dishes, my journey in food photography has been about learning, experimenting, and embracing the story behind every plate. You don't need a professional studio or a massive budget to create stunning, trending food photos. You just need an eye for light, a knack for composition, a dash of styling creativity, and the willingness to learn.
So, next time you're faced with a delicious meal, pause for a moment. Find that perfect light, compose your shot, add a touch of personality, and snap away. Don't just eat your food; photograph it like the pro you're becoming.
Now it's your turn! What's the most delicious dish you've ever photographed? Share your culinary masterpieces with us using #TripsoraFoodie and let's inspire each other's next adventure! Happy shooting!
---