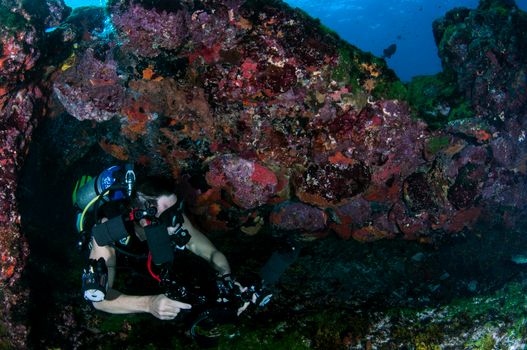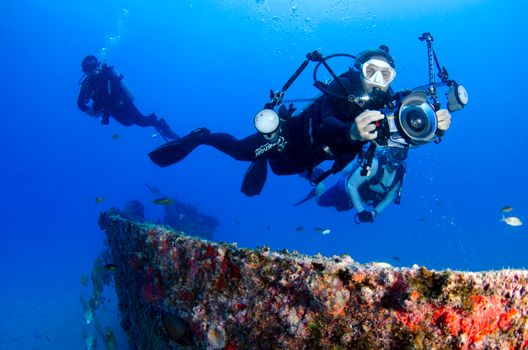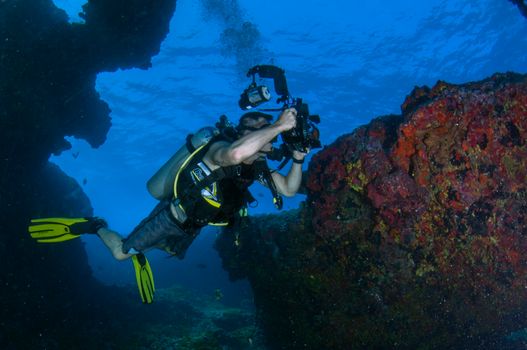
The gentle sway of the ocean, the kaleidoscope of coral, the silent ballet of fish – there’s a whole other world waiting beneath the surface. For years, I’d return from incredible snorkeling and diving trips with blurry, green-tinged photos that barely hinted at the magic I’d witnessed. My camera, an expensive DSLR, was a landlocked beauty, and the idea of lugging bulky, specialized underwater gear felt like a distant dream, reserved only for seasoned pros.
That all changed a few years ago during a trip to the cenotes of Mexico's Yucatán Peninsula. Floating in crystal-clear freshwater, surrounded by ancient stalactites and shafts of light piercing the darkness, I saw a fellow traveler, a young woman, effortlessly snapping vibrant photos with a surprisingly compact setup. No giant dome ports, no complex strobes – just a small camera in a sleek housing, paired with a simple video light. Her photos, which she generously showed me later, were breathtaking. That was my "aha!" moment. I realized that the barrier to entry for stunning underwater photography had plummeted, and a new wave of accessible, trending gear was making it possible for anyone, even a beginner like me, to capture the ocean's artistry.
Since then, I’ve been on a mission, experimenting with various setups, learning from my own splashes and successes, and now, I’m thrilled to share with you the trending, beginner-friendly underwater photography gear that will transform your next aquatic adventure into an Instagram feed full of "wow" moments.
1. Why Now is the Best Time to Dive In: The Accessibility Revolution
Forget the days of needing a second mortgage for underwater photography. The past few years have seen incredible advancements in technology, making high-quality underwater imaging more accessible and affordable than ever. Manufacturers are focusing on user-friendly interfaces, robust waterproofing, and compact designs that don't compromise on image quality.
My Take:
It’s no longer about being a professional photographer; it's about being an enthusiastic explorer. Social media platforms like Instagram and TikTok have fueled this trend, creating a demand for shareable, high-quality underwater content. Everyone wants to show off that majestic manta ray encounter in the Maldives or the vibrant reef in Raja Ampat. The gear we're about to discuss lets you do just that, without needing a dedicated dive assistant or a degree in marine biology.
2. The Essential Core: Cameras & Housings – Your Window to the Blue
This is where your underwater journey truly begins. While professional setups can run into thousands, beginners have fantastic, trending options that deliver impressive results.
a) Compact Cameras with Dedicated Housings: The Sweet Spot
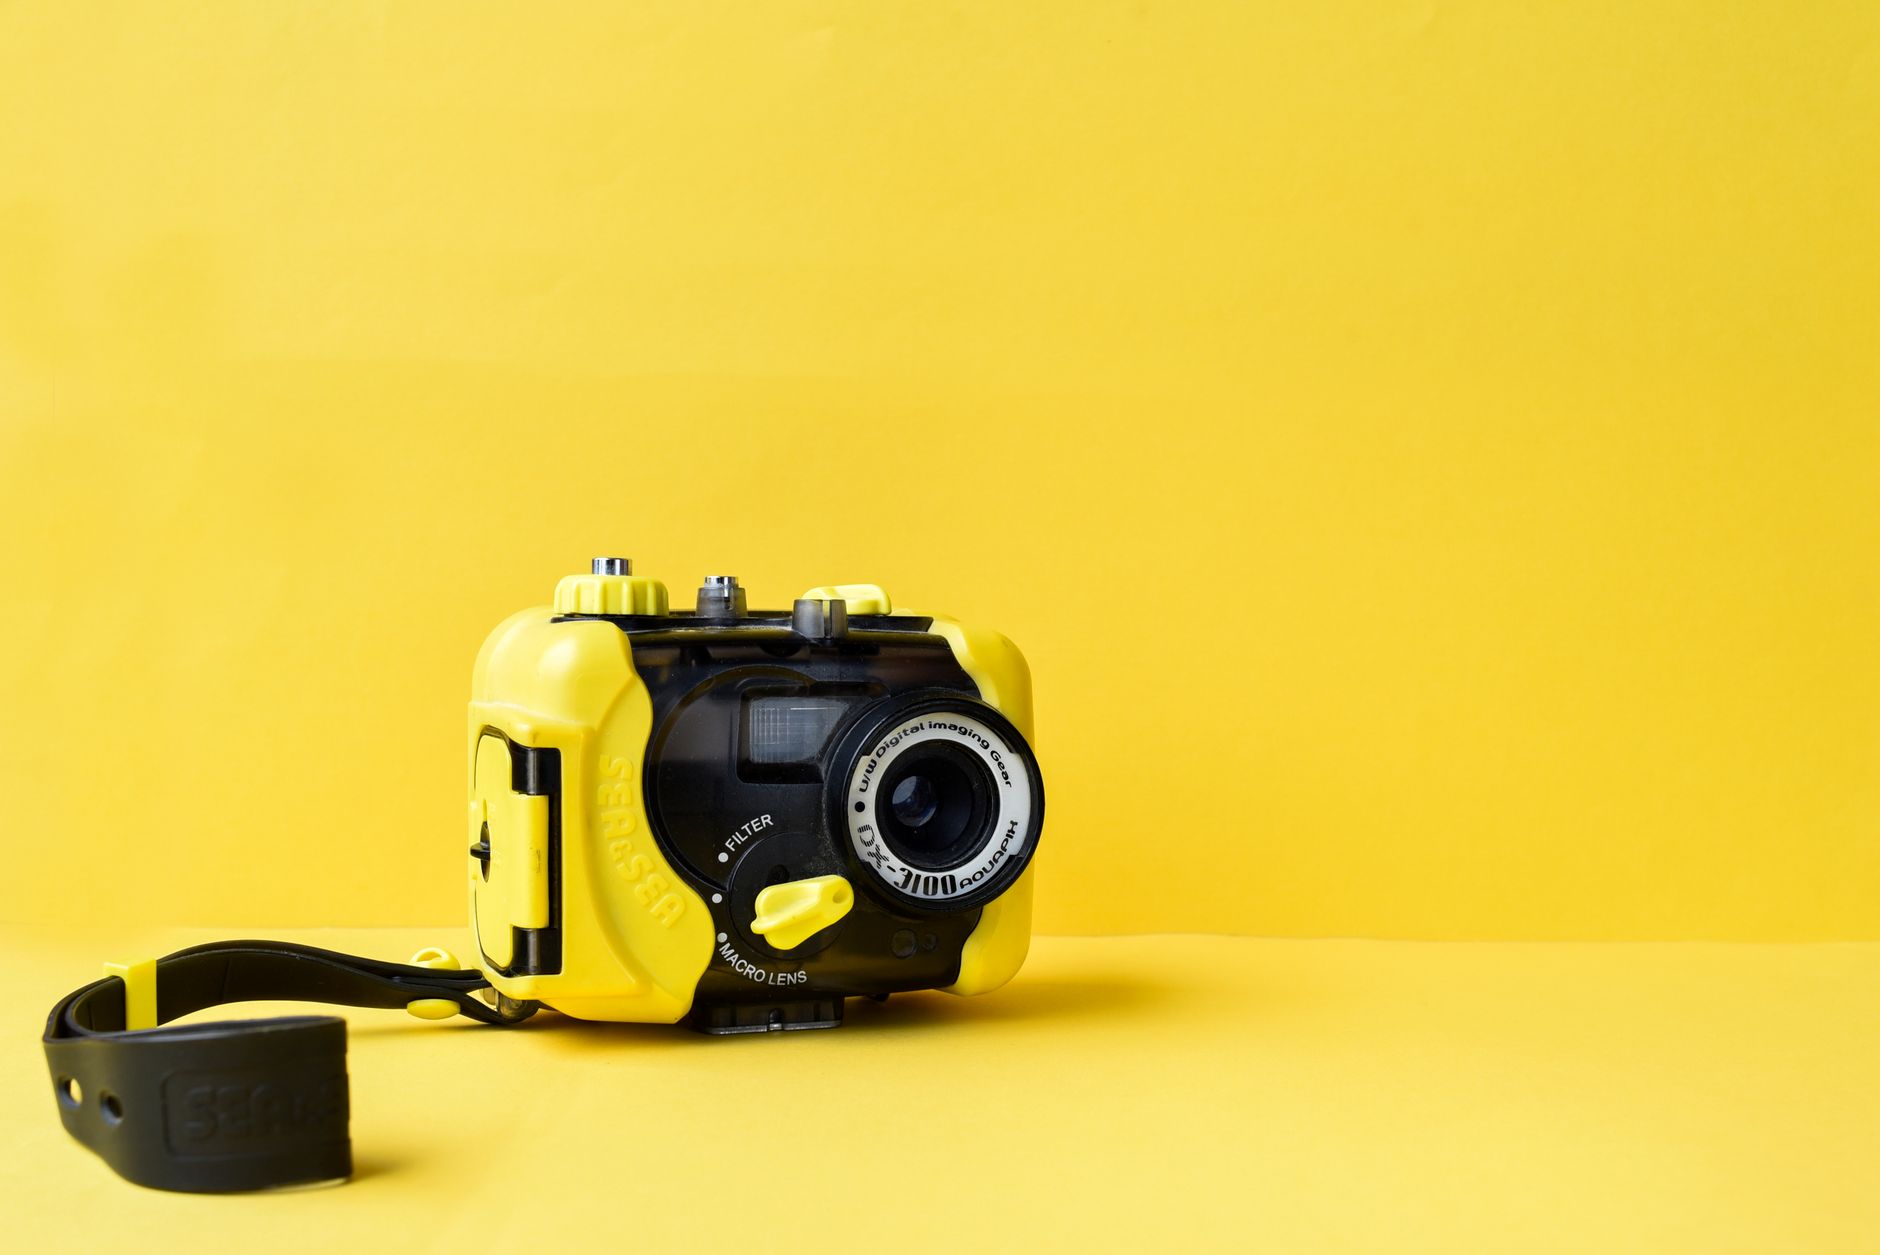
These cameras offer a fantastic balance of image quality, manual control, and portability, especially when paired with their custom underwater housings. They’re my go-to recommendation for serious beginners who want more than just point-and-shoot.
- Olympus Tough TG-6 (and previous models like TG-5): This is arguably the reigning champion for beginner underwater photographers, and it's trending for all the right reasons.
- Why it's trending: It’s waterproof out of the box to 50 feet (15m) without a housing, meaning you can take it snorkeling straight away. For deeper dives (up to 147 feet/45m), you add the PT-059 housing (around $350 USD). It boasts a fantastic macro mode, great for capturing tiny nudibranchs or vibrant coral textures. It also has a dedicated "Underwater White Balance" mode that significantly improves color correction.
- Personal Anecdote: My first truly "good" underwater photos came from a TG-5. During a trip to the Great Barrier Reef, I managed to capture a clownfish peeking out of its anemone with incredible detail, thanks to the TG’s macro capabilities. The vibrant orange and white popped, and I finally felt like I was doing justice to the underwater world.
- Price Point: Camera (~$450 USD) + Housing (~$350 USD) = ~$800 USD for a robust, capable system.
- Canon PowerShot G7X Mark III (with Ikelite/Nauticam Housing): For those looking for a slightly larger sensor and more manual control, the G7X III is a popular choice.
- Why it's trending: It offers excellent image quality, good low-light performance for a compact, and the ability to shoot in RAW, which is crucial for post-processing. Paired with a sturdy housing from brands like Ikelite (around $700 USD) or Nauticam (pricier, but top-tier), it becomes a powerful setup.
- Consideration: This is a step up in complexity and cost. It's fantastic for those who already have some photography basics down and want more creative control.
- Price Point: Camera (~$750 USD) + Housing (~$700 USD) = ~$1450 USD
b) Action Cameras: The Rugged, Ready-for-Anything Option
Action cameras like GoPro have revolutionized adventure photography, and their underwater capabilities are continuously improving. They’re perfect for video and wide-angle shots, and incredibly durable.
- GoPro Hero 12 Black: The latest iteration continues to impress.
- Why it's trending: Waterproof to 33 feet (10m) out of the box. For deeper dives, you'll need the Protective Housing + Waterproof Case (around $50 USD), which takes it down to 196 feet (60m). The Hero 12 offers incredible video stabilization (HyperSmooth), improved battery life, and better low-light performance than its predecessors. It's fantastic for capturing dynamic video of turtles gliding or schools of fish swirling.
- Personal Anecdote: On a recent freediving trip in the Philippines, I strapped a GoPro to my head and captured incredible POV footage of reef sharks gracefully swimming by. The hands-free operation allowed me to fully experience the moment while still documenting it.
- Price Point: Camera (~$400 USD) + Housing (~$50 USD) = ~$450 USD
- DJI Osmo Action 4: A strong contender to GoPro, often praised for its magnetic quick-release mounting system and excellent color science.
- Why it's trending: Waterproof to 59 feet (18m) without a housing, and up to 196 feet (60m) with its dedicated housing (around $50 USD). It boasts a larger sensor than previous models, leading to better image quality in challenging underwater conditions.
- Consideration: While both GoPro and DJI are excellent for video, their smaller sensors mean still photos might not have the same detail as a compact camera like the TG-6, especially in lower light.
c) Smartphone Housings: The Ultimate Convenience Play
Yes, you can take your smartphone underwater! These housings are trending because they leverage the powerful cameras already in your pocket.
- SeaLife SportDiver Housing:
- Why it's trending: This robust housing (around $350 USD) connects via Bluetooth to your iPhone or Android, allowing you to control camera settings and review photos through a dedicated app. It’s depth-rated to 130 feet (40m) and even has a built-in vacuum leak alarm for peace of mind.
- Personal Anecdote: I saw a diver in Thailand using one of these with a powerful light, and the photos she was getting with her iPhone 14 Pro were shockingly good. The convenience of using your everyday phone is a huge draw.
- Consideration: While convenient, smartphone cameras still have limitations compared to dedicated cameras, especially with zoom and sensor size. However, for casual snorkeling and shallow dives, they are fantastic.
3. Illuminating the Depths: Lighting & Strobes – Bringing Back the Color
This is where the magic truly happens. Water absorbs light, especially red and orange hues, making everything look blue or green. Adding external light is crucial for vibrant, true-to-life colors.
a) Video Lights (Continuous Lights): The Beginner's Best Friend
These provide a constant beam of light, perfect for both video and still photography, especially macro subjects. They are easier to use than strobes because "what you see is what you get."
- SeaLife Sea Dragon Mini 6000F or 3000F:
- Why it's trending: SeaLife lights are user-friendly, reliable, and offer excellent brightness for their size. The Mini 6000F (around $350 USD) is incredibly powerful for its compact form, providing a wide beam perfect for illuminating scenes. The 3000F (around $250 USD) is a great budget option.
- Practical Tip: Always aim for a wider beam angle (e.g., 120 degrees) to avoid harsh hotspots in your photos and videos.
- Personal Anecdote: My first video light was a game-changer. I was diving in Cozumel, and everything looked flat and blue until I turned on my light. Suddenly, the vibrant purples of the gorgonian corals and the iridescent scales of the parrotfish popped. It was like seeing the reef for the first time, in full color!
- OrcaTorch D570-GL:
- Why it's trending: Often praised for its robust build and good light output at an affordable price point (around $150-200 USD). It’s a solid choice for beginners who want to dip their toes into lighting without a huge investment.
b) Strobes (Flashes): The Pro Touch (for the Ambitious Beginner)
Strobes are like flashes for land cameras, but designed for underwater use. They provide a burst of light, freezing motion and bringing out incredible colors. While a bit more advanced, many beginners are quickly adopting them as they see the dramatic difference.
- Inon S-2000 or D-200:
- Why it's trending: Inon strobes are renowned for their compact size, reliability, and excellent performance. The S-2000 (around $500 USD) is a fantastic entry-level strobe that works well with compact cameras, offering good coverage and fast recycle times. The D-200 (around $650 USD) offers more power.
- Practical Tip: Strobes are often triggered by a fiber optic cable connected to your camera's internal flash. Make sure your camera and housing support this.
- Consideration: Strobes require a bit more understanding of exposure and positioning, but the results are unparalleled for still photography. I often recommend starting with a video light, then adding a strobe once you're comfortable.
4. See Clearly Now: Lenses & Filters – Correcting the Spectrum
Even with the best camera, water distorts colors and light. These accessories help you see and capture the underwater world more accurately.
a) Red/Magenta Filters: The Instant Color Corrector
These are essential for restoring natural colors, especially when you're relying on ambient light without strobes or video lights.
- Why they're trending: They're inexpensive (often $20-50 USD), easy to attach (either screw-on or snap-on), and make an immediate, noticeable difference.
- Practical Tip: Use a red filter for blue water (tropical oceans) and a magenta filter for green water (lakes or temperate zones). Remove them if you're using a strong video light or strobe, or if you go too shallow (less than 15-20 feet/5-6m) as they can oversaturate reds.
- Personal Anecdote: My very first snorkel trip with a red filter was a revelation. Instead of dull, greenish photos, I suddenly had vibrant blues and reds. It was like someone had flicked a "color" switch on the ocean!
b) Wet Lenses (Macro & Wide-Angle): Expanding Your View
These lenses attach to the front of your camera housing underwater, allowing you to switch between macro and wide-angle without opening the housing.
- Close-Up/Macro Lenses (e.g., Kraken KRL-01, Inon UCL-165 M67):
- Why they're trending: Perfect for capturing tiny details – a hermit crab's eye, the intricate patterns of a nudibranch, or the texture of coral polyps. They essentially turn your compact camera into a microscope. (Around $150-300 USD)
- Wide-Angle Lenses (e.g., Kraken KRL-02, Inon UWL-H100):
- Why they're trending: Essential for capturing expansive reef scenes, large marine animals (sharks, mantas), or divers in their environment. They help combat the magnification effect of water, allowing you to get closer to your subject while still fitting it all in the frame. (Around $200-500 USD)
- Practical Tip: Wet lenses can be expensive, so consider them a secondary upgrade once you're comfortable with your basic setup and have identified whether you prefer macro or wide-angle photography.
5. Stability & Accessories: The Unsung Heroes
These items might not take the photos, but they make a huge difference in handling, stability, and safety.
- Trays and Arms:
- Why they're trending: A simple tray (a base plate with handles, around $50-150 USD) provides stability and a comfortable grip for your underwater camera. Arms (flexible or ball-and-socket, around $50-100+ USD per arm) attach your lights or strobes to the tray, allowing you to position them precisely.
- Practical Tip: A dual-handle tray is highly recommended. It gives you much better control and reduces camera shake, especially when shooting video.
- Float Arms/Buoyancy:
- Why they're trending: Underwater photography gear is often negatively buoyant (it sinks!). Float arms (hollow arms, around $70-150 USD each) help counterbalance the weight of your camera and lights, making your setup neutrally buoyant or even slightly positive. This makes it easier to handle and less tiring on your wrists.
- Lanyards/Wrist Straps:
- Why they're trending: An absolute must for safety! Losing your expensive gear in the ocean is heartbreaking. A sturdy lanyard or wrist strap (around $10-30 USD) keeps your camera attached to you.
- Anti-Fog Inserts:
- Why they're trending: Small silica gel packets placed inside your housing (around $10 for a pack) prevent condensation and fogging, which can ruin your shots. Essential for dives in varying water temperatures.
6. Beyond the Gear: Mastering the Art (Practical Tips for Beginners)
Having the right gear is only half the battle. Here are some actionable tips to elevate your underwater photography:
- Get Close, Then Get Closer: Water absorbs light and clarity. The closer you are to your subject, the less water column there is between you and your subject, resulting in sharper, more colorful photos. Resist the urge to zoom!
- Buoyancy Control is Key: Good diving or snorkeling buoyancy is fundamental. If you're constantly fighting to stay stable, your photos will be shaky. Practice hovering motionless.
- Shoot Upwards (When Possible): When photographing fish or divers, try to shoot slightly upwards, using the bright surface as a backdrop. This creates more dramatic, well-lit subjects and avoids distracting backgrounds.
- Understand Light: Pay attention to the sun's position. Overcast days can diffuse light nicely, while bright sunny days create dramatic rays and shadows. Use your external lights to fill in shadows and restore color.
- Respect Marine Life: Never harass or touch marine animals for a photo. Maintain a respectful distance and observe them in their natural habitat. This is paramount.
- Practice, Practice, Practice: Start in a pool to get comfortable with your gear. Learn your camera's settings underwater before you're faced with a fleeting manta ray!
- Post-Processing is Your Friend: Even with the best gear, underwater photos often benefit from a little post-processing. Adjusting white balance, contrast, and sharpness can bring out incredible details and colors. Free apps like Snapseed or Lightroom Mobile are great starting points.
7. My Personal Picks & Recommended Starter Kits for Every Budget
Based on what's trending and my own experiences, here are a few suggested kits:
a) The Ultimate Budget Diver: GoPro & Essentials (~$500 USD)
* Camera: GoPro Hero 12 Black (~$400)
* Housing: GoPro Protective Housing (~$50)
* Filter: GoPro Red Dive Filter (~$20)
* Accessory: Simple tray with one handle and wrist strap (~$30)
* Perfect for: Action-packed video, wide-angle shots, casual snorkeling, and shallow diving. It’s rugged, compact, and delivers impressive results for its price point.
b) The Serious Snorkeler / Casual Diver: Olympus TG-6 & Video Light (~$1100 USD)
* Camera: Olympus Tough TG-6 (~$450)
* Housing: Olympus PT-059 Housing (~$350)
* Light: SeaLife Sea Dragon Mini 3000F Video Light (~$250)
* Accessory: Dual-handle tray with flexible arm for light, anti-fog inserts (~$50)
* Perfect for: Capturing stunning macro details, vibrant reef scenes, and excellent video. This setup offers a significant step up in image quality and color rendition for both stills and video.
c) Ready to Go Pro (ish): Canon G7X Mark III & Strobe (~$2100 USD)
* Camera: Canon PowerShot G7X Mark III (~$750)
* Housing: Ikelite Housing for G7X Mark III (~$700)
* Strobe: Inon S-2000 Strobe (~$500)
* Accessory: Dual-handle tray with two ball-and-socket arms, fiber optic cable, float arm, anti-fog inserts (~$150)
* Perfect for: Ambitious beginners who want superior still image quality, manual control, and the dramatic impact of strobe lighting. This setup will truly make your photos pop with professional-level vibrancy and sharpness.
Conclusion: Your Underwater Story Awaits!
The ocean is a treasure trove of wonder, and with the right trending gear, capturing its beauty is more achievable than ever before. From the vibrant corals of Raja Ampat to the playful seals off the coast of California, your underwater photography journey is limited only by your imagination (and perhaps your dive limits!).
Don't let the technical jargon or perceived complexity deter you. Start simple, understand your gear, and most importantly, enjoy the process. Every dive, every snorkel, is a new opportunity to learn and grow as an underwater storyteller.
So, what are you waiting for? Grab your mask, fins, and one of these incredible trending setups. Dive in, explore, and share the magic you find beneath the waves. The world is ready to see your perspective!
What's your dream underwater photography destination? What gear are you eyeing for your next adventure? Share your thoughts and questions in the comments below – I love hearing from fellow ocean enthusiasts!