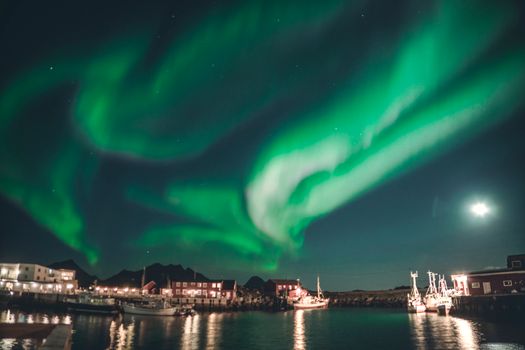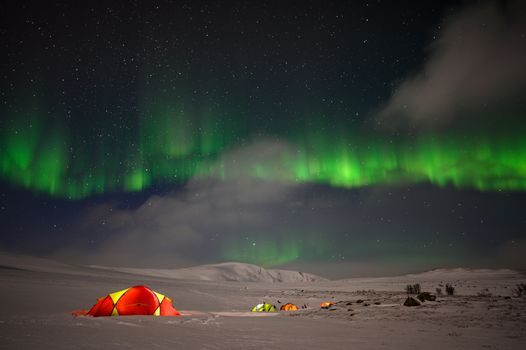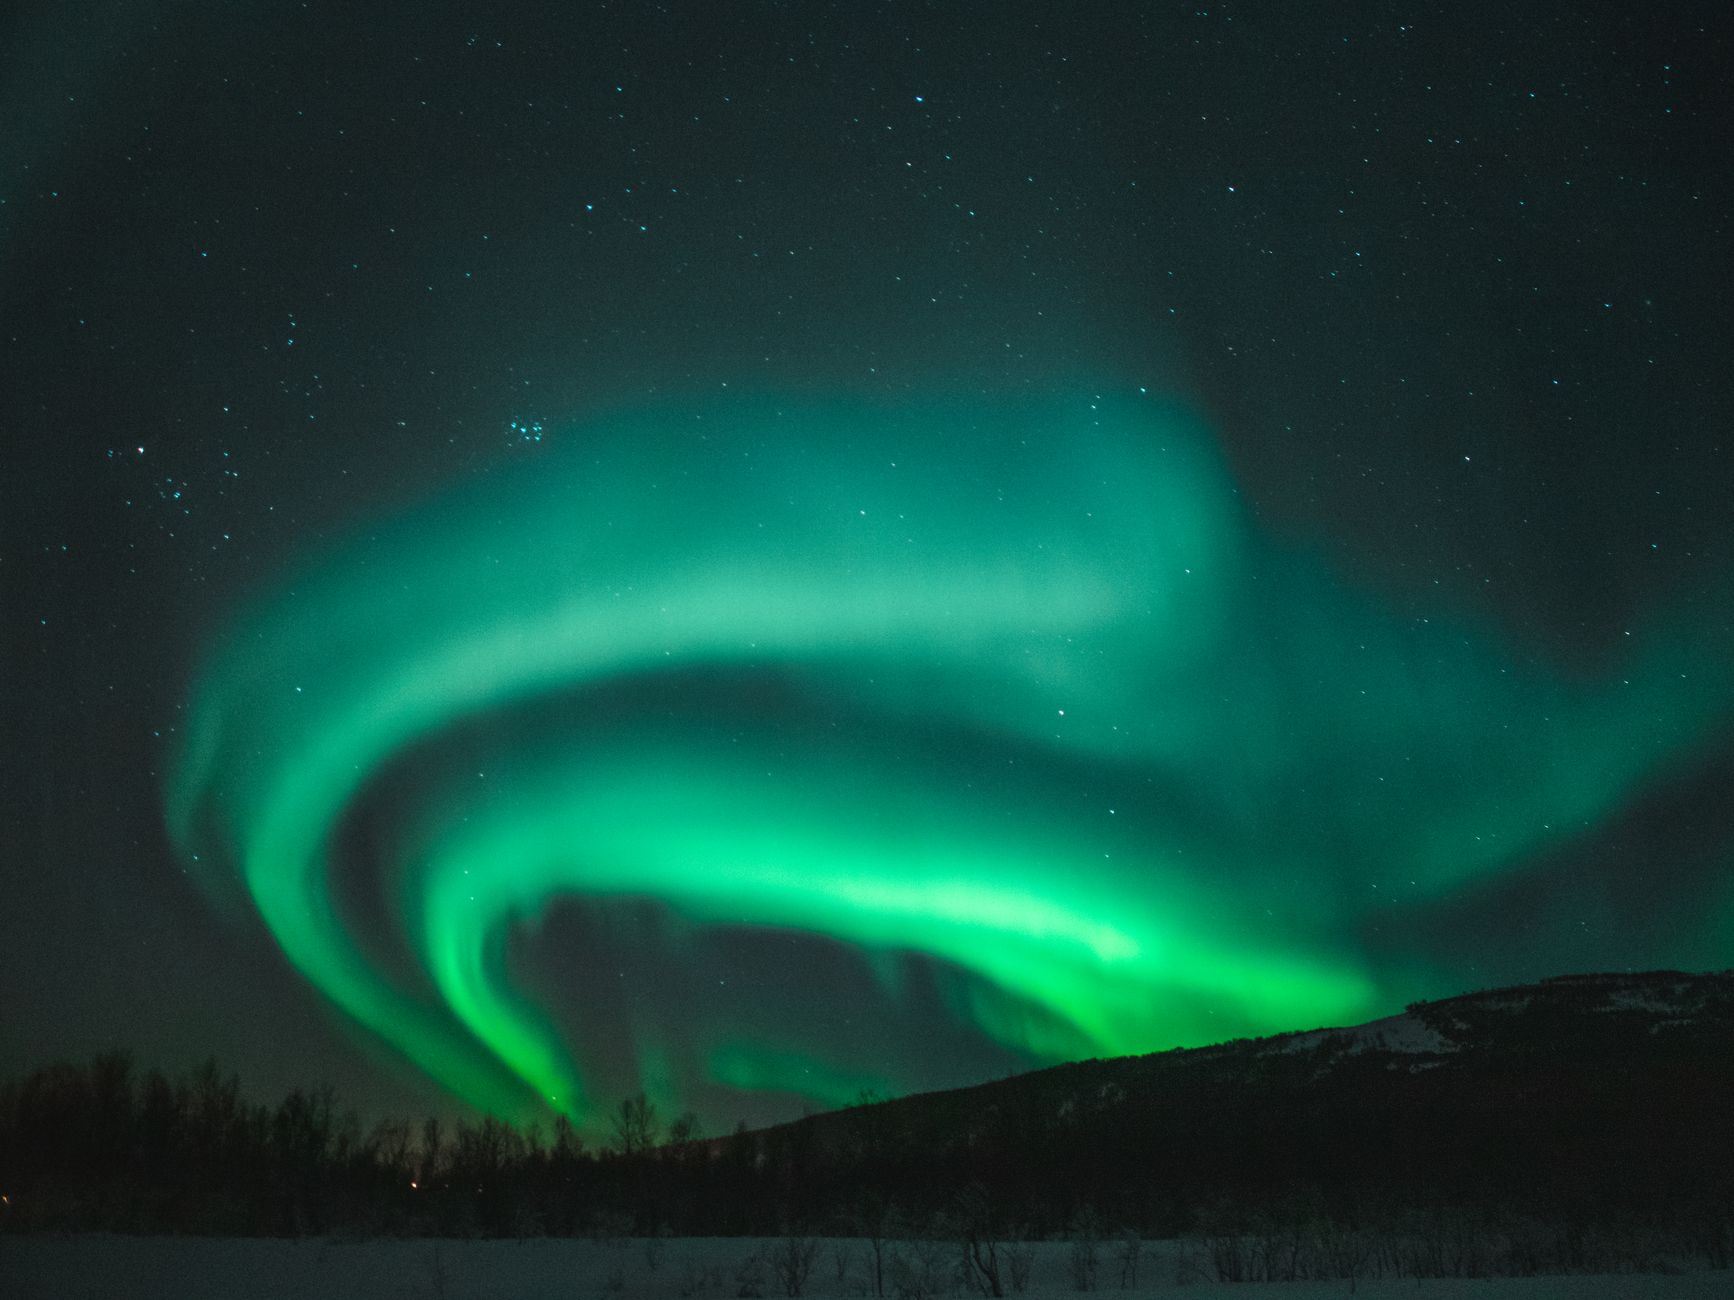
The northern lights, or aurora, are one of the most sought-after natural spectacles for travelers. Their appearance depends on solar activity, the geomagnetic conditions around Earth and, very practically, the clarity of the sky above you. No location can promise a display, and even within a favorable region a clear night is not certain. Understanding these factors helps you plan a trip with sensible expectations, choose a suitable viewing spot and make the most of the hours you spend outdoors. This guide explains how to approach an aurora trip with realistic planning rather than assumptions.
How aurora viewing works
Auroras occur when charged particles from the sun interact with gases in Earth's upper atmosphere, producing glowing colors, typically greens and sometimes reds and purples. Activity can rise and fall over hours and days, and forecasts from space weather services estimate geomagnetic conditions. Strong displays are more likely during periods of high activity, but a bright aurora can also be visible at moderate levels if the sky is dark and clear. Viewing is usually best in the hours after local dusk and before dawn, when the sky is darkest.
Because forecasts are estimates, plan for flexibility. Allow several nights in a region, if possible, rather than a single evening, so that you have more chances as conditions change.
Choosing a location with dark skies
The most important practical factor after weather is light pollution. Towns and cities can wash out faint aurora displays, so look for locations well away from urban lights. Rural areas, national parks and designated dark-sky places are often good options, though rules and facilities vary. Many aurora regions are at high latitudes, but viewing is also possible at lower latitudes during intense storms. Check local observation guidance and recent reports from aurora enthusiasts or local operators before committing to a particular spot.
Consider the landscape as well. Open fields, frozen lakes or coastal areas can provide clear sightlines and striking foregrounds. Forested areas may block the horizon, and steep valleys can limit views to one direction.
Reaching viewing spots safely
Winter driving in aurora regions can be hazardous. Roads may be icy, visibility can be poor, and wildlife may cross unexpectedly. Check road conditions with local authorities before setting out, and carry extra clothing, water and a flashlight in case of delays. Parking areas near viewing spots can be small, so park considerately and avoid blocking access. If you rely on a tour, confirm pickup times, departure points and what happens if the aurora does not appear.
Some areas have viewing platforms or designated lookouts, while others require walking across snow or uneven ground. Use appropriate footwear and traction devices if conditions are icy, and check that you can return safely in the dark.
Dressing and preparing for cold nights
Temperatures in aurora regions can drop far below freezing, and standing still for long periods increases the risk of cold injuries. Dress in layers, with a windproof outer layer, insulated boots, warm gloves and a hat. Carry a thermos of a hot drink and a snack. Protect your camera and phone batteries from the cold by keeping them inside your clothing when not in use. If you are photographing the aurora, a tripod, a remote shutter release and a basic understanding of manual camera settings can help, though viewing with the naked eye is often more memorable.
Give your eyes time to adjust to darkness, and avoid bright screens. Red-light headlamps are helpful for keeping night vision intact.
Planning the trip around realistic expectations
Build your itinerary around other activities so that a cloudy night does not ruin the entire trip. Hiking, cultural visits, hot baths and winter sports can all fill daylight hours. Book accommodation with clear information about dark-sky access, and check whether it offers wake-up services or lounge areas with windows facing the sky. Tours, when used, can offer local knowledge and transport, but they cannot control the weather.
Practical tips
Check space weather and local cloud forecasts on the day you plan to go out, and watch for changes. Pick a viewing spot with a clear view of the northern horizon, and reduce light from torches and vehicles. Dress for cold conditions before you leave the building. Tell someone where you are going and when you expect to return. Keep a charged phone and a backup power source. Accept that the display may be faint or brief, and enjoy the wider night sky regardless.
Common mistakes to avoid
Many travelers plan for a single night and then feel disappointed when clouds arrive. Allowing several nights, and keeping a flexible plan, gives you more chances. Another frequent error is choosing a spot that looks dark on a map but is surrounded by tall trees or nearby buildings that block the horizon. Some visitors also expect the sky to look like the photographs they have seen online. Long-exposure cameras gather far more light than the human eye, so the display is often fainter and more subtle in person. Looking at a bright phone screen between sightings is another common problem, because it undoes your night vision. Finally, moonlight can wash out fainter displays, so check the moon's phase when you plan the nights you will spend outdoors.
Who this suits and who it doesn't
An aurora trip suits patient people who enjoy night outdoors, photographers who like experimenting with low light, and travelers who are comfortable with cold weather and late hours. It works well for those who will happily spend time in a snowy landscape even if the sky stays cloudy for part of the trip. It may be less suitable for people who are sensitive to cold, those with mobility limits on icy ground, and families with very young children who cannot easily manage long waits outdoors. Visitors who want a guaranteed result on a fixed date may find the experience frustrating, since no operator can control the sky. If you also want lively evening entertainment, consider a base with indoor options alongside access to quiet viewing areas. Accommodation with a window facing the sky can also make waiting far more comfortable, especially on nights when the display is faint.
A simple checklist for aurora nights
- Check the space weather and local cloud forecasts on the day, and again in the evening.
- Confirm that your accommodation or viewing spot has a clear view of the northern horizon.
- Plan a warm indoor option for nights when conditions look poor.
- Check the moon phase and reduce light from nearby buildings or vehicles.
- Pick a fallback location in case your first spot is blocked by cloud or traffic.
- Decide in advance how long you will wait before heading indoors to warm up.
Seeing the northern lights is a matter of planning, patience and a bit of luck with the sky. With realistic expectations, a dark location and careful preparation, a night outdoors can become one of the most memorable parts of a winter trip.