How to Photograph the Northern Lights That Will Blow Your Mind
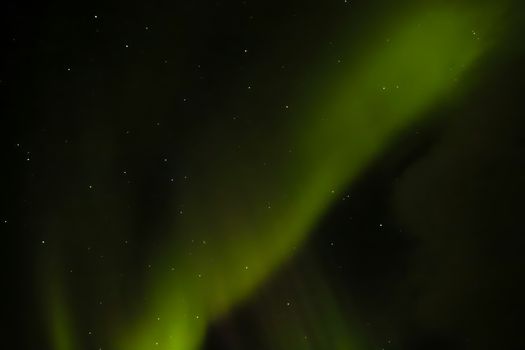
The arctic air bit at my exposed cheeks, a sharp, exhilarating sting. Around me, the vast, silent expanse of a frozen lake in Finnish Lapland stretched into the inky blackness, punctuated only by a few distant, twinkling stars. My breath plumed in frosty clouds as I fiddled with my camera settings, fingers numb despite my thick gloves. For hours, we had waited, scanning the sky, hope flickering with every passing cloud. Then, a whisper. A faint, almost imperceptible smudge of green appeared on the horizon, like a ghostly brushstroke on a black canvas.
My heart pounded. This was it.
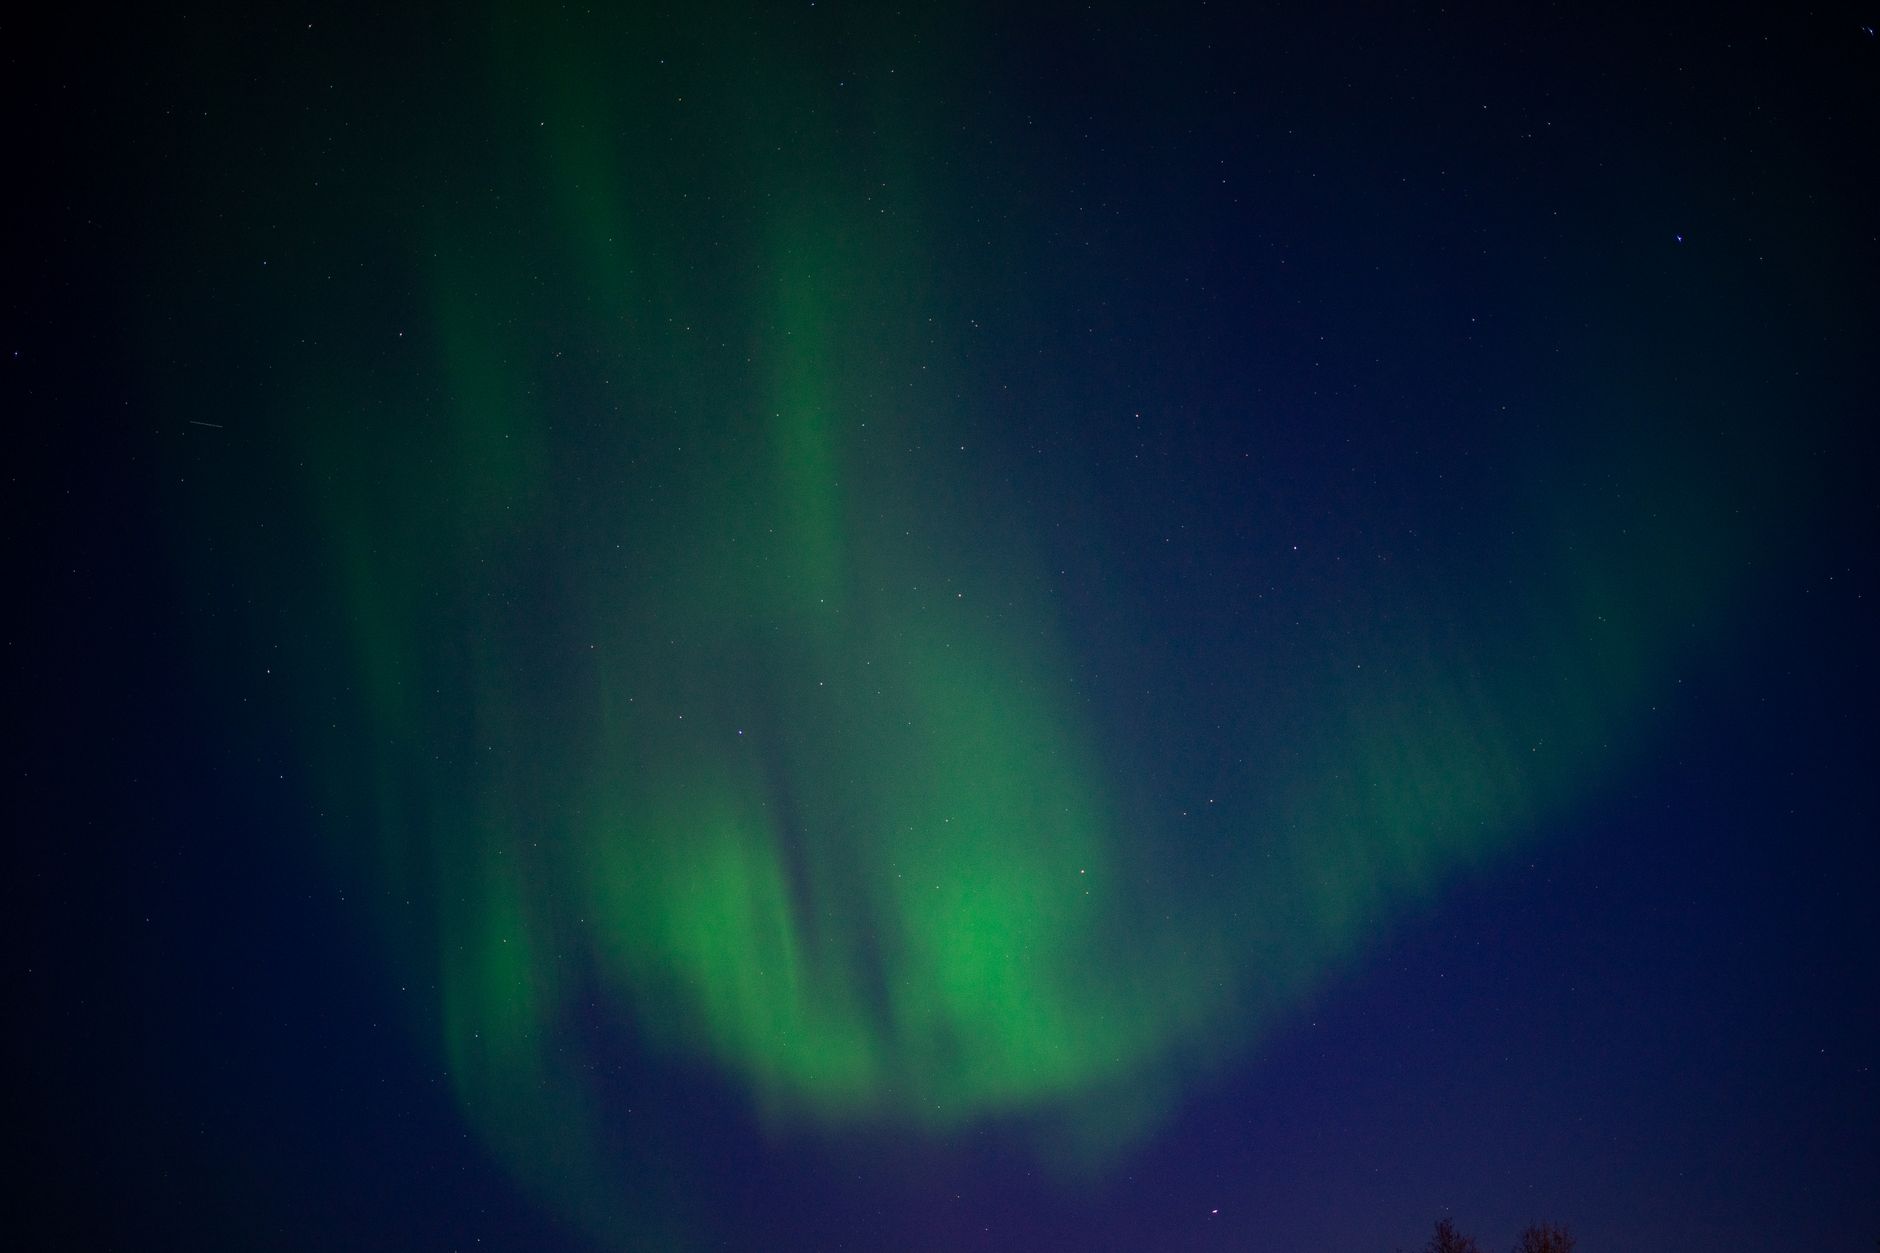
Within minutes, that smudge bloomed, unfurling into a vibrant, dancing curtain of emerald and jade, swirling and pulsing with an otherworldly grace. It felt like the sky itself was alive, breathing light into the darkness. I lifted my camera, took a shot, and checked the screen. A blurry, underexposed mess. My heart sank. This was my third trip chasing the aurora, and while I’d seen her dance before, my photos never quite captured the magic. They were always… lacking.
I’ve been there – standing under the most incredible natural light show on Earth, fumbling with settings, only to come away with images that simply don’t do it justice. It's frustrating, heartbreaking even, when your memory of a celestial ballet is reduced to a grainy, green smudge. But after countless chilly nights, endless experimentation, and a few lucky breaks, I finally cracked the code.
Now, I’m going to share my hard-won secrets with you. This isn't just about technical settings; it's about preparation, patience, and passion. By the end of this guide, you’ll have all the tools to capture the Northern Lights in a way that truly blows your mind – and everyone else's when you share them! Let’s dive in.
---
Hunting the Green Lady: Where, When, and How to Find Her
Before you even think about camera settings, you need to find the aurora! This isn't like shooting a landscape where the subject patiently waits. The Northern Lights are a fickle, fleeting phenomenon, and half the battle is simply being in the right place at the right time.
Where to Go:
My top recommendations for reliable aurora sightings are within the "aurora oval," a band around the magnetic poles.
* Iceland: Easily accessible, stunning landscapes. Areas around Jökulsárlón Glacier Lagoon offer incredible foregrounds with icebergs. I once spent a night near Kirkjufell mountain on the Snæfellsnes Peninsula, and the aurora dancing over that iconic peak was pure magic. Reykjavik is a great base, but you'll need to drive out of the city lights. Prices for aurora tours from Reykjavik start around €80-€150.
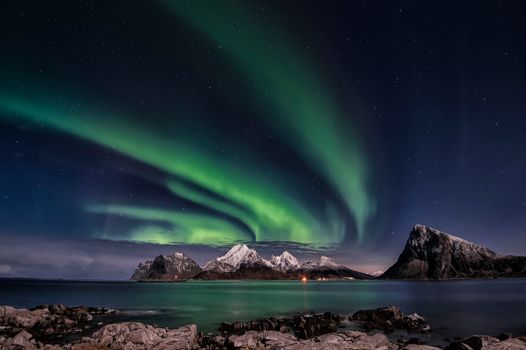
* Norway: Especially Tromsø (often called the "Gateway to the Arctic") and the Lofoten Islands. Lofoten offers dramatic fjords and red fishing cabins that make for incredible compositions. Tromsø has numerous tour operators, and being further north, your chances are generally excellent. Prices for tours are similar to Iceland.
* Finland: Lapland is a dream, particularly around Rovaniemi or Levi. I had my truly mind-blowing experience near a remote cabin in Levi. The pristine snow and frozen trees create a serene, ethereal backdrop.
* Sweden: Abisko National Park is famous for its "Blue Hole," a patch of sky that often remains clear even when surrounding areas are cloudy. They even have an Aurora Sky Station accessible by chairlift!
* Canada: Yellowknife in the Northwest Territories boasts some of the highest aurora viewing probabilities globally due to its flat landscape and clear skies.
When to Go:
The aurora season typically runs from late August/early September to early April. You need dark skies, which means avoiding the summer months when the sun barely sets in the Arctic. The darkest months (December-February) offer the most hours of darkness, but also the coldest temperatures. My personal sweet spot is late September/early October or March – often slightly milder weather and still plenty of darkness.
How to Track Her Down:
* Aurora Forecast Apps & Websites: These are your best friends. I swear by "My Aurora Forecast & Alerts" app (iOS/Android) and websites like Space Weather Live or NOAA's Space Weather Prediction Center. They provide Kp-index forecasts (a measure of geomagnetic activity, 0-9), cloud cover maps, and even real-time solar wind data. Aim for a Kp of 3 or higher for decent visibility, but even a Kp 2 can produce a show if skies are clear and light pollution is minimal.
* Clear Skies: This is paramount. Even with a Kp 9, if it's cloudy, you won't see a thing. Use local weather forecasts and cloud cover maps religiously.
* Minimal Light Pollution: Drive away from towns and cities. The further you are from artificial light, the more vibrant the aurora will appear. A 30-minute drive often makes a huge difference.
Personal Anecdote: On my first trip to Iceland, the Kp index was through the roof, but a relentless storm meant thick clouds for days. I was heartbroken. Then, on our last night, a tiny window of clear sky opened up for literally 20 minutes outside our guesthouse. The aurora burst forth in a frenzy, green and purple, before the clouds swallowed it again. It taught me that persistence and checking forecasts constantly are key, and sometimes, even a short appearance is worth everything.
---
Arming Yourself for the Night: Must-Have Gear Beyond Your Camera
This isn't a casual point-and-shoot scenario. To capture truly stunning aurora photos, you need the right tools. Think of it as assembling your aurora-hunting arsenal.
- Camera Body: You need a camera that performs well in low light.
- DSLR or Mirrorless: A full-frame sensor is ideal (e.g., Sony A7 series, Nikon D850, Canon EOS R/R5/R6) as it generally handles high ISO settings with less noise. However, modern APS-C cameras (e.g., Fuji X-T series, Sony a6000 series, Canon Rebel T8i) can also deliver excellent results.
- Lens: This is arguably the most critical piece of equipment.
- Wide-Angle: You want to capture as much of the sky as possible. A focal length of 14mm to 24mm on a full-frame camera (or 10-16mm on APS-C) is ideal.
- Fast Aperture: This is non-negotiable. Look for a lens with an aperture of f/2.8 or wider (f/1.8, f/1.4). A wider aperture lets in more light, allowing for shorter shutter speeds and lower ISOs, which means sharper, less noisy images. My go-to is a 14mm f/2.8 – it’s a game-changer.
- Sturdy Tripod: This is absolutely, unequivocally essential. You'll be taking long exposures, so any camera movement will result in blurry photos. Invest in a stable, robust tripod that can withstand wind. Brands like Manfrotto, Gitzo, or Peak Design are excellent. Avoid flimsy, lightweight models.
- Remote Shutter Release: Wired or wireless. Pressing your camera's shutter button can introduce shake, especially during long exposures. A remote release eliminates this. If you don't have one, use your camera's 2-second timer.
- Spare Batteries: Cold drains batteries at an alarming rate. I always carry at least two fully charged spares, sometimes three. Keep them warm in an inside pocket until you need them. I learned this the hard way when my camera died just as the aurora peaked!
- Headlamp/Flashlight: Crucial for seeing what you're doing. Ensure it has a red light mode! White light ruins your night vision and can be extremely disruptive to other photographers.
- Warm Clothing (Layers!): This isn't just for comfort; it's for survival. Thermals, fleece, a good down jacket, waterproof outer shell, insulated boots, thick wool socks, a hat that covers your ears, and mittens with finger inserts (or glove liners) are a must. Your hands will be exposed when fiddling with settings.
- Optional but Recommended: Hand warmers (for pockets or inside gloves), a thermos with hot tea/coffee, a small blanket, a small stool (if you plan to sit and wait).
---
Dialing It In: The Golden Settings for Jaw-Dropping Aurora Shots
Now for the technical stuff. Don't be intimidated; once you understand the logic, it's quite straightforward. The goal is to gather as much light as possible without introducing too much noise or blurring the aurora's movement.
- Manual Mode (M): You must be in manual mode. Auto mode will simply not work for aurora photography.
- Focus: Manual Focus to Infinity.
- DO NOT use autofocus. It won't work in the dark.
- How to focus: This is critical.
- Switch your lens and camera to manual focus (MF).
- If your lens has an infinity symbol (∞), turn the focus ring all the way to that point, then back off just a tiny bit.
- The most reliable method: Use Live View (or your mirrorless EVF), zoom in digitally on the brightest star you can find, and manually adjust your focus ring until the star is a tiny, sharp pinprick of light.
- Once focused, do not touch your focus ring again!
- Aperture (f-stop): Widest Possible.
- Set your aperture to the lowest f-number your lens allows (e.g., f/2.8, f/1.8, f/1.4). This lets in the maximum amount of light.
- ISO: Start at 1600-3200.
- This is your camera's sensitivity to light. Higher ISO means brighter images but also more digital noise (grain).
- Start around ISO 1600-3200. If the aurora is faint, you might need to go higher (e.g., 6400). If it's incredibly bright, you might go lower (e.g., 800-1000). Modern cameras handle high ISOs much better than older ones.
- Shutter Speed: The Variable Key.
- This determines how long your camera's sensor is exposed to light.
- Faint, slow-moving aurora: Start with 15-20 seconds.
- Bright, fast-moving aurora: Use a shorter exposure, like 5-10 seconds.
- Why shorter for fast aurora? If the aurora is dancing wildly and quickly, a long exposure will blur its intricate patterns into a green blob. Shorter exposures "freeze" the movement, preserving the distinct rays and swirls. This is a common mistake I see beginners make!
- Experiment! Take a shot, check the brightness and blur, and adjust accordingly.
- White Balance (WB):
- Auto WB can sometimes work, but it might produce inconsistent colors.
- For a cooler, more natural look, try setting your Kelvin (K) temperature manually to 3500K-4500K. Play around to see what looks best on your screen.
- Shoot in RAW Format:
- ALWAYS shoot RAW. This captures the maximum amount of image data, giving you far more flexibility in post-processing to adjust exposure, white balance, and reduce noise without degrading image quality. JPEGs are compressed and lose information.
- Image Stabilization (IS/VR/OS): TURN OFF.
- If your lens or camera body has image stabilization, turn it off when using a tripod. It can actually introduce blur when the camera is perfectly still.
Personal Anecdote: My very first aurora photos were a disaster because I left my camera on autofocus. Every single star was a blurry streak. It was a cold, frustrating lesson, but it taught me the absolute importance of manual focus. Now, I double-check it every single time. Another time, I used too long a shutter speed for a really active aurora, and the vibrant rays turned into a milky green cloud. Adjusting to 8 seconds made all the difference!
---
Framing the Magic: Elevating Your Aurora Photos with Creative Composition
Anyone can point a camera at the sky, but truly mind-blowing aurora photos tell a story. They have depth, context, and a sense of place. This is where composition comes in.
- Foreground Interest: This is the secret sauce for impactful aurora shots. Don't just shoot the sky! Include something in the foreground to give scale, depth, and a point of interest.
- Examples: Majestic mountains, snow-covered trees, a frozen lake reflecting the lights, an iconic building (like a small church or cabin), or even a silhouette of yourself or your travel companions.
- My Jökulsárlón Story: My most shared aurora photo features the aurora dancing over the icebergs in Iceland's Jökulsárlón. The ice provided an incredible, ethereal foreground, and the reflections in the calm water doubled the magic. Without that foreground, it would have been just another sky shot.
- Rule of Thirds: Imagine dividing your frame into nine equal sections with two horizontal and two vertical lines. Place your horizon on the lower or upper third, and place points of interest (like a prominent mountain or a person) along the lines or at their intersections.
- Leading Lines: Use natural elements like a winding road, a river, or a shoreline to draw the viewer's eye towards the aurora.
- Reflections: If you're lucky enough to find calm water (a lake, a puddle, or even wet ice), the aurora's reflection can be absolutely breathtaking, creating a symmetrical, dreamlike image.
- Silhouettes & Self-Portraits: Want to make your photos truly personal and shareable? Include yourself!
- Set your camera on the tripod, compose your shot, and use your remote shutter.
- Stand perfectly still for a few seconds during the exposure.
- For a subtle touch, you can briefly illuminate yourself with a very quick, low-power flash from your headlamp (red light works too, but white is brighter for a silhouette). Practice this! Too long, and you'll be overexposed.
- Experiment with Angles: Don't just stand in one spot. Move around! Get low to the ground to include interesting snow formations, or find a higher vantage point to look down on a landscape bathed in aurora light.
- Time-Lapses (Advanced): If you're feeling ambitious and have an intervalometer, a time-lapse of the aurora dancing is incredibly captivating. Set your intervalometer to take a shot every 5-10 seconds, then stitch them together in post-processing software.
---
The Final Touch: Polishing Your Aurora Gems in Post-Production
Shooting in RAW is fantastic, but it means your images will look a bit flat straight out of the camera. Post-processing is where you truly bring your aurora photos to life, enhancing their colors, sharpness, and reducing noise.
- Software: My go-to is Adobe Lightroom Classic (for cataloging and basic edits) and Adobe Photoshop (for more complex tasks like compositing or advanced noise reduction). Other excellent options include Luminar Neo, Capture One, or even free tools like GIMP or RawTherapee.
- Basic Adjustments (Lightroom/Similar):
- Exposure: Adjust slightly to ensure the aurora is bright but not blown out, and the foreground has some detail.
- Contrast: A slight boost can make the aurora "pop."
- Highlights & Shadows: Recover detail in blown-out highlights or deep shadows.
- Whites & Blacks: Fine-tune the brightest and darkest points.
- White Balance: If you shot with a custom Kelvin, you might still want to fine-tune it. Adjust the temperature slider until the snow looks white and the aurora's colors feel natural and vibrant. Avoid making the aurora look artificially green or purple.
- Noise Reduction: High ISO means noise.
- Luminance Noise: Reduces graininess. Apply sparingly; too much can make your image look plasticky.
- Color Noise: Removes colored speckles. Be more aggressive with this.
- Pro Tip: Zoom in to 100% when applying noise reduction to see the effect accurately.
- Clarity & Dehaze: A slight increase in clarity can enhance the definition and "punch" of the aurora. Dehaze can also add depth.
- Sharpening: Apply a subtle amount of sharpening to bring out details in the aurora and foreground. Again, don't overdo it.
- Vibrance & Saturation: Boost the colors of the aurora slightly. Use Vibrance first, as it selectively enhances less saturated colors. If needed, a small bump in Saturation can follow, but be careful not to make the colors look artificial or cartoonish.
- Cropping & Straightening: Straighten your horizon and crop to improve your composition, removing distractions.
- Graduated Filters/Radial Filters (Lightroom): These are fantastic for selectively enhancing areas. For example, a graduated filter on the sky can boost the aurora's exposure or clarity without affecting the foreground. A radial filter can isolate and enhance the aurora itself.
Personal Anecdote: I remember thinking my raw aurora files looked a bit dull after a phenomenal show. But then, in Lightroom, I adjusted the white balance to a cooler tone, brought up the shadows in the foreground, and added just a touch of clarity. Suddenly, the image transformed into the vibrant, ethereal scene I remembered. It truly felt like I was bringing the magic back to life!
---
Beyond the Lens: Staying Safe and Respectful Under the Aurora
While chasing and photographing the aurora is an incredible adventure, it's crucial to prioritize safety and respect the environment and fellow aurora chasers.
- Mind Your Lights: This is huge. When you're out in the dark, a bright white headlamp can blind people whose eyes have adjusted to the darkness and ruin their night vision (and their photos!). Always use a red light mode if your headlamp has one. If not, point your light at the ground, not at other people or the sky.
- Stay on Marked Paths: Arctic environments are fragile. Stick to designated trails or areas to avoid disturbing wildlife or damaging delicate vegetation.
- Dress Warmly (Again!): I cannot stress this enough. Even if it doesn't feel that cold initially, standing still for hours in sub-zero temperatures can lead to hypothermia or frostbite. Layer up!
- Inform Someone: If you're venturing out alone into remote areas, always tell someone where you're going and when you expect to return. Mobile signal can be patchy.
- Check Weather and Road Conditions: Arctic weather can change rapidly. White-out blizzards or icy roads can appear with little warning. Check local forecasts and road reports before heading out.
- Respect Wildlife: If you encounter any animals, maintain a respectful distance. Never disturb or feed them.
- Leave No Trace: Pack out everything you pack in, including all trash, food wrappers, and anything else. Leave the location as pristine as you found it.
- Enjoy the Moment: While it's tempting to spend every second behind your camera, remember to periodically put it down. Look up. Breathe in the cold air. Let the ethereal beauty of the aurora wash over you. Some of my most cherished memories are simply standing in awe, camera forgotten for a few minutes, soaking in the silent, dancing sky.
---
Your Mind-Blowing Aurora Adventure Awaits!
There's truly nothing quite like witnessing the Northern Lights. It's a primal, awe-inspiring experience that connects you to the vastness of the universe. And with the tips and tricks I’ve shared, you're now equipped to not only witness that magic but to capture it in stunning, shareable photographs that will make your friends and family gasp.
From finding the perfect dark sky in Iceland's dramatic landscapes or Finland's snowy forests, to meticulously dialing in your camera settings, and finally, polishing your images into masterpieces – you now have the blueprint. Don't be afraid to experiment, be patient, and most importantly, enjoy every single moment under that spectacular celestial show.
So, what are you waiting for? Grab your gear, chase the green lady, and prepare to blow your mind with your own incredible aurora photography.
What's your dream aurora destination? Have any secret tips you swear by? Share your thoughts and photos with us on social media using #TripsoraAurora! We can't wait to see your mind-blowing shots!
---