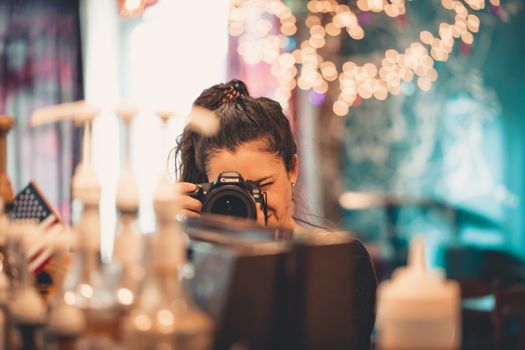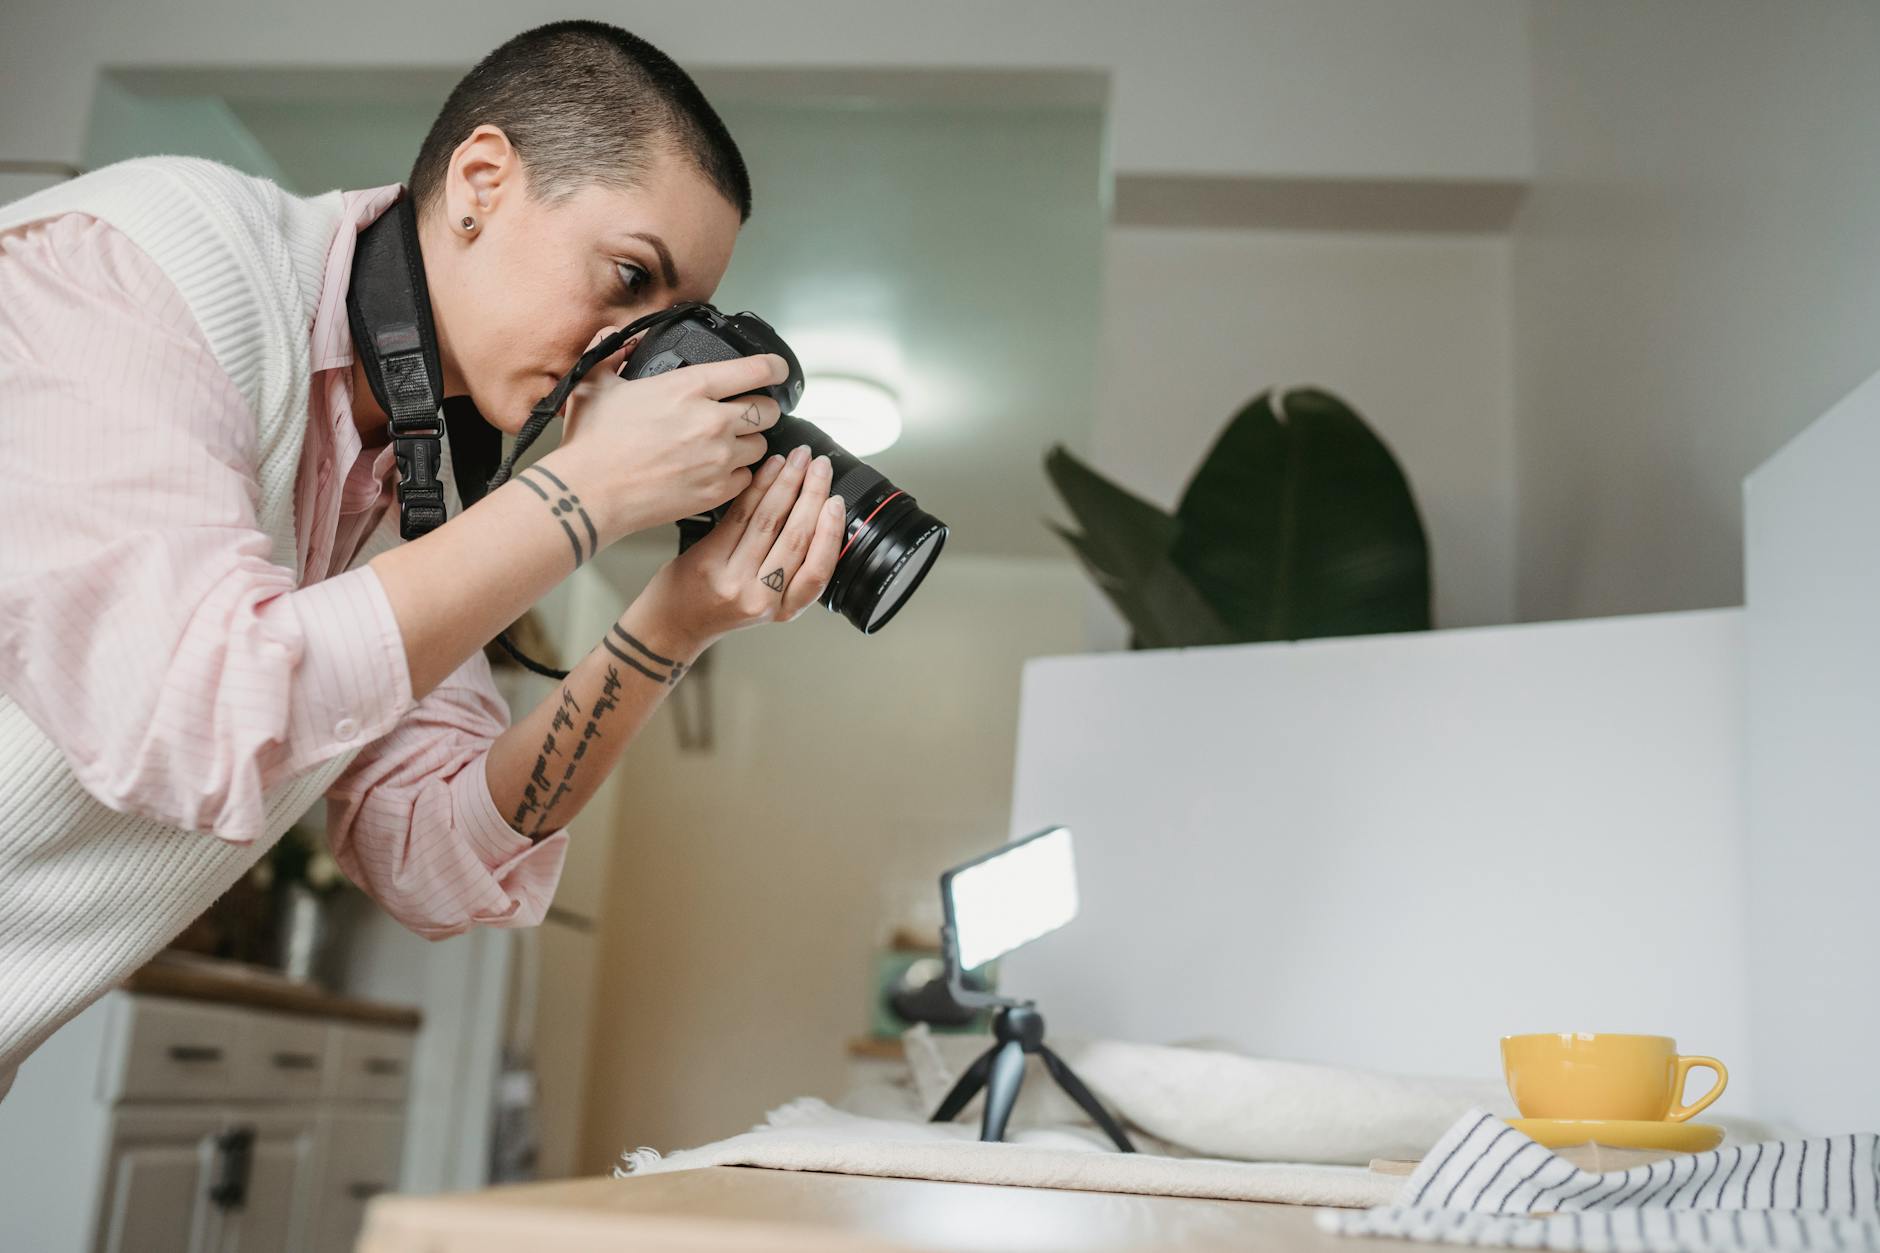
"Ugh, another blurry, dimly lit photo," I muttered, staring at my phone screen in a charming little Parisian patisserie. The pastries were works of art, the coffee frothed to perfection, and the ambiance? Pure magic. Yet, my photo looked like it was taken in a cave by a potato. Sound familiar?
For years, my indoor travel photos were a source of constant frustration. Grand cathedrals looked like dark caves, bustling markets appeared muddy, and those exquisite dishes I’d painstakingly sought out? Flat, unappetizing blobs. I’d see locals, or even other tourists, snapping away with seemingly effortless grace, their shots vibrant, sharp, and utterly Instagram-worthy. What was their secret? Were they all packing professional gear and light rigs into their carry-ons?
The truth, I discovered, was far simpler, more ingenious, and frankly, a bit cheeky. It wasn't about fancy equipment; it was about understanding light – how to find it, how to use it, and how to manipulate it, often right under the noses of those who'd prefer you didn't know their visual secrets. After countless hours of trial and error, a few whispered tips from a friendly barista in Rome, and one particularly enlightening conversation with a street photographer in Lisbon, I cracked the code. And today, my fellow travelers, I’m sharing those "locals don't want tourists to know" lighting tricks with you. Get ready to transform your indoor travel photography from 'meh' to 'marvelous'!
1. The Invisible Spotlight: Mastering Window Light Like a Local
Forget expensive studio lights; the best lighting source is often free and abundant. The trick is knowing how to use it. Locals, particularly those running cafes, shops, or galleries, instinctively know where the light falls best in their space. They arrange their most beautiful displays, their coziest seating, or their most photogenic dishes in these spots. You should too.
The Insider Scoop:
* Seek the Softness: Direct, harsh sunlight streaming through a window can be your enemy, creating blown-out highlights and deep shadows. Instead, look for indirect window light – a window on a cloudy day, or a window on the shaded side of a building. If the sun is beaming, use a sheer curtain (if available, and if you can subtly adjust it without being a nuisance!) or even a white menu or napkin as a makeshift diffuser.
* Angle for Glow: Position your subject (be it a person, a plate of pasta, or a detailed artifact) so the window light hits it from the side or slightly behind. This creates beautiful dimension and a soft, ethereal glow. Never shoot directly into a bright window unless you're aiming for a silhouette.
* The White Wall Bounce: My absolute favorite trick, learned from a Parisian café owner, is to use a white wall opposite a window. Position your subject between the window and the white wall. The light from the window will hit your subject, then bounce off the white wall, filling in any harsh shadows on the other side. This creates a beautifully even, soft light – it’s like having a professional softbox without carrying any gear! I once captured the most exquisite pain au chocolat in a tiny Montmartre bakery this way, the flaky layers perfectly highlighted, simply by nudging my plate closer to a white pillar.
* Timing is Everything: Just like the golden hour outdoors, there's a "golden hour" indoors. In many European cities, morning light (9-11 AM) often streams beautifully into east-facing cafes, creating a warm, inviting glow. Late afternoon light (3-5 PM) can bathe west-facing spaces in a rich, golden hue. Pay attention to how the light changes throughout the day in different venues. I discovered a small bookstore in Kyoto where the light hit a particular bookshelf perfectly at 2 PM, making the antique spines absolutely pop – a photo opportunity I would have missed without observing the light's journey.
Actionable Tip:
Before you even raise your camera, spend a moment observing the light in the room. Where is it coming from? How does it fall on different objects? Which areas are brightest, and which are softly lit? Your eyes are your first and best light meter.
2. Befriending the Bulbs: Making Artificial Light Work for You (Not Against You)
Often, natural light isn't enough, or it's non-existent. Dimly lit pubs, underground museums, or cozy restaurants present a challenge. But don't despair! Artificial light, when understood, can be your secret weapon. The key is to control it, not be controlled by it.
The Insider Scoop:
* The Phone Torch Softbox: This is a game-changer for food photography in dim restaurants. Instead of blasting your dish with your phone's harsh flash, ask a travel companion to turn on their phone torch. Then, hold a white napkin or a menu in front of the torch, slightly angled, to diffuse and soften the light. Direct the softened light onto your dish from a slight angle. The difference is astounding! I used this trick to capture a vibrant paella in a dimly lit Valencia restaurant, and the results looked like they were shot with professional equipment. No more orange, unflattering food photos!
* Utilize Existing Fixtures: Look around. Are there table lamps, wall sconces, or even overhead chandeliers? Position your subject so that these lights illuminate them from the side or slightly above. Avoid having a direct overhead light source as your primary light, as it creates harsh shadows under eyes and noses – the dreaded "raccoon eyes."
* Backlighting for Drama: A strategically placed lamp behind your subject (slightly off-center) can create a stunning rim light, outlining your subject with a beautiful glow. This works wonders for portraits or highlighting the steam rising from a hot drink. Just make sure the light source itself isn't directly in your shot, or if it is, that it's intentionally part of the composition (e.g., a blurry bokeh effect).
* White Balance Wisdom: Different artificial lights have different "color temperatures" – warm (yellow/orange) or cool (blue). Your camera (even your phone) has white balance settings (e.g., Incandescent, Fluorescent, Cloudy, Daylight). Experiment with these! If your photos look too yellow under incandescent bulbs, try the 'Incandescent' white balance setting. If they're too blue under fluorescent lights, try 'Fluorescent.' This simple adjustment, often overlooked, can dramatically improve the color accuracy and mood of your indoor shots.
Actionable Tip:
When using artificial light, think about its direction and intensity. Can you move your subject (or yourself) to better utilize a nearby lamp? Can you diffuse a harsh light source with a piece of paper or cloth?
3. The Angle Advantage: How Perspective Unlocks Hidden Light
It’s not just about where the light is, but how you position yourself and your camera relative to it. Locals who truly understand their space intuitively know the best angles for a flattering shot.
The Insider Scoop:
* Elevate for Evenness: When photographing food or tabletop scenes, shooting slightly from above (a 45-degree angle or even straight down) can often capture more even light, especially if your primary light source is overhead or from a window. This minimizes shadows created by your own body or your camera. I’ve found this indispensable for capturing intricate dessert platters in Vienna's coffee houses.
* The Low-Light Lift: In very dim environments, sometimes getting lower to the ground can actually help. If there's a light source on a lower shelf or table, shooting from a slightly lower angle can help frame your subject against a brighter background or catch light that might otherwise be missed. This is particularly effective for capturing the grandeur of architectural details in dimly lit cathedrals or museums.
* Eliminate Your Shadow: This sounds obvious, but it's a common mistake. Be mindful of where your body and camera are casting shadows. Before you press the shutter, quickly shift your position slightly to ensure you’re not blocking the precious light from reaching your subject. This often means moving a step to the side or changing your angle relative to the light source.
* Stability is Key: In low light, camera shake is your enemy. The longer your camera's shutter stays open to gather light, the more susceptible it is to blur from your hands.
* The Invisible Tripod: Lean against a wall, a pillar, or a sturdy table. Prop your elbows on a surface. Hold your breath for a second as you press the shutter.
* Mini Tripod/GorillaPod: For serious low-light stability, a small, flexible tripod (like a Joby GorillaPod) can be discreetly placed on a table or wrapped around a railing. Just be courteous and ensure it's not obstructing anyone. I’ve used a tiny Gorillapod to get crystal-clear night shots inside dimly lit temples in Thailand, capturing details that would have been impossible handheld.
Actionable Tip:
Experiment with different angles. Take a few shots from high, low, and eye-level. You'll be surprised how a slight shift in perspective can completely change how the light interacts with your subject.
4. The Discreet Toolkit: Apps, Small Gear & Post-Processing Magic
While the best tools are your eyes and understanding of light, a few discreet aids and post-processing tricks can elevate your indoor shots from good to truly stunning. Think of these as the 'secret sauce' that makes your photos pop.
The Insider Scoop:
* Smartphone Apps for the Win: Forget your phone's native camera app for serious editing.
* Lightroom Mobile (Free Version): This is my absolute go-to. Use it to adjust exposure (brightness), shadows (to reveal detail in dark areas), highlights (to recover detail in bright areas), and white balance. The 'selective adjustments' tool is gold for brightening just a specific part of your photo (like a face or a dish) without affecting the whole image.
* Snapseed (Free): Another powerhouse. Its 'Selective' tool allows you to tap on a specific area and adjust brightness, contrast, and saturation only in that spot. Its 'Tune Image' and 'Details' features are excellent for fine-tuning.
* VSCO: Great for subtle, film-like filters that can add mood and cohesion to your indoor shots without looking overly edited.
* The Tiny LED Panel: I carry a credit-card-sized LED panel (like the Lume Cube Air or similar brands, often around $50-$100) in my bag. It’s incredibly discreet, easily fits in a pocket, and provides a soft, adjustable light source. I’ve used it to illuminate intricate details in a textile shop in Oaxaca, Mexico, or to add a subtle fill light to a portrait in a dimly lit bar in New Orleans. It’s powerful enough to make a difference but small enough to not draw attention.
* Clip-On Diffusers: For less than $10, you can get a small, clip-on diffuser that attaches to your phone's flash. While I generally advise against using direct flash, if you must use it, a diffuser will soften the harsh light significantly, making it less jarring and more flattering.
* Exposure Compensation (EV): Most cameras (and many advanced phone camera apps) allow you to adjust exposure compensation (often labeled +/- EV). If your indoor shot looks too dark, increase the EV slightly (+0.3 to +0.7). If it looks too bright, decrease it. This is a quick way to tell your camera to capture more or less light without diving into complex manual settings.
Actionable Tip:
Download Lightroom Mobile and Snapseed. Even 5 minutes of basic editing (adjusting exposure, shadows, and highlights) can transform a dull indoor shot into something vibrant and shareable. Practice on your existing photos!
5. The 'Local's Eye': Observation, Patience & Storytelling
Beyond the technicalities, the true secret weapon of a local photographer is their deep understanding of a space and their patience. They don't just take a photo; they capture a moment, an essence, a story.
The Insider Scoop:
* Observe the Flow: Watch how locals interact with the space. Where do they gather? Where do they sit? Often, these are the spots with the most natural light or the most interesting compositions. In a bustling market in Vietnam, I noticed vendors always arranged their most colorful produce closest to the entrance, where the light was best – a prime photo opportunity!
* Patience, My Friend: Sometimes, the perfect shaft of light, the ideal moment, or the right crowd density takes time. Don't rush. Order another coffee, soak in the atmosphere, and wait. That fleeting ray of sun through a stained-glass window in a Barcelona cathedral, or the perfect steam rising from a ramen bowl in Tokyo, often rewards patience.
* Embrace the Mood: Not every indoor shot needs to be brightly lit. Sometimes, the dim, atmospheric lighting is the story. A cozy, dimly lit jazz club in Harlem, or a candlelit grotto in Matera, Italy, wouldn’t feel authentic if artificially brightened. Learn to embrace the shadows and use them to enhance the mood and mystery. Focus on highlighting key details with subtle light rather than illuminating everything.
* Tell a Story with Light: Use light to draw the viewer's eye to the most important elements of your scene. Is it the intricate embroidery on a textile? The delicate foam on a latte? The texture of an ancient stone wall? Position your subject and yourself so that the light emphasizes these details, creating a narrative within your photo.
Actionable Tip:
Before you even think about your camera, simply look. Observe the light, the people, the details. What story do you want to tell about this place? How can the available light help you tell it?
The Grand Reveal: Your Photos, Transformed!
You've got the secrets now. The "locals don't want tourists to know" tricks are no longer secret. You understand the power of window light, how to befriend artificial illumination, the magic of perspective, and the subtle boost from smart apps and tiny gear. Most importantly, you now know how to see light, observe like a local, and tell compelling stories through your lens.
No more blurry, dull indoor photos. No more feeling frustrated when your photos don't match the magic you experienced. These aren't just technical tips; they're a mindset shift, an invitation to engage more deeply with the spaces you visit.
So, on your next adventure, whether it's a bustling market in Marrakech, a serene temple in Kyoto, or a cozy cafe in Copenhagen, arm yourself with these insights. Practice them. Experiment with them. And then, prepare to be amazed as your indoor travel photos transform from flat snapshots into vibrant, evocative, truly stunning works of art that will make your friends wonder, "How did they do that?"
Now go forth, capture the indoor magic, and don't forget to share your dazzling results! We can't wait to see your stunning shots. Tag @Tripsora and use #TripsoraLightHacks on Instagram so we can celebrate your newfound photography superpowers!