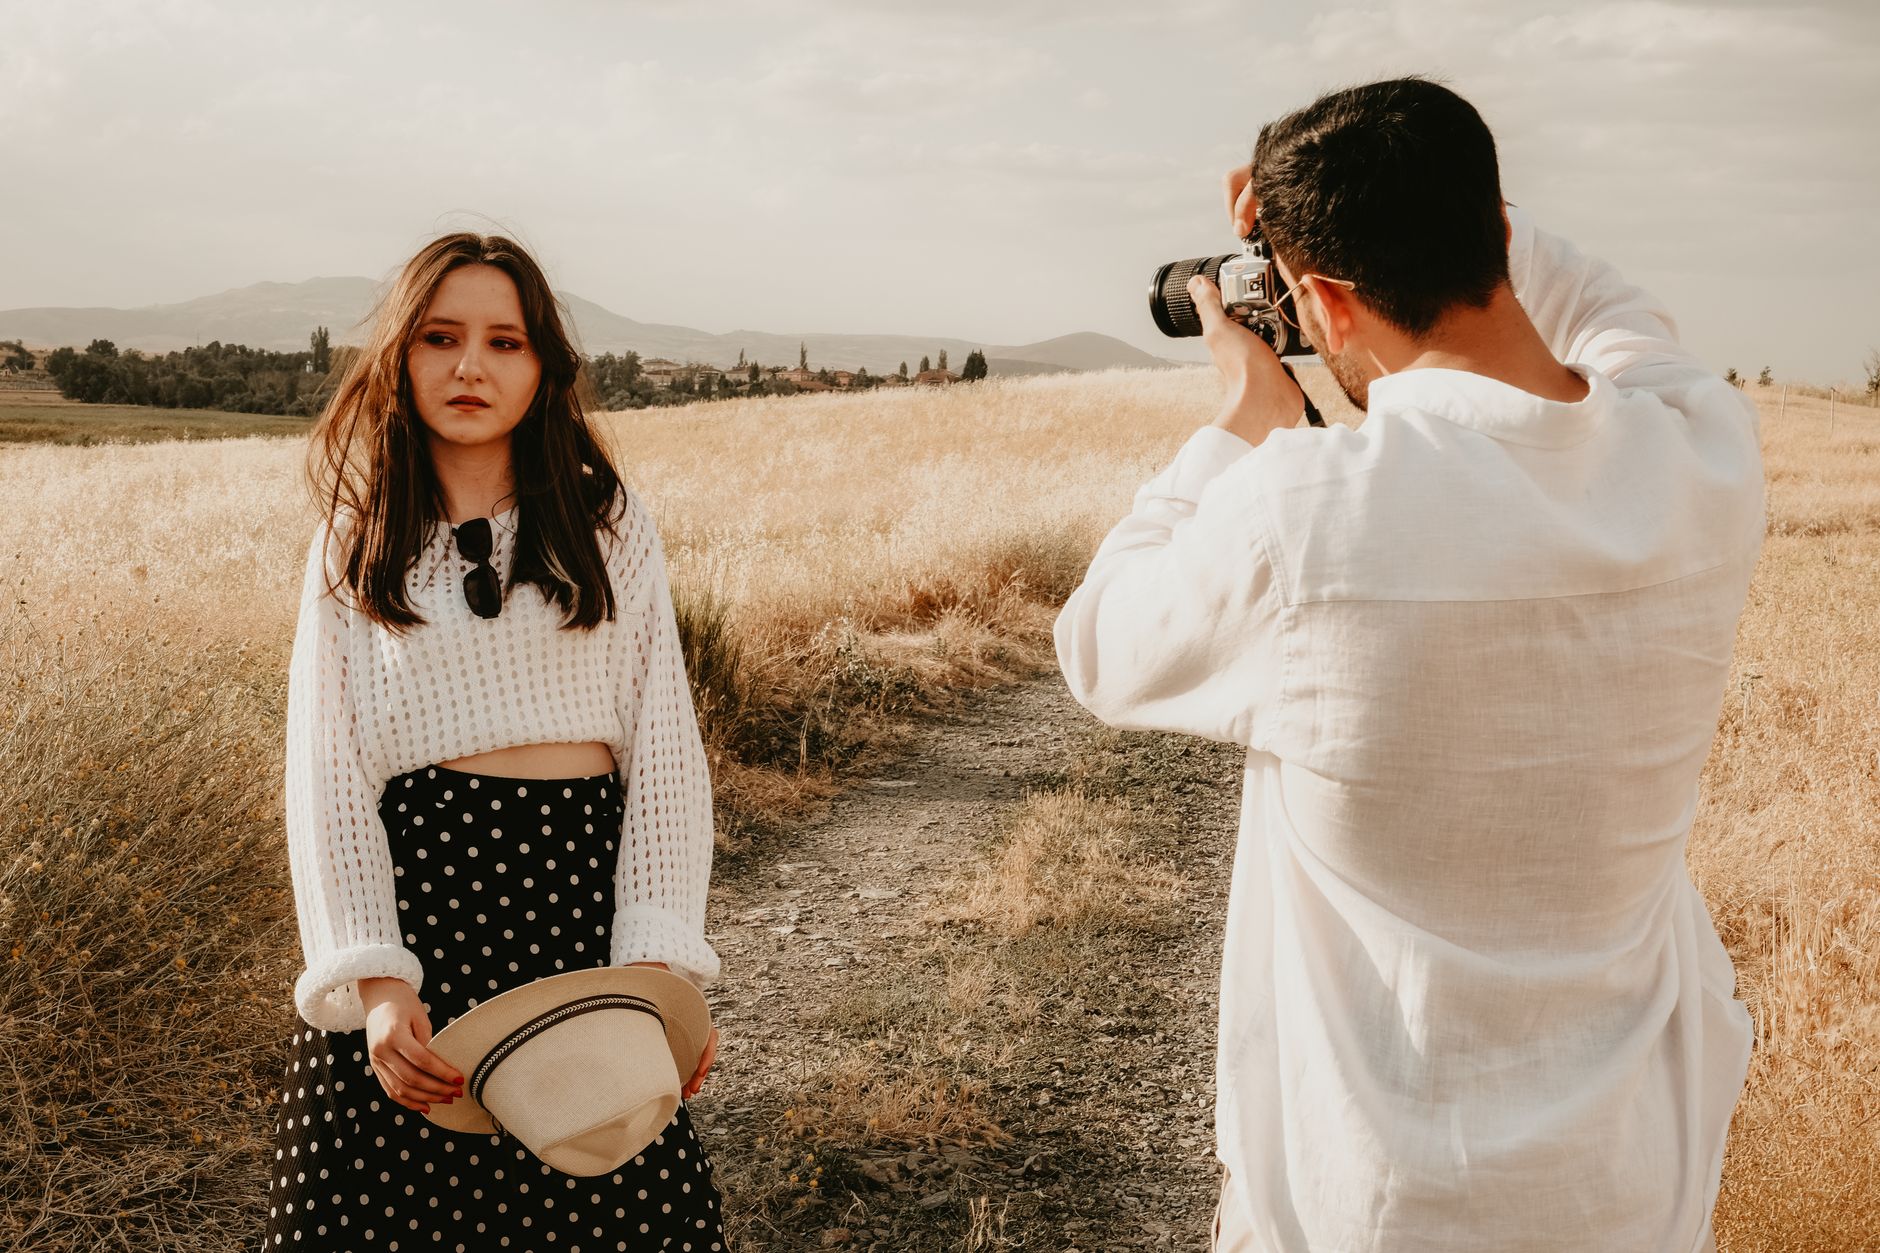
Awkward No More: Your November 2025 Guide to Confident Travel Photos!
Hey fellow wanderers! It's me, Alex, your resident Tripsora blogger, and I'm going to let you in on a little secret: for years, my travel photos were... well, a disaster. I’d stand there, stiff as a board, hands plastered to my sides, sporting a forced smile that looked more like I was trying to pass a kidney stone than enjoy a breathtaking view. The results? A camera roll full of awkward, unshareable memories.
I remember my first solo trip to Kyoto in October 2019. The vibrant autumn leaves were a dream, the ancient temples majestic. But when I looked back at my photos, taken by kind strangers or precariously balanced on my backpack, I saw a stranger – a stiff, uncomfortable version of myself. It was soul-crushing. How could I capture the joy I felt when my face and body screamed "get me out of here"?
Fast forward to November 2025. The air is crisp, the leaves are turning golden in Central Park, and the scent of pumpkin spice is everywhere. I'm wrapped in my favorite chunky knit scarf, sipping a spiced latte, and actually enjoying being in front of the camera. My feed is filled with genuine smiles, dynamic poses, and photos that truly reflect the magic of my travels. What changed? I cracked the code to posing naturally, even when every fiber of my being wanted to hide behind the lens.
If you’ve ever felt like a deer in headlights when a camera points your way, this guide is for you. This November, we’re ditching the awkwardness and embracing the art of effortless travel photography. Get ready to transform your photo game and make every moment Instagram-worthy!
1. Embrace the Awkward: It's Your Superpower (The Mindset Shift)
The first, and arguably most crucial, step to confident photos isn't about what you do with your hands, but what you do with your mind. For years, I approached photos with dread, convinced I'd look terrible. That negative self-talk became a self-fulfilling prophecy.
Practical Tip: Reframe the "Awkward"
Instead of seeing awkwardness as a flaw, see it as a starting point. Everyone feels a little stiff initially. Think of it as an experiment, a game. My turning point came during a trip to a bustling Christmas market in Vienna last November. I decided to stop trying to be perfect and just be. I laughed at my stiff attempts, made funny faces, and eventually, genuine smiles emerged.
- Focus on the Experience, Not the Photo: When you're truly engaged with your surroundings – admiring a stunning cathedral, tasting a local delicacy, or simply soaking in the atmosphere – your genuine emotions will shine through. The photo becomes a byproduct of your experience, not the sole purpose.
- Positive Affirmations: Before a photo session, tell yourself, "I am beautiful, I am confident, I am having fun." Sounds cheesy, but it works!
- Let Go of Perfection: Not every photo will be a masterpiece, and that's okay. Aim for capturing moments and feelings, not magazine covers. The "awkward" outtakes often become your funniest memories!
This November, as you explore pumpkin patches, cozy cafes, or early holiday markets, remember that the most captivating photos are those that capture your authentic self, even if that self is a little goofy sometimes.
2. The Art of the "Candid" (Even When It's Staged)
Ever wonder how travel bloggers get those perfectly natural-looking candid shots? Spoiler alert: most of them aren't actually candid. They're strategically staged to look natural. This is where you can trick your brain (and the camera) into thinking you're just living your best life.
Practical Tips: Movement is Your Friend
Static poses scream "awkward." Movement, however slight, adds dynamism and authenticity.
- The Walk-Away/Walk-Towards: This is my go-to! Whether it’s along a picturesque canal in Amsterdam or a leaf-strewn path in Vermont this November, just walk. Look over your shoulder, look down at the ground, or simply walk towards or away from the camera. It creates a sense of journey and mystery. Pro-tip: Take a burst of photos while walking to capture the most natural stride.
- The "Look-Over-the-Shoulder": Simple, flattering, and instantly less stiff. As you walk away, glance back at the camera. It’s engaging without being confrontational.
- Interact with Your Surroundings:
- Hold Something: A coffee cup, a map, a local pastry, your phone, a book. My favorite recently was holding a warm apple cider at a farmers market near Asheville. It gives your hands a purpose and makes you look engaged.
- Lean, Sit, or Perch: Don't just stand. Lean against a wall, sit on a bench, perch on a railing (safely!). Varying your height and posture makes for more interesting compositions.
- Touch Your Hair/Face (Subtly): A gentle touch to your hair or chin can look thoughtful and natural, rather than posed. Avoid anything too dramatic.
- The "Fake Laugh": When all else fails, ask your photographer (or yourself, if solo) to tell a bad joke. The genuine smile that follows a forced laugh is pure gold. Or, just laugh! The act of laughing often relaxes your facial muscles.
Remember that stunning shot of me "casually" gazing at the Eiffel Tower from a Parisian balcony? My friend took about 50 photos of me attempting different levels of "thoughtful gaze" before we landed on that one. It's all about repetition and finding what feels right.
3. Props, Poses & Power Angles: Your Toolkit for Confidence
Now let's get into the nitty-gritty of specific techniques that instantly make you look more comfortable and photogenic.
Practical Tips: The Details Matter
- The "Triangle Trick" for Limbs: This is a game-changer! Avoid pressing your arms or legs flat against your body. Create small gaps or triangles with your limbs.
- Arms: Bend your elbows slightly. Place a hand on your hip, in your pocket, or holding something. This instantly slims and adds shape.
- Legs: Cross one leg slightly in front of the other, or bend one knee. This breaks up a straight line and creates a more dynamic silhouette.
- Hand Placement Mastery: Your hands can make or break a photo.
- Avoid the "Claw": Don't spread your fingers wide or clench your fist.
- Relaxed & Gentle: Lightly hold something, gently touch your hair, or rest them softly in your pockets. If you're unsure, just put one hand in your pocket and let the other hang naturally.
- Chin Up, Shoulders Back: Good posture is key. It makes you look confident and elongates your neck. But don't be stiff! A slight tilt of the head can be very flattering.
- The "Slight Turn": Never face the camera straight on. Turn your body slightly (about 45 degrees) and then turn your head back towards the lens. This creates depth and a more flattering angle.
- Angles for Days:
- Shot from Slightly Above: This is universally flattering, often making faces look slimmer and eyes bigger. Most phone cameras naturally do this when held up.
- Shot from Below (Carefully!): Can make you look powerful and grand, especially against a dramatic backdrop like a mountain range or a towering city skyline. Use with caution for facial shots.
I learned the triangle trick on a photography workshop in Sicily. It felt so unnatural at first, but once I saw the difference in my photos – suddenly my arms weren't fused to my sides! – it became second nature. Try it out this month as you visit a local pumpkin patch or a festive holiday market.
4. Mastering the Solo Shot: No Photographer? No Problem!
Traveling solo means you're often your own photographer. But how do you get those dynamic, full-body shots without awkwardly asking strangers or relying on selfies?
Practical Tips: Be Your Own Director
- The Trusty Tripod (and Remote!): Invest in a lightweight, portable tripod. My personal favorite is the Joby Gorillapod (around $40-60 on Amazon) because it's flexible and can be wrapped around poles, railings, or set on uneven surfaces. Pair it with a Bluetooth remote shutter (under $10) for hands-free shooting. This setup is a game-changer for capturing yourself in beautiful landscapes.
- Timer Mode & Burst Shots: If you don't have a remote, your phone's timer mode (usually 3 or 10 seconds) combined with burst mode (holding down the shutter button) is your best friend. Set the timer, run into position, and then move through a few poses. You'll have plenty of options to choose from.
- Leverage Self-Timers on Cameras: If you're using a mirrorless or DSLR, most have advanced self-timer options.
- Find Your "Mark": Before hitting the timer, find a spot to stand. You can even use a small stone or your backpack as a marker for where you need to be in the frame.
- Practice in Private: Before you head out to a busy tourist spot, practice your poses at home. Get comfortable with your tripod setup and how much time you have.
- Embrace the Selfie (Strategically): Selfies aren't just for close-ups. Use a selfie stick (around $15-30) to get wider shots, especially if you're trying to capture a scenic background behind you. The trick is to hold it high and slightly to the side to avoid that awkward "selfie stick arm" look.
Last November, I explored the charming town of Bruges, Belgium, entirely solo. My Gorillapod and remote were my constant companions. I got incredible shots of myself strolling along canals and admiring the Belfry, all thanks to these tools. It felt empowering to be completely independent in my photo-taking.
5. Location, Lighting & Timing: Setting the Scene for Success
Even the most confident pose can fall flat with bad lighting or a distracting background. These elements are crucial for elevating your travel photos.
Practical Tips: The Environment is Part of the Story
- Golden Hour is Your Power Hour: The hour after sunrise and the hour before sunset ("golden hour") offers the softest, most flattering light. It adds a beautiful, warm glow to everything. Plan your photo excursions around these times. Imagine the golden light hitting the colorful autumn leaves in a New England park this November – pure magic!
- Avoid Harsh Midday Sun: Direct overhead sun creates harsh shadows and makes you squint. If you must shoot midday, seek out open shade (under a tree, an awning, or a building) for softer light.
- Background Check: Before you even pose, scan your background. Is there a trash can? A distracting person? A messy sign? A clean, uncluttered background puts the focus squarely on you and the beautiful location.
- Lead the Eye: Use natural leading lines (roads, paths, fences, rivers) in your composition to draw the viewer's eye towards you and the main subject.
- Rule of Thirds: Imagine your frame divided into nine equal sections by two horizontal and two vertical lines. Place yourself (or key elements) along these lines or at their intersections for a more balanced and visually appealing photo. Most phone cameras have a grid overlay you can activate.
- Embrace the Weather: Don't let a little rain stop you! Puddles create amazing reflections, and an umbrella can be a fun prop. Fog or mist can add an ethereal, moody vibe to your photos. A cozy sweater and a warm drink in a snowy landscape (if November brings early snow where you are!) can be incredibly evocative.
My favorite photo from a trip to the Scottish Highlands was taken on a drizzly, misty morning. Instead of waiting for the sun, I embraced the moodiness, pulled on my rain jacket, and walked into the frame. The resulting shot was atmospheric and unique, a far cry from the bright, sunny photos everyone else was taking.
6. Editing Magic: The Final Polish (But Not a Fix-All)
Editing isn't about transforming yourself into someone else; it's about enhancing what's already there and correcting minor imperfections.
Practical Tips: Subtle Enhancements
- Crop and Straighten: Always the first step! Correct any crooked horizons and crop out distracting elements.
- Brightness & Contrast: Adjust these to make your photo pop. Don't overdo it.
- Color Correction: Boost saturation slightly for vibrant colors (especially those gorgeous November hues!) or adjust white balance if the colors look off.
- Sharpening: A touch of sharpening can make details clearer, but too much looks artificial.
- Spot Removal: Remove small blemishes or distracting spots in the background.
- Popular Apps:
- Lightroom Mobile (Free with paid features): Professional-grade adjustments.
- Snapseed (Free): Google's powerful and intuitive editing app.
- VSCO (Free with paid filters): Great for consistent aesthetic and beautiful filters.
- Facetune (Paid): Use very sparingly for minor smoothing or teeth whitening, but avoid heavy manipulation. The goal is natural enhancement, not a complete overhaul.
I once had a photo from a beach in Portugal where my expression was perfect, but the horizon was slightly tilted. A quick crop and straighten in Lightroom, plus a boost to the blues, and it went from "meh" to "wow!" Remember, editing should complement, not replace, a good original shot.
7. Practice Makes Perfect (and Fun!)
Like any skill, confident posing takes practice. The more you do it, the more natural it will feel, and the more you'll understand what works for you.
Practical Tips: Make it a Habit
- Mirror Practice: Stand in front of a mirror and practice different expressions and poses. See what angles flatter you. This might feel silly, but it's incredibly effective.
- "Photo Dumps" with Friends: Go out with a friend and just take a ton of photos, experimenting with everything we've discussed. Laugh, be silly, try everything. The pressure is off when you're just having fun.
- Review Your Photos: After a session, look at what worked and what didn't. What poses felt natural? What angles were flattering? Learn from your own images.
- Follow & Learn: Follow other travel bloggers and photographers whose style you admire. Pay attention to their poses, compositions, and how they interact with their environment. Don't copy, but draw inspiration.
- Embrace the Journey: This isn't about becoming a supermodel overnight. It's about finding comfort and joy in capturing your travel memories. Each photo you take is a step closer to confidence.
My biggest breakthrough came when I started treating my photo sessions like a mini-adventure. During my recent trip through the charming towns of the Cotswolds in England, I dedicated an hour each day to "photo exploration." I'd find a picturesque spot, set up my tripod, and just play. I'd try walking, twirling, looking up, looking down, interacting with a window display. Some shots were terrible, but many were gems, and the process itself became genuinely enjoyable.
Ready to Strike a Pose This November?
The days of stiff, awkward travel photos are officially over. This November 2025, as you explore festive markets, cozy cafes, breathtaking autumn landscapes, or whatever incredible destination calls your name, you now have the tools to capture your adventures with confidence and authenticity.
Remember, the goal isn't perfection, it's connection – connecting with your surroundings, connecting with your camera, and most importantly, connecting with your own incredible travel story. Your awkwardness isn't a flaw; it's a starting point for learning, growing, and ultimately, shining.
So, grab your camera (or phone!), find your favorite chunky knit sweater, and get out there. Experiment, play, and most importantly, have fun!
Now it's your turn!
I want to see your newfound confidence! Share your favorite November travel photos using these tips on Instagram and tag @TripsoraTravel and #TripsoraPosePerfect. Let's inspire each other to capture our journeys beautifully!
---


